
Optima V6-2.7L (2003)
9.
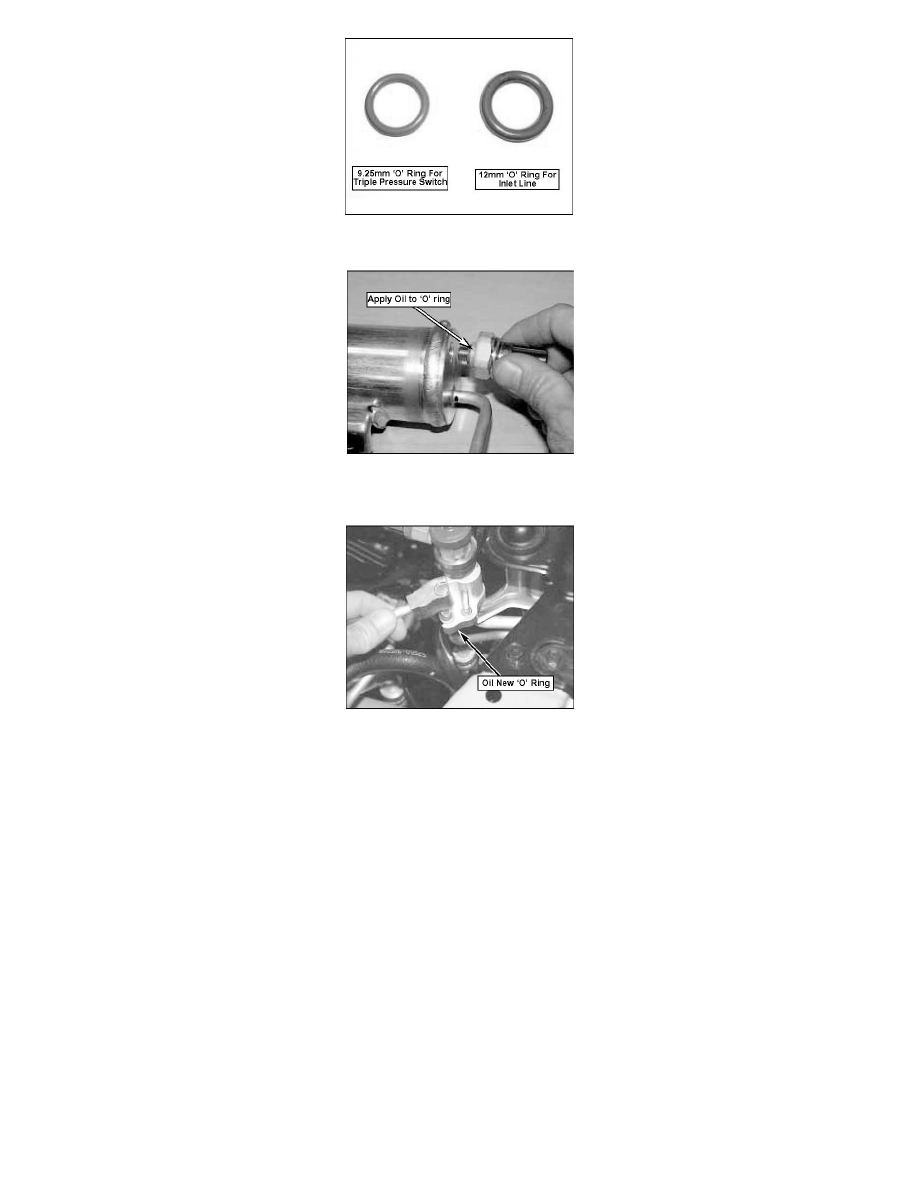
Remove pressure switch from removed receiver-drier. Remove and discard old 0 ring.
10.
Apply a small amount of clean refrigerant oil to new 0 ring and install onto pressure switch. Install pressure switch into new receiver-drier. Torque
switch to 104-129 lb-in. Do not overtighten.
11.
Install a new 0 ring onto receiver-drier inlet (lower) line. 0 ring is already installed on receiver-drier outlet (upper) tube.
12.
Apply a small amount of clean refrigerant oil to 0 rings on inlet and outlet lines.
NOTICE
Do not add refrigerant oil; new receiver-drier is supplied with correct amount of refrigerant oil.
13.
Install new receiver-drier, reconnect A/C lines.
^
Torque inlet (lower) line to 52-86 lb-in.
^
Torque outlet (upper) line to 44-51 lb-in. Torque mounting bolts to 44-51 lb-in.
CAUTION
Take care to avoid damage to condenser and bumper when installing receiver-drier into vehicle.
14.
Reinstall radiator brackets.
15.
Evacuate and recharge A/C system with 1.5lb (1 lb 8 oz) (680g) R-134a.