
Brake Bleeding: Service and Repair
- Make
- Kia
- Model
- Rio
- Engine
- L4-1.5L
- Year
- 2001
- Section
- Brake Bleeding › Service and Repair
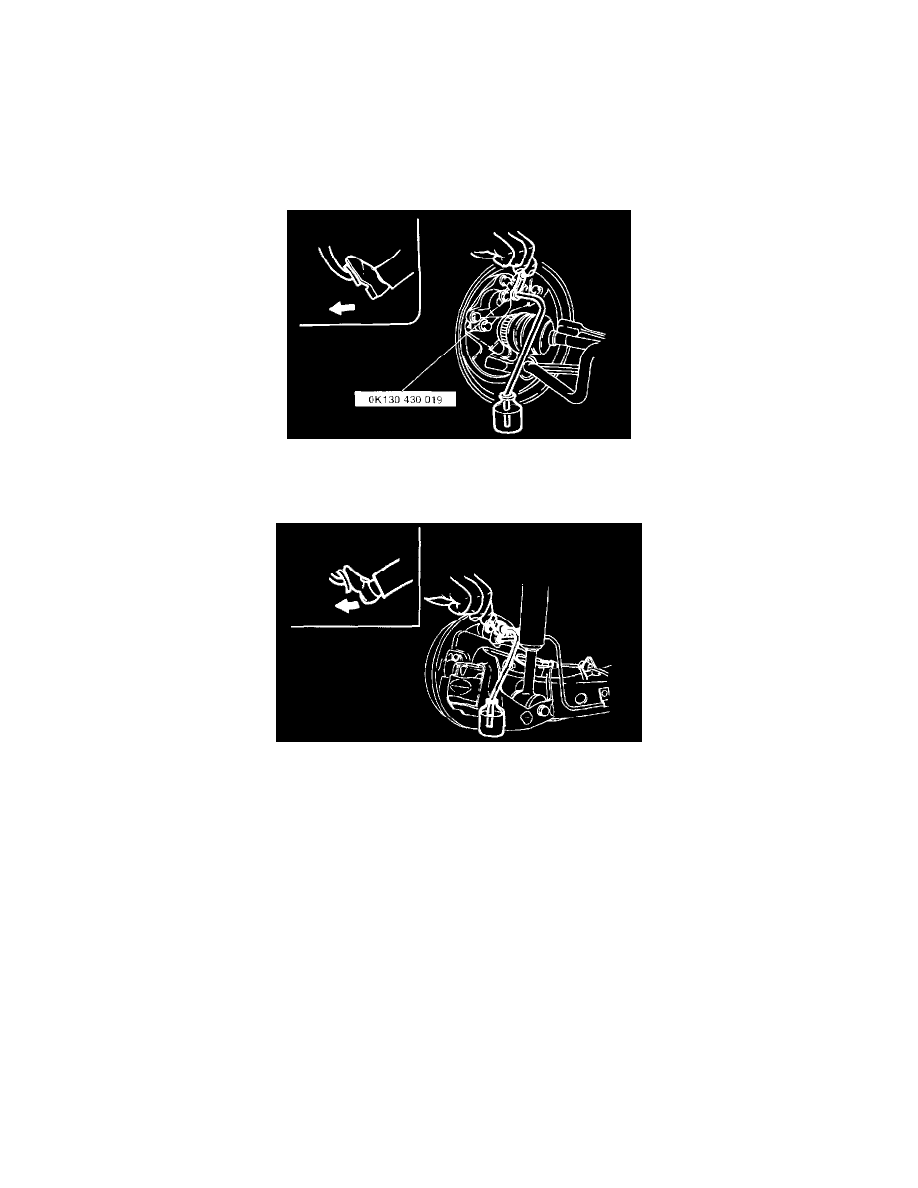
Brake Bleeding: Service and Repair
Air bleeding
1. Jack up the vehicle and support it with a safety stands.
Caution The brake fluid reservoir must be kept 3/4 full during air bleeding.
2. Remove the bleeder cap and attach a vinyl hose to the bleeder plug.
3. Place the other end of the vinyl tube in a clear container.
4. One person should depress the brake pedal a few times, and then hold it in the depressed position.
5. A second person should loosen the bleeder screw, drain out the fluid, and retighten the screw with the SST.
Caution Be sure the pedal remains depressed until the bleed screw is tightened.
6. Repeat Steps 4 and 5 until no air bubbles are seen.
7. Check for the correct brake operation.
8. Verify that there is no fluid leakage. Clean away any spilled fluid with rags.
9. After bleeding the air, add a brake fluid to the reservoir up to the specified level.
Tightening torque:
5.9 - 8.8 Nm (60 - 90 kg-m, 52 - 78 inch lbs.)
Notice Air bleeding must be started from the bleeder screw furthest from the master cylinder.
Pinch or Ctrl + scroll to zoom. Double-tap to reset.
Parts & tools for this job For 2001 Kia Rio 1.5L
- PARTBrake padsSearch: Kia Rio 2001 1.5L brake pads
- TOOLBrake bleeder kitSearch: one man brake bleeder kit
- FLUIDBrake fluidSearch: brake fluid
Links open Amazon search results in a new tab. As an Amazon Associate I earn from qualifying purchases.