
Windshield: Locations (page 6 of 6)
- Make
- Kia
- Model
- Sedona
- Engine
- V6-3.5L
- Year
- 2003
- Section
- Windshield
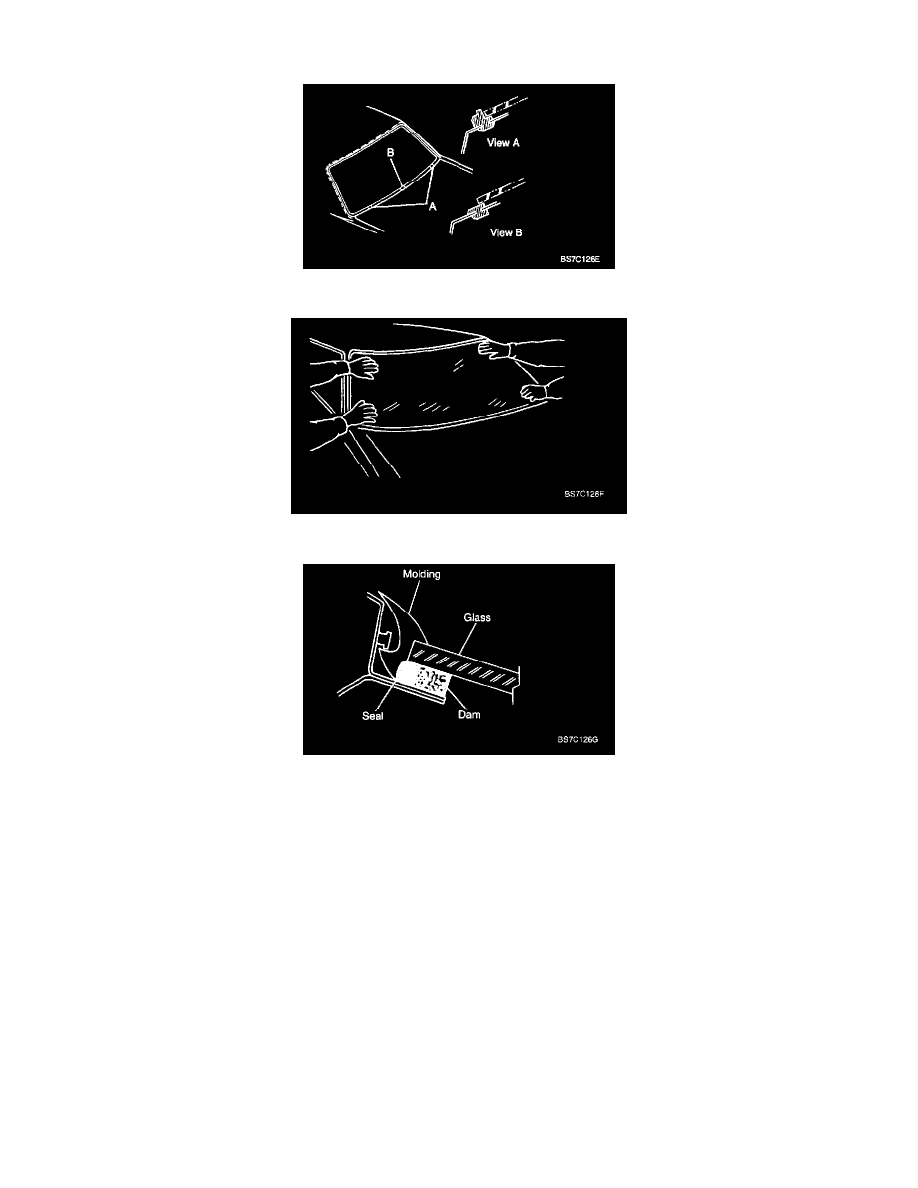
8. Apply the urethane bead to the body just outside the dam. The bead should be slightly higher than the dam.
9. Install molding on the glass.
10. Install the glass into the body making sure the glass rests upon the two spacers at the bottom of the windshield.
11. Press glass firmly into place.
12. Press molding firmly into place.
13. Lower both front door windows and leave them in that condition until the vehicle can be put back into service. If the vehicle were completely
closed, quickly closing a door could break the seal.
14. Remove excess urethane, if any.
15. Perform water leak test immediately.
13. Clean the outside of the windshield.
17. Install both of the A-pillar trims.
18. Install the rearview mirror with two screws.
19. Install the cowl vent with six screws and two fasteners.
20. Install both wiper arm assemblies with one nut each.
Pinch or Ctrl + scroll to zoom. Double-tap to reset.
Parts & tools for this job For 2003 Kia Sedona 3.5L
- TOOLTrim removal tool kitSearch: trim removal tool kit
- PARTTouch-up paintSearch: Kia touch up paint
- PARTPanel clip assortmentSearch: Kia panel clips assortment
Links open Amazon search results in a new tab. As an Amazon Associate I earn from qualifying purchases.