
TD5 Defender
ENGINE
31
OVERHAUL
8. Remove and discard big-end bearing shell from
connecting rod.
CAUTION: Engine Serial No. Prefixes 10P
to 14P:- The ’sputter type’ connecting rod
bearings fitted to these engines, identified
by them having a slightly darker colour than the
bearing cap shells should be replaced with the
’plain type’ bearing shells fitted to Engine Serial
No. Prefixes 15P to 19P.
9. Repeat above procedures for remaining big-end
bearings.
CAUTION: Keep bearing caps in their fitted
order.
Inspection
NOTE: If crankshaft is to be removed,
big-end bearing journals should be
checked when crankshaft is inspected.
1. Check each big-end bearing journal for scoring,
wear and ovality, make 3 checks at 120
°
intervals
in centre of journal:
Big-end journal diameter =
54.000
±
0.01 mm (2.125
±
0.0004 in)
CAUTION: Big-end journals may not be
reground undersize,only one size of
big-end bearing shell is available and if
journals are found to be scored, oval or worn,
crankshaft must be replaced. Big-end bearing
shells must be replaced whenever they have been
removed.
Refit
1. Clean connecting rod journals and bearing shell
locations.
2. Lubricate new big-end bearing shells with engine
oil and fit to connecting rods and bearing caps
ensuring that the ’sputter bearings’ are fitted to
the connecting rods.
NOTE: ’Sputter type’ bearing shells can be
identified by them by having a slightly
darker colour.
3. Rotate crankshaft until No. 1 big-end bearing
journal is at BDC.
4. Taking care not to damage oil squirt jet or to
displace bearing shell, pull connecting rod on to
crankshaft journal.
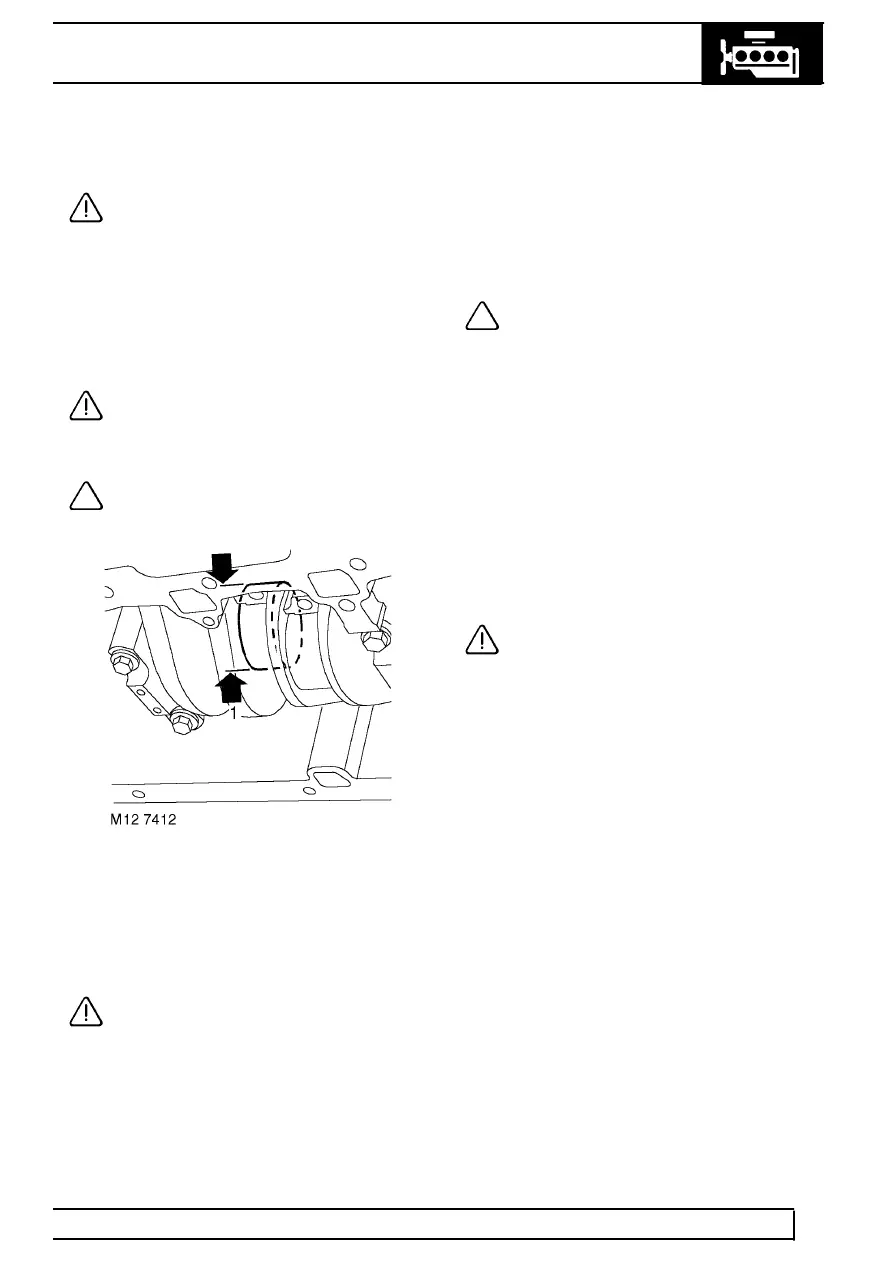
5. Check that bearing shell is correctly located in
big-end bearing cap.
6. Fit No. 1 big-end bearing cap ensuring that
reference marks are aligned.
7. Lightly oil threads of new big-end bearing cap
bolts, fit bolts and tighten to:
Stage 1 - 20 Nm (15 lbf.ft)
Stage 2 - Further 80
°
CAUTION: Do not carry out stages 1 and 2
in one operation.