Discovery II

ENGINE - V8
12-2-50 OVERHAUL
Reassembly
1. Ensure both seal location and running surface
on crankshaft are clean. Ensure that bolt holes
in crankshaft are clean and dry.
2. Lubricate replacement oil seal with engine oil.
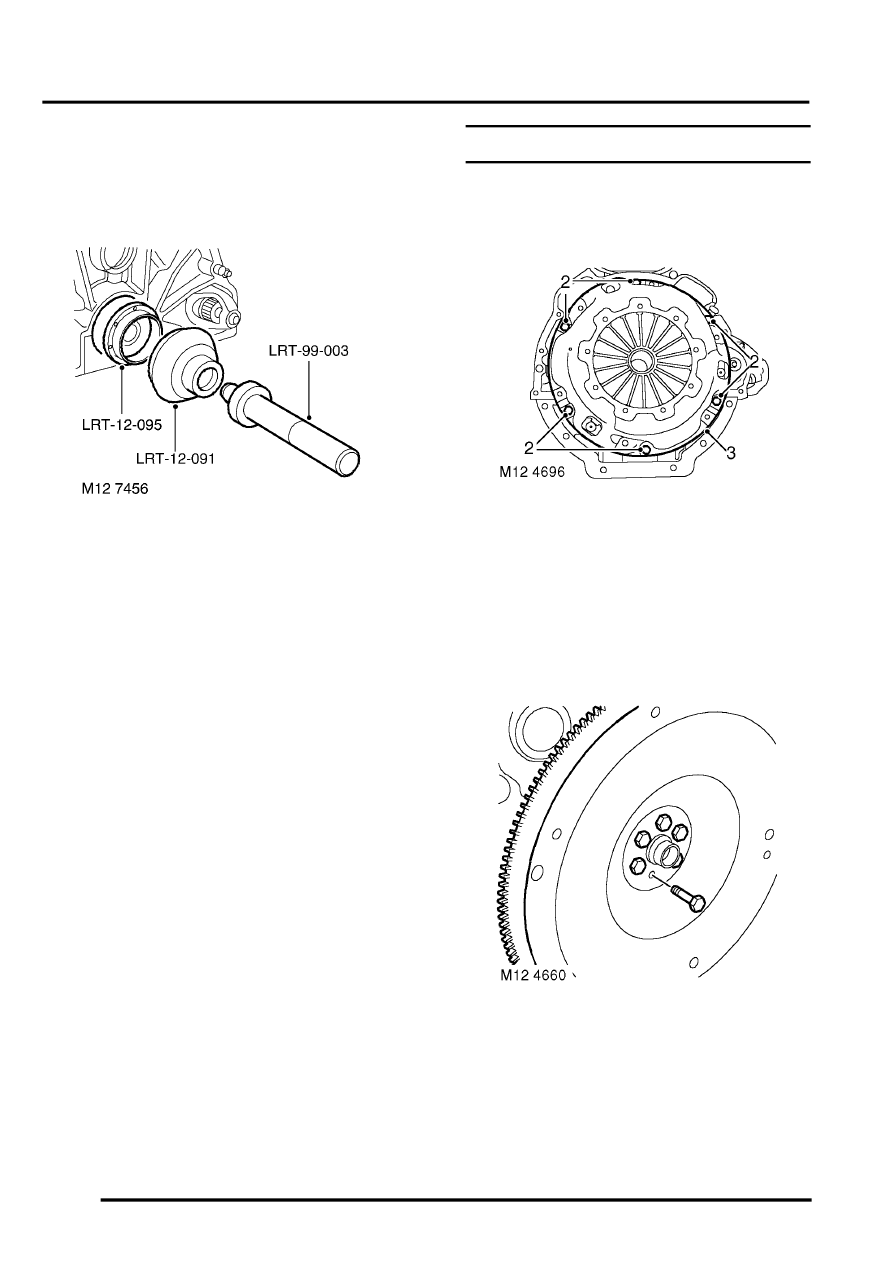
3. Lubricate seal guide LRT-12-095 with engine
oil and position guide to crankshaft.
4. Fit new seal squarely onto crankshaft and
remove guide LRT-12-095.
5. Fit seal into location using tools LRT-12-091
and LRT-99-003.
6. All engines: Ensure bolt holes in crankshaft
are clean and dry.
7. All engines: Clean all components.
8. All engines: Check that drive plate is free from
cracks and distortion.
9. Early engines: Fit hub, starter ring gear and
spacer to crankshaft, tighten Allen bolts to 78
Nm (58 lbf.ft).
10. Early engines: Fit drive plate and clamp ring,
tighten bolts to 45 Nm (35 lbf.ft).
11. Later engines: Fit starter ring gear, fit Allen
bolts and tighten to 85 Nm (63 lbf.ft).
12. Later engines: Fit drive plate and clamp ring,
fit bolts and tighten to 45 Nm (33 lbf.ft).
13. Fit CKP sensor.
V8, REPAIRS, Sensor - crankshaft position
(CKP).
Seal - crankshaft - rear - manual models
$% 12.21.20.01
Disassembly
1. Restrain flywheel.
2. Working in sequence, loosen and remove 6
bolts securing clutch cover to flywheel.
3. Remove clutch cover.
4. Remove clutch plate.
5. Remove CKP sensor.
V8, REPAIRS, Sensor - crankshaft position
(CKP).
6. Remove 6 bolts securing flywheel.
7. Remove flywheel.
