Discovery II

INTERIOR TRIM COMPONENTS
76-3-20 REPAIRS
Carpet - loadspace
$% 76.49.04
Remove
1. Remove both rear seat belt lower fixings.
2. Models with third row seats: Remove both
SEATS, REPAIRS, Seat - third row.
3. Remove both loadspace side trim casings.
REPAIRS, Trim casing - side - loadspace.
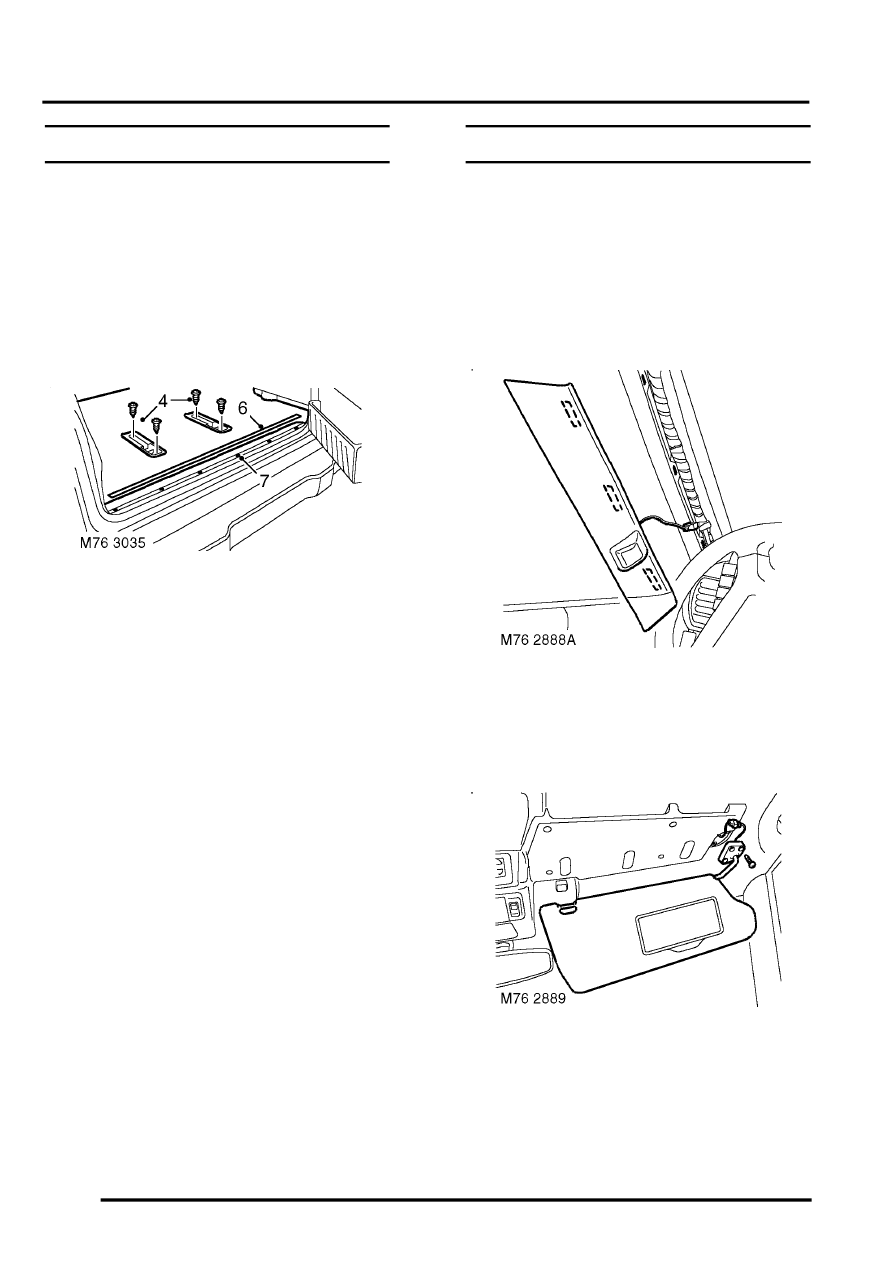
4. Models with third row seats: Remove 4
screws and remove both seat lower mounting
escutcheons.
5. Recline rear seats fully forward.
6. Remove finisher from loadspace carpet
retainer.
7. Remove 6 screws securing loadspace carpet
retainer to floor and remove retainer.
8. Remove loadspace carpet.
Refit
1. Position loadspace carpet to floor.
2. Position loadspace carpet retainer to floor and
secure with screws.
3. Fit finisher to loadspace carpet retainer
4. Return rear seats to their normal position.
5. Models with third row seats: Position both
third row seats lower mounting escutcheons to
floor and secure with screws.
6. Fit both loadspace side trim casings.
REPAIRS, Trim casing - side - loadspace.
7. Models with third row seats: Fit both third row
SEATS, REPAIRS, Seat - third row.
8. Position both rear seat belt lower mountings
and secure with bolts tightened to 32 Nm (24
lbf.ft).
Headlining
$% 76.64.15.21
Remove
1. Remove both 'D' post trim casings.
REPAIRS, Trim casing - 'D' post.
2. Remove both 'B' post upper trim casings.
REPAIRS, Trim casing - upper - 'B' post.
3. Release clips securing both 'A' post trim
casings.
4. Models with premium ICE: Disconnect
multiplugs from 'A' post speakers.
5. Remove both 'A' post trim casings.
6. Remove 3 screws securing sun visor to
headlining.
7. Release sun visor from clip.
8. Disconnect multiplug from sun visor.
9. Remove sun visor.
10. Repeat process for second sun visor.
