Discovery II

PANEL REPAIRS
REPAIRS 77-2-35
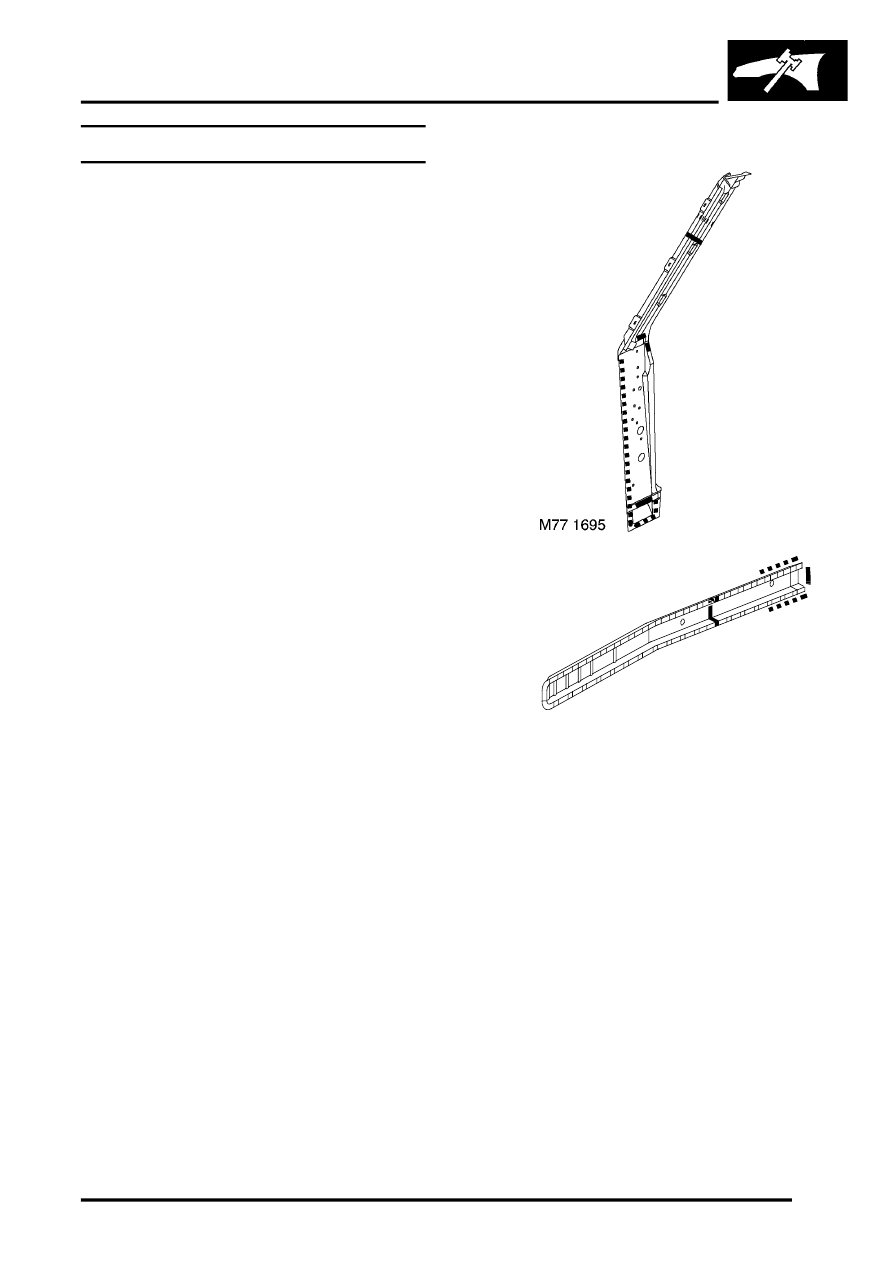
'A' post assembly
In this procedure, the front wing and the valance
outer reinforcement (rear section) are replaced in
conjunction with the 'A' post assembly. The dash side
assembly can also be replaced in this procedure if
required.
Remove
1. Disconnect both battery leads, negative lead
first.
2. Disconnect leads/multiplug from alternator.
3. Remove bonnet.
4. Remove front wing.
5. Remove RH or LH front door.
6. Remove RH or LH sill finisher.
7. Remove windscreen.
8. Diesel models: Remove ECM.
Td5, REPAIRS, Engine control module
(ECM).
9. Remove RH or LH 'A' post inner finishers and
disconnect speaker multiplug (if fitted).
10. Release sunroof drain tube and position aside.
11. Remove RH or LH front seat.
12. RH side: Remove CD autochanger.
13. Remove fascia.
14. Driver's side: Remove steering column
support bracket.
15. Remove relevant wiring from 'A' post.
16. Remove tread plate from front door aperture.
17. Release front carpet and position aside.
18. Remove front door aperture seal.
19. Remove engine bulkhead insulation.
Repair
1. Remove existing panel(s), prepare panel joint
faces and install new panel(s) in accordance
with Panel Replacement Procedure. Punch or
drill holes in new panel for plug welding as
shown.
M77 1751
