
Discovery II
PANEL REPAIRS
77-2-40 REPAIRS
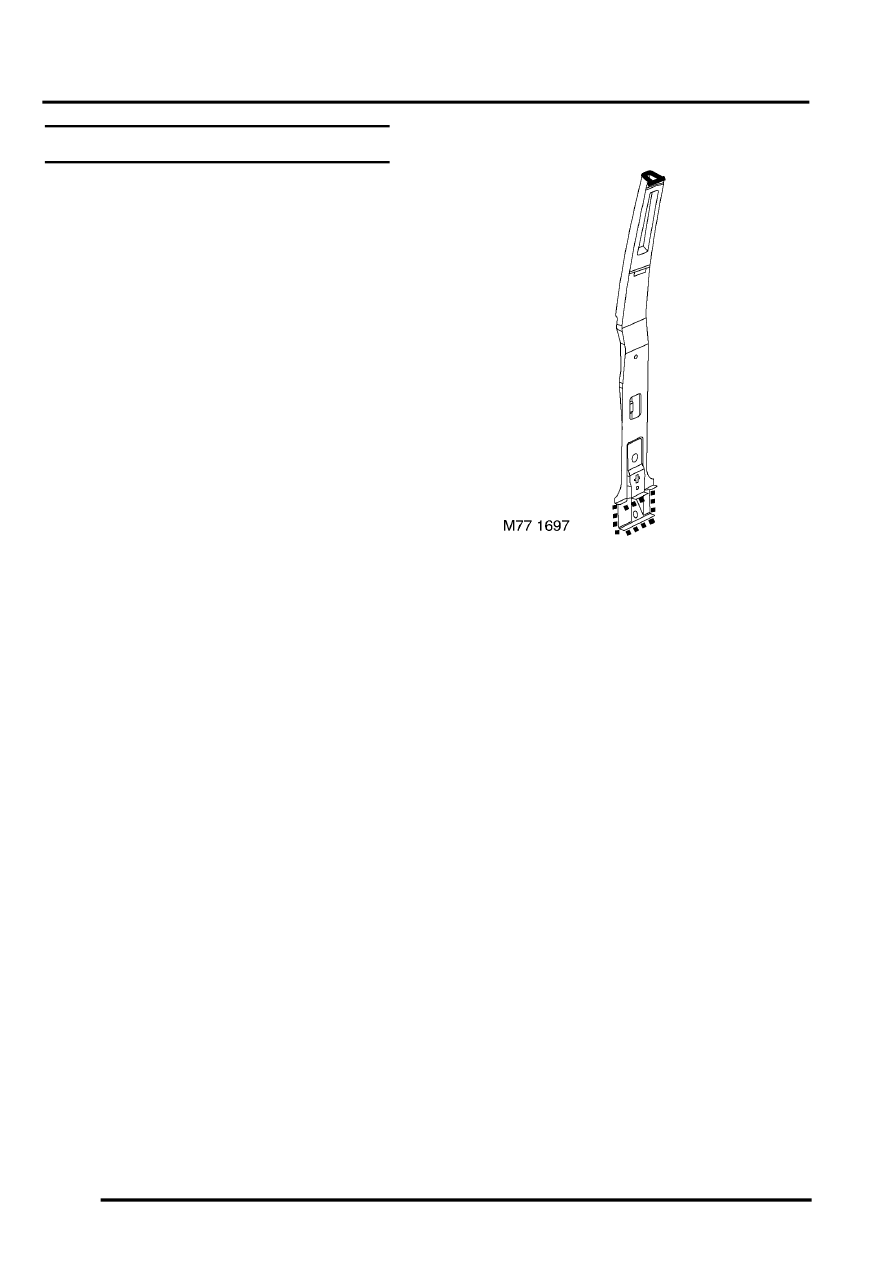
'B/C' post assembly
Remove
1. Disconnect both battery leads, negative lead
first.
2. Disconnect leads/multiplug from alternator.
3. Remove RH or LH rear door.
4. Remove front door striker from 'B/C' post.
5. Remove RH or LH sill finisher.
6. Remove RH or LH front seat.
7. RH side: Remove power amplifier.
8. LH side: Remove CD autochanger.
9. Remove RH or LH front seat belt.
10. Remove RH or LH rear seat.
11. Remove head lining.
12. Remove tread plate from front and rear door
apertures.
13. Release carpet from fixings and position aside.
14. Remove front and rear door door aperture
seals.
15. Release relevant wiring from 'B/C' post and sill
areas and position aside.
16. Remove side drip rail finisher.
Repair
1. Remove existing panel(s), prepare panel joint
faces and install new panel(s) in accordance
with Panel Replacement Procedure. Punch or
drill holes in new panel for plug welding as
shown.
2. Before welding 'B/C' post to roof, apply
'Heat shrink paste' to roof area to avoid heat
damage to paintwork.