Discovery II

PANEL REPAIRS
77-2-48 REPAIRS
Cross member outer rear panel (centre
section)
Remove
1. Disconnect both battery leads, negative lead
first.
2. Disconnect leads/multiplug from alternator.
3. Remove loadspace carpet.
4. Remove rear bumper assembly.
Bumper assembly - rear - up to 03MY.
5. Remove rear folding step.
6. Remove exhaust tailpipe heatshield.
7. Remove tail door tread plate.
8. Remove head lining rear trim finisher.
9. Remove tail door aperture seal.
10. Remove relevant wiring.
Repair
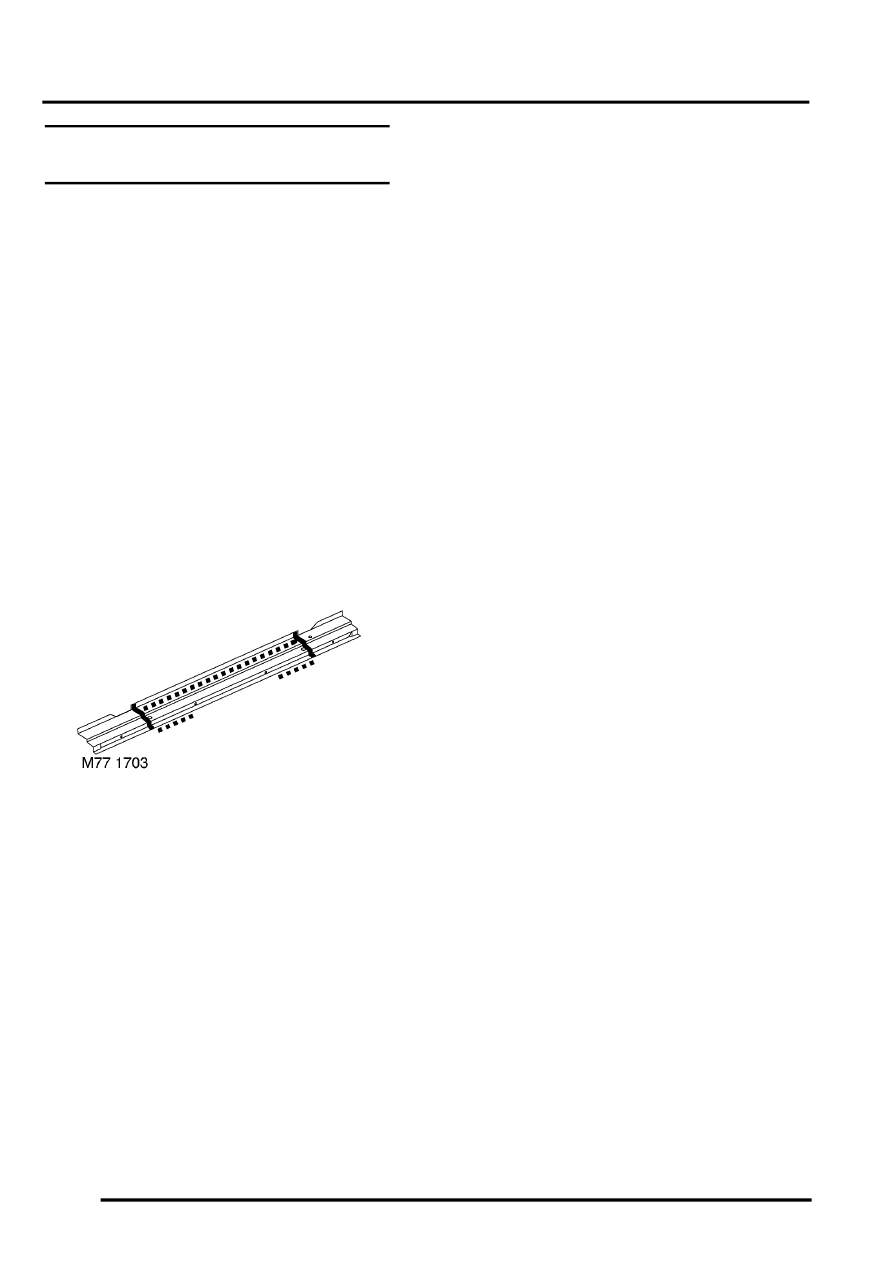
1. Remove existing panel(s), prepare panel joint
faces and install new panel(s) in accordance
with Panel Replacement Procedure. Punch or
drill holes in new panel for plug welding as
shown.
Refit
1. Fit and secure wiring.
2. Fit tail door aperture seal.
3. Fit head lining rear trim finisher.
4. Fit tail door tread plate.
5. Fit exhaust tailpipe heatshield.
6. Fit rear folding step.
7. Fit rear bumper assembly.
Bumper assembly - rear - up to 03MY.
8. Fit loadspace carpet.
9. Connect leads/multiplug to alternator.
10. Connect battery leads, negative lead last.
