
300Tdi Discovery
19
FUEL SYSTEM
4
REPAIR
NOTE: If rotary coupler is to be re-used a
piece of adhesive tape should be placed
around the moulding in position A to
prevent rotation. Failure to do this may result in
damage to the wires inside the coupler.
6. Release clips securing rotary coupler to column
stalk assembly.
7. Remove rotary coupler from column stalk
assembly.
CAUTION: Ensure front wheels are in the
straight ahead position before removal
and refitting. Store in a plastic bag. DO
NOT rotate mechanism whilst removed.
Refit
8. Reverse removal procedure. Ensuring that the
column harnesses are not trapped by the
column shroud.
NOTE: If original rotary coupler is to be
fitted and there is evidence of tampering, it
is imperative that the coupler is
centralised.
See SUPPLEMENTARY RESTRAINT
SYSTEM, Repair, Rotary Coupler
NOTE: If a new rotary coupler is to be
fitted and the sealing tape is broken it
MUST NOT be used. Ensure rotary coupler
lugs are correctly engaged in the rear of the
steering wheel.
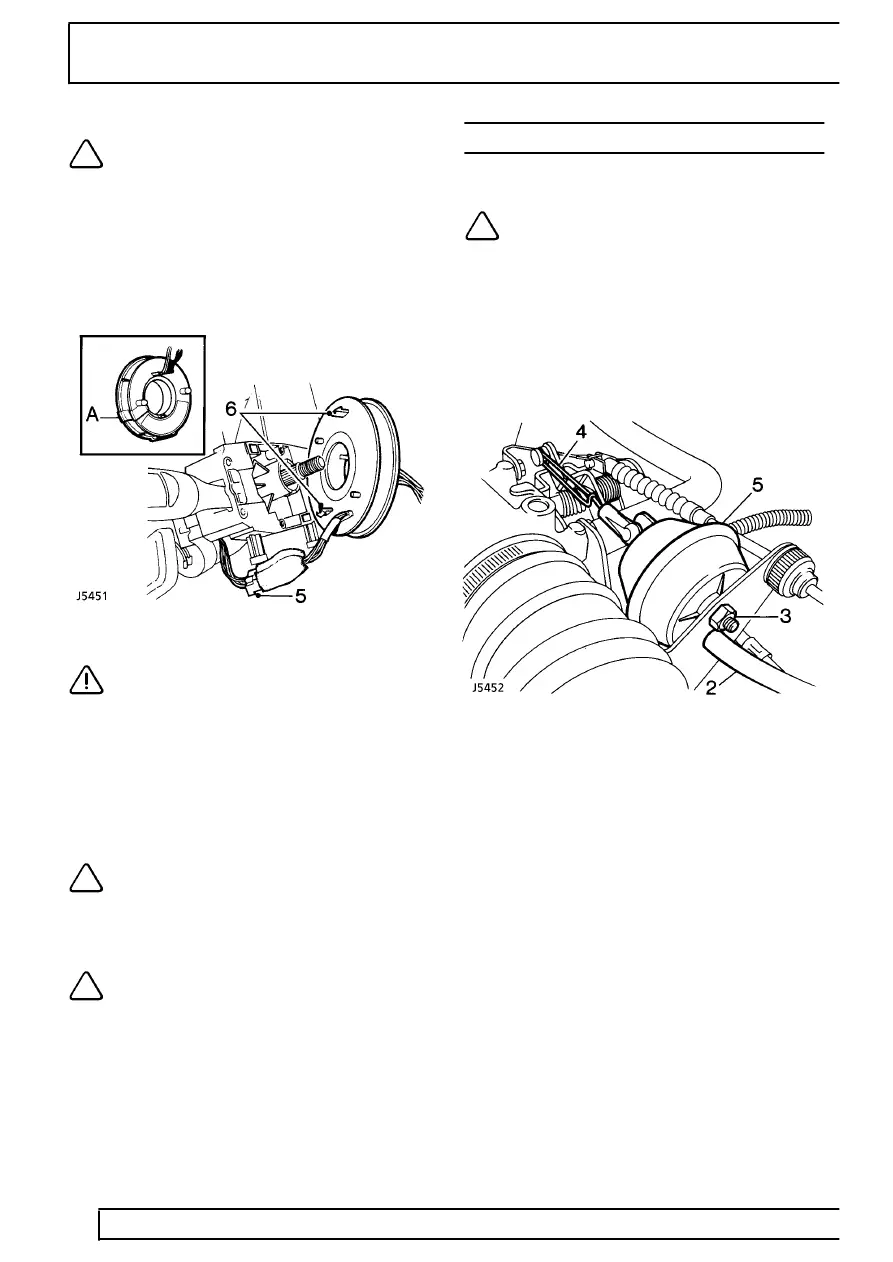
ACTUATOR - V8i
Service repair no - 19.75.12
NOTE: The actuator is non serviceable, fit
a new unit if failure or damage occurs.
Remove
1. Disconnect battery negative lead.
2. Disconnect vacuum hose from actuator.
3. Remove nut securing actuator to throttle bracket.
4. Remove actuator, and manoeuvre actuator
operating link off throttle lever.
5. Withdraw actuator.
Refit
6. Inspect rubber diaphragm. Fit a new actuator
assembly if diaphragm is damaged.
7. Reverse removal procedure. Fitting the hook
uppermost.