
SEALING (page 10 of 19)
- Make
- Land Rover
- Model
- Freelander Service Procedures
CORROSION PREVENTION AND SEALING
SEALING 77-4-17
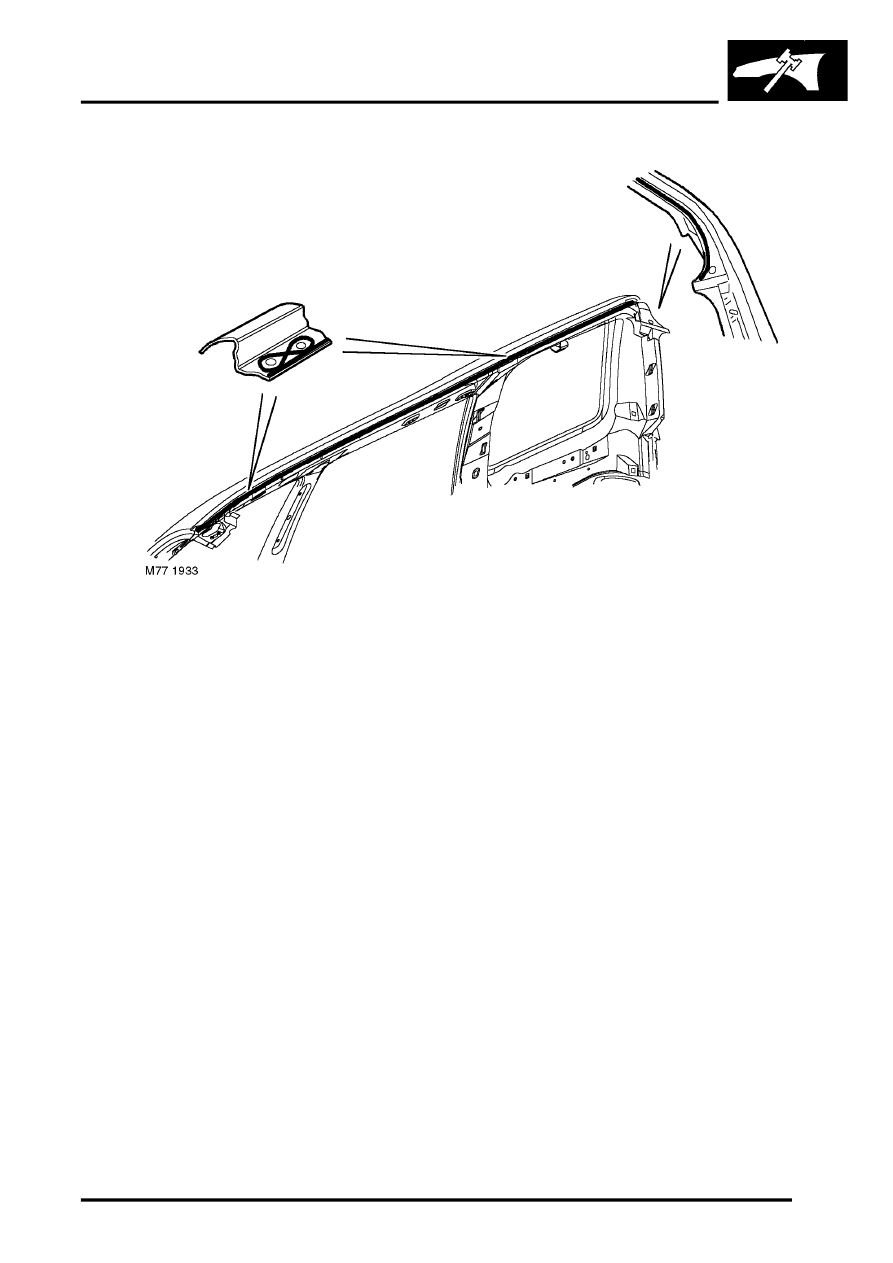
Adhesive on roof - 5 door
Joints symmetrically opposite to those shown are also treated. Apply 3 mm diameter beads to all joints shown.
Seam Sealers
A heat cured, PVC based sealant is applied to specific joint seams during factory assembly. This material is not
suitable for service use and, during repair, should be substituted by an approved Seam Sealer.
Seams to which seam sealer is applied during factory assembly are detailed in the following Figures.
Apply seam sealers after the application of primer and before the application of surfacer and top coat. The seam
sealer must form a continuous bead, with the profile of the bead dependant on the type of seam. If seam sealer is
applied with a brush, take particular care to maintain the required coverage of the seam. Where shaping of the seam
sealer is required, use a cloth soaked with solvent such as white spirit or Shell SBP3 to achieve the required finish.
Ensure that ALL accessible repair seams are sealed following a repair. Damage to a vehicle often flexes areas of the
body remote from the impact. As a result, the seam sealer in these areas may be disturbed by subsequent
straightening and repair operations. Check all seams in the vicinity of the area undergoing repair for evidence of
cracked seam sealer, then clean out as required and apply fresh seam sealer using the following procedure:
l
Clean the affected seam and re-treat any exposed metal areas with a suitable etch phosphate primer.
l
Treat affected area with an etch-acid primer.
l
Apply appropriate seam sealer as necessary.
l
Apply appropriate colour coat (and underbody sealer as applicable).
Where seams are inaccessible following the reassembly or fitting of components, ensure that a paste-type seam
sealer is applied to such seams. Certain seams also become inaccessible after the completion of panel repairs. In
such instances apply seam sealer and paint before final assembly.
Provided access is adequate, apply seam sealer to both sides of a repair joint. Where access is limited to one side
only (e.g. box sections), treat the affected box member with cavity wax.
Parts & tools for this job For Land Rover Freelander
- TOOLTorque wrenchSearch: 3/8 inch torque wrench
- TOOLSocket setSearch: socket set metric
- BOOKHaynes manualSearch: Haynes manual Land Rover Freelander
Links open Amazon search results in a new tab. As an Amazon Associate I earn from qualifying purchases.