
Freelander Service Procedures
IN CAR ENTERTAINMENT
86-6-4
REPAIRS
Speaker - front
$% 86.50.15
Remove
1. Remove front door trim casing.
front door - 5 door - up to 04MY.
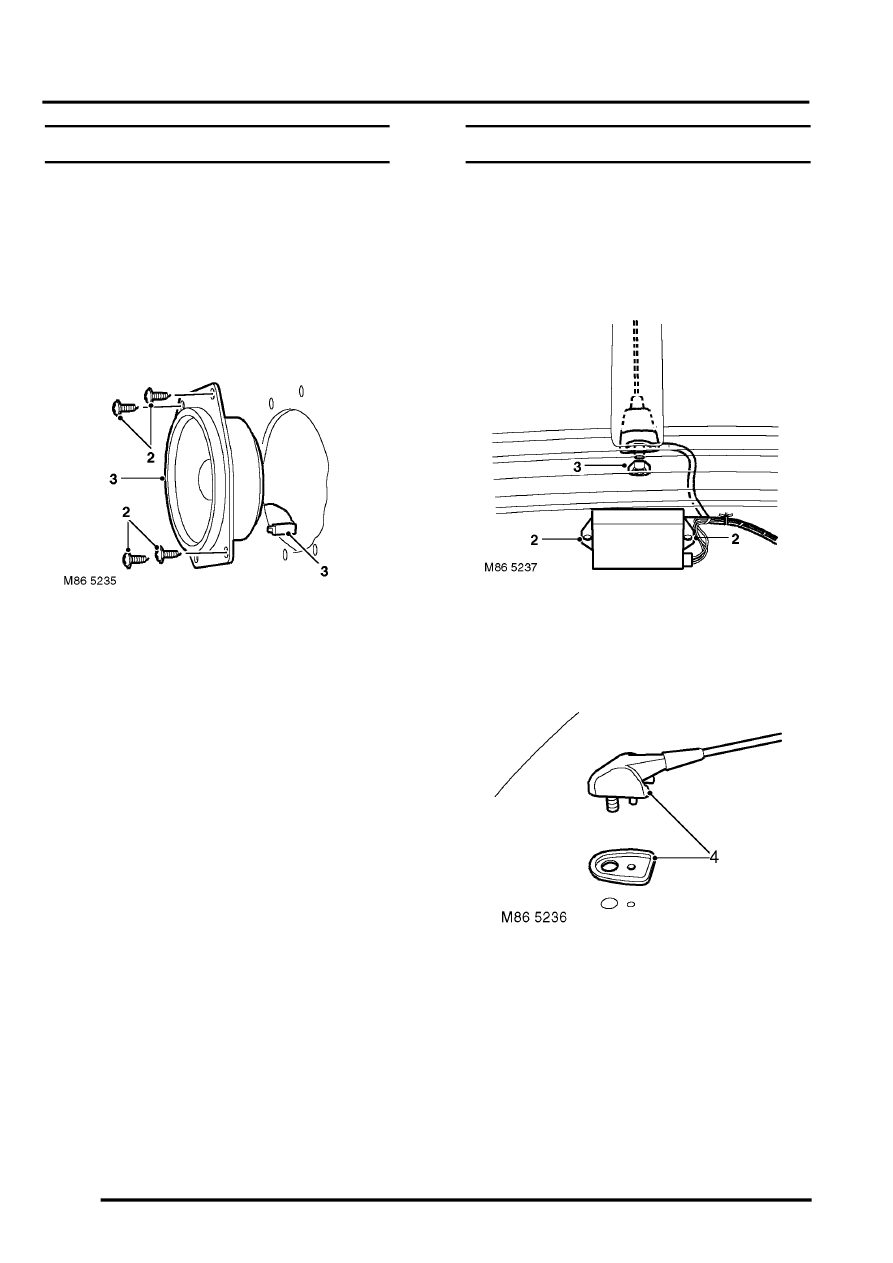
2. Remove 4 screws securing speaker to front
door.
3. Disconnect multiplug from speaker and remove
speaker.
Refit
1. Position speaker to door and connect multiplug.
2. Fit speaker to door and secure with screws.
3. Fit front door trim casing.
front door - 5 door - up to 04MY.
Aerial - manual - 3 door
$% 86.50.18
Remove
1. Remove headlining.
2. Remove 2 screws and release volumetric
sensor mounting bracket.
3. Remove nut securing coaxial cable to aerial
base.
4. Remove aerial base from roof panel and
remove rubber seal.
Refit
1. Position rubber seal and fit aerial base to roof
panel.
2. Connect coaxial cable and secure with nut.
3. Position volumetric sensor bracket and secure
with screws.
4. Fit headlining.