L322 Range Rover Service Procedures

FRONT SUSPENSION
60-16
REPAIRS
7. Remove bolt securing lower arm to subframe.
Discard bolt.
8. Remove lower arm.
Refit
1. Position lower arm and align to subframe fit
new bolt but do not tighten at this stage.
CAUTION: Nuts and bolts must be tightened
with weight of vehicle on suspension.
2. Clean ball joint taper and taper seat.
3. Connect lower arm ball joint to hub, fit nut and
tighten to 80 Nm (59 lbf.ft).
CAUTION: Ensure ball joint seal is not
damaged. A damaged seal will lead to
premature failure of the joint.
4. Connect height sensor link to lower arm, fit nut
and tighten to 8 Nm (6 lbf.ft).
CAUTION: Ensure height sensor arm is
pointing outwards.
5. Fit road wheel and tighten nuts to 140 Nm (103
lbf.ft).
6. Remove stand(s) and lower vehicle.
7. Tighten bolt securing lower arm to subframe to
165 Nm (121 lbf.ft) plus a further 90
°
.
8. Check front wheel alignment.
Bush - lower arm
$% 60.35.26
The lower arm bushes must be replaced as a pair.
Remove
1. Raise front of vehicle.
WARNING: Do not work on or under a
vehicle supported only by a jack. Always
support the vehicle on safety stands.
2. Remove road wheels.
3. Remove nut securing height sensor link to
lower arm and release link.
CAUTION: Use an open ended spanner on
flats provided to prevent ball joint rotating.
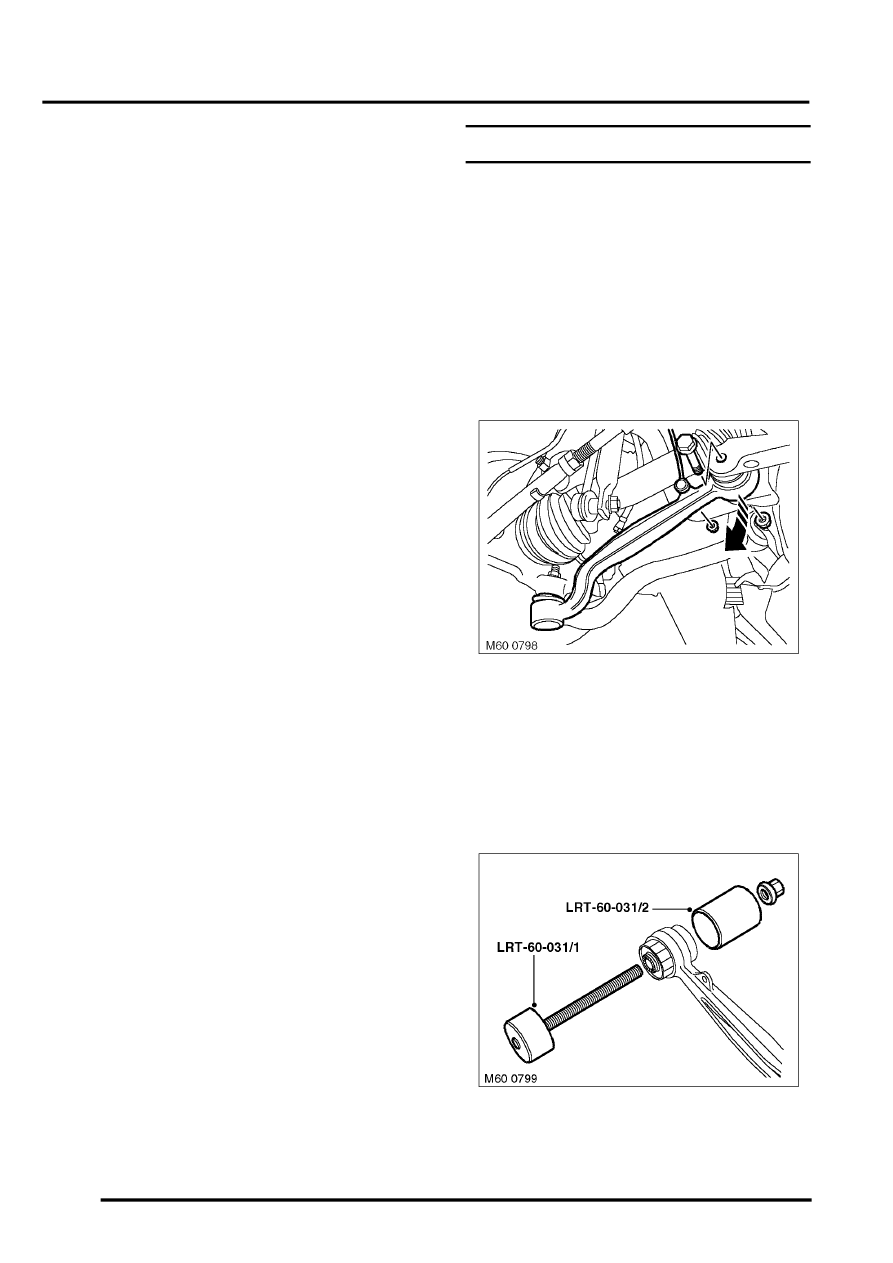
4. Remove bolt securing lower arm to subframe.
Discard bolt.
5. Release lower arm from subframe.
6. Using LRT-60-031/1 and LRT-60-031/2
remove lower arm bush.
