
L322 Range Rover Service Procedures
INTERIOR FITTINGS
76-3-20 REPAIRS
21. Remove 2 remaining Torx screws securing
passenger side face level vent duct and
remove duct.
22. Release and remove solar sensor.
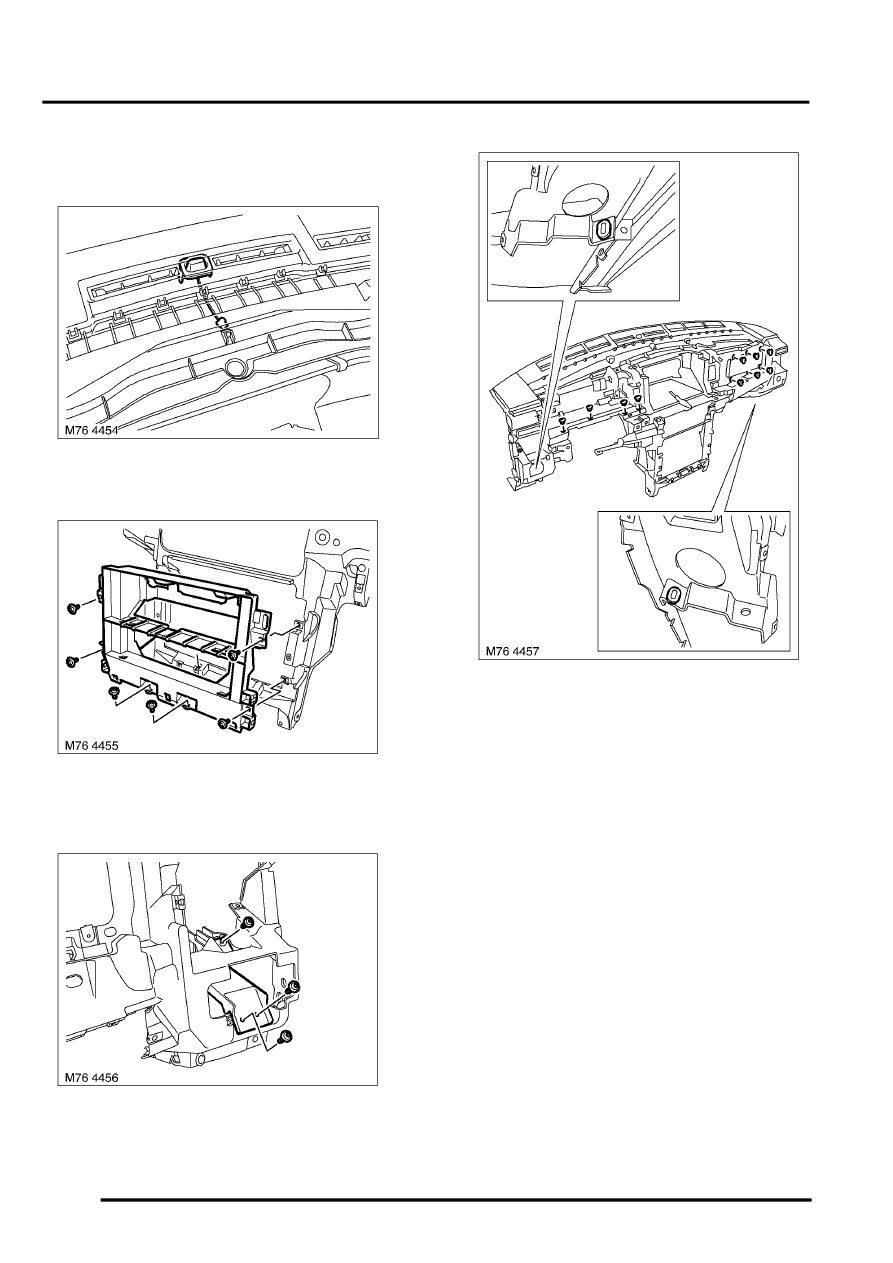
23. Remove 6 Torx screws securing heater control
mounting and remove mounting.
24. Remove 3 Torx screws securing drink holder
bracket and remove bracket.
25. Remove 4 instrument lower finisher securing
sacks.
26. Remove 6 passenger airbag cover plastic
retaining nuts.
27. Remove 2 side finisher retaining sacks.
28. Remove 64 speed nuts from fascia carrier.
Refit
1. Fit speed nuts to fascia carrier.
2. Fit side finisher retaining sacks.
3. Fit airbag cover retaining nuts.
4. Fit instrument finisher retaining sacks.
5. Fit drinks holder bracket and secure with
screws.
6. Fit heater control mounting and secure with
screws.
7. Fit solar sensor.
8. Fit face level vent ducts and secure with
screws.
9. Fit demister ducts and secure with screws.
10. Fit footwell duct and secure with screws.
11. With assistance, fit fascia carrier. Ensure
harness is routed correctly and carrier has
engaged with locations on bulkhead.
12. Fit and tighten screws securing fascia carrier.
13. Fit foam strips to carrier.