
L322 Range Rover Service Procedures
SCREENS
76-4-4
REPAIRS
12. From outside of vehicle, use a Kent knife and
carefully cut through sealant securing upper
and both sides of windscreen to body.
13. If necessary, use cutting wire to cut through any
remaining sealant securing top and sides of
windscreen.
14. From inside vehicle, carefully cut through
sealant securing lower edge of windscreen with
a glazing knife. It is not practical to use a Kent
knife as the windscreen is very close to body.
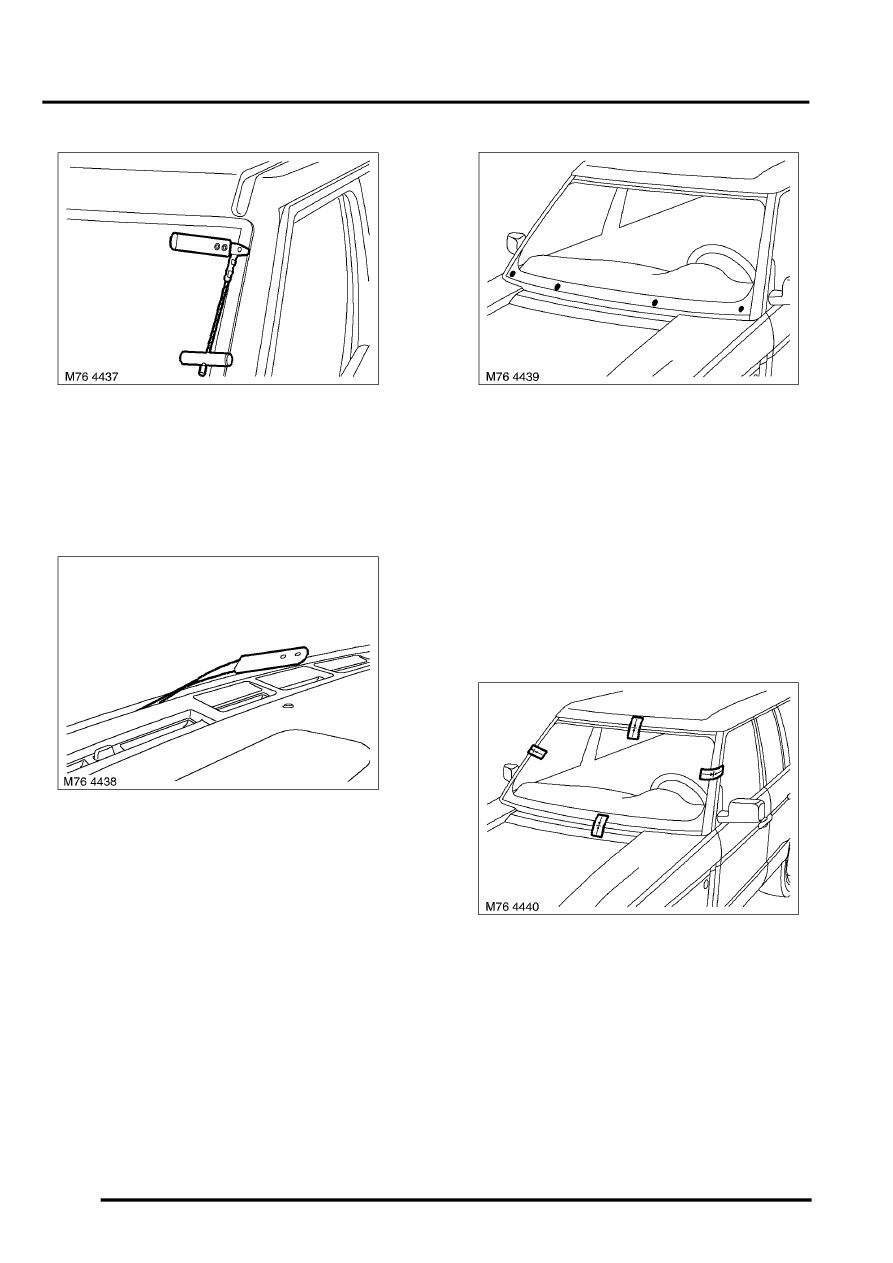
15. Attach suction cups and with assistance,
remove windscreen and place on stand.
CAUTION: Lay glass on felt covered
supports and be careful not to damage the
obscuration band. Do not stand on edge as
this can cause chips which subsequently
develop into cracks.
16. Remove 4 windscreen support blocks from
body.
Refit
1. Carefully remove sealant from body to leave a
smooth surface.
2. Original windscreen: Carefully cut back
sealant to obtain a smooth surface without
damage to obscuration band.
3. Fit upper finisher to windscreen.
4. Fit support blocks to body.
5. Fit windscreen to body and centralise in
aperture.
6. Use masking tape to establish reference marks
as an alignment aid.
7. Remove windscreen and place on stand.
8. Clean sealant face on body and windscreen
with solvent.
9. Apply etch primer to any bare metal on body.
10. Apply primer over etch primer.
11. Apply screen primer to sealant face on
windscreen and allow to cure.
12. Apply activator over old sealant on body and
allow to cure.