
LR3/Disco 3
Rear Shock Absorber and Air Spring Assembly (64.21.01.99)
Removal
NOTE:
Only the air spring being removed needs to be depressurised.
1 .
WARNING: Do not work on or under a vehicle supported only by a jack. Always support the
vehicle on safety stands.
Raise and support the vehicle.
2 .
Remove the wheel and tire.
3 .
Using T4, depressurize the air suspension. For additional information, refer to
Air Suspension
System Depressurize and Pressurize (60.50.38)
(Section 204-05)
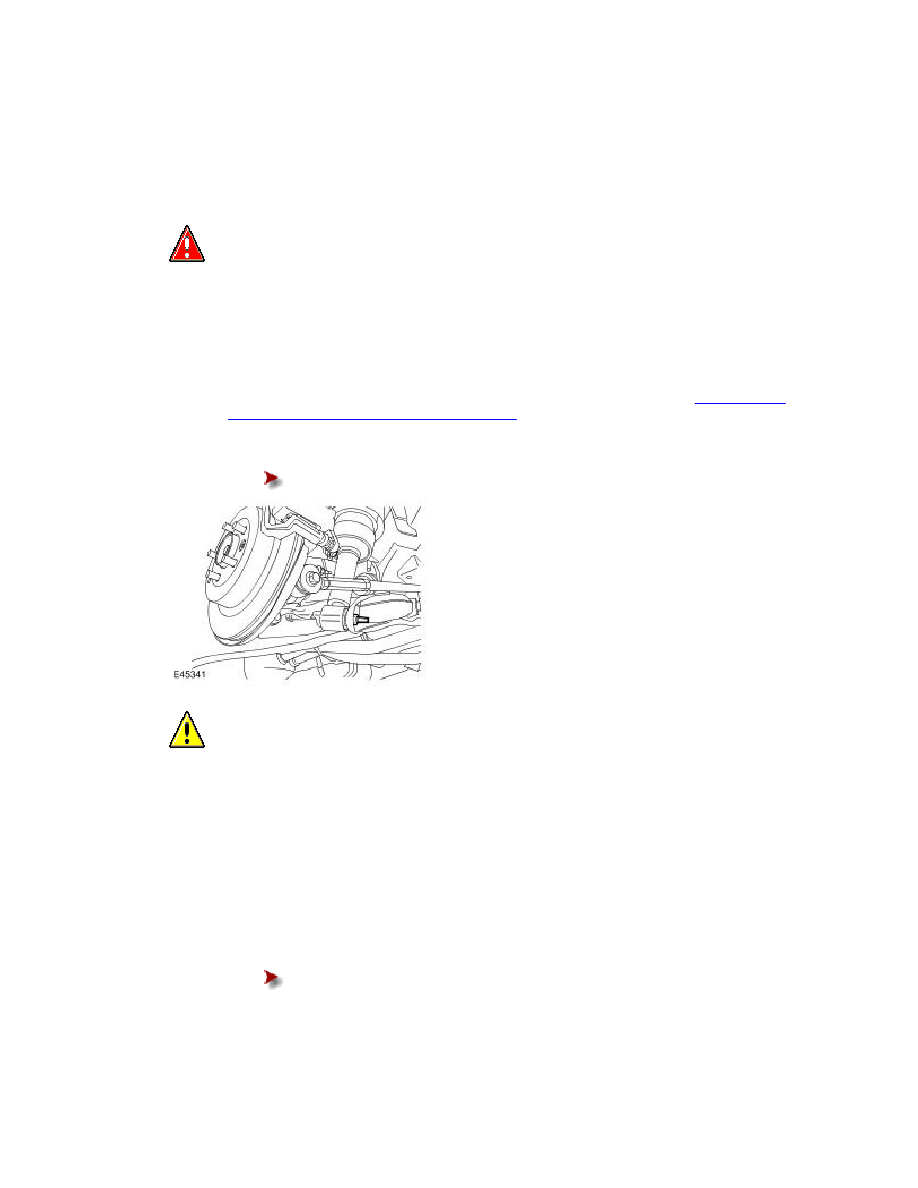
4 .
Disconnect the shock absorber and air spring assembly from the lower arm.
Remove the nut and bolt.
5 .
CAUTION: Always plug any open connections to prevent contamination.
Disconnect the air line.
6 .
Using a trolley jack, support the shock absorber and air spring assembly.
7 .
Remove the three shock absorber and air spring retaining nuts.
8 .
Remove the shock absorber and air spring assembly.
9 .
Remove the Voss connector from the air line.
Remove and discard the collet and the union.