
LR3/Disco 3
Installation
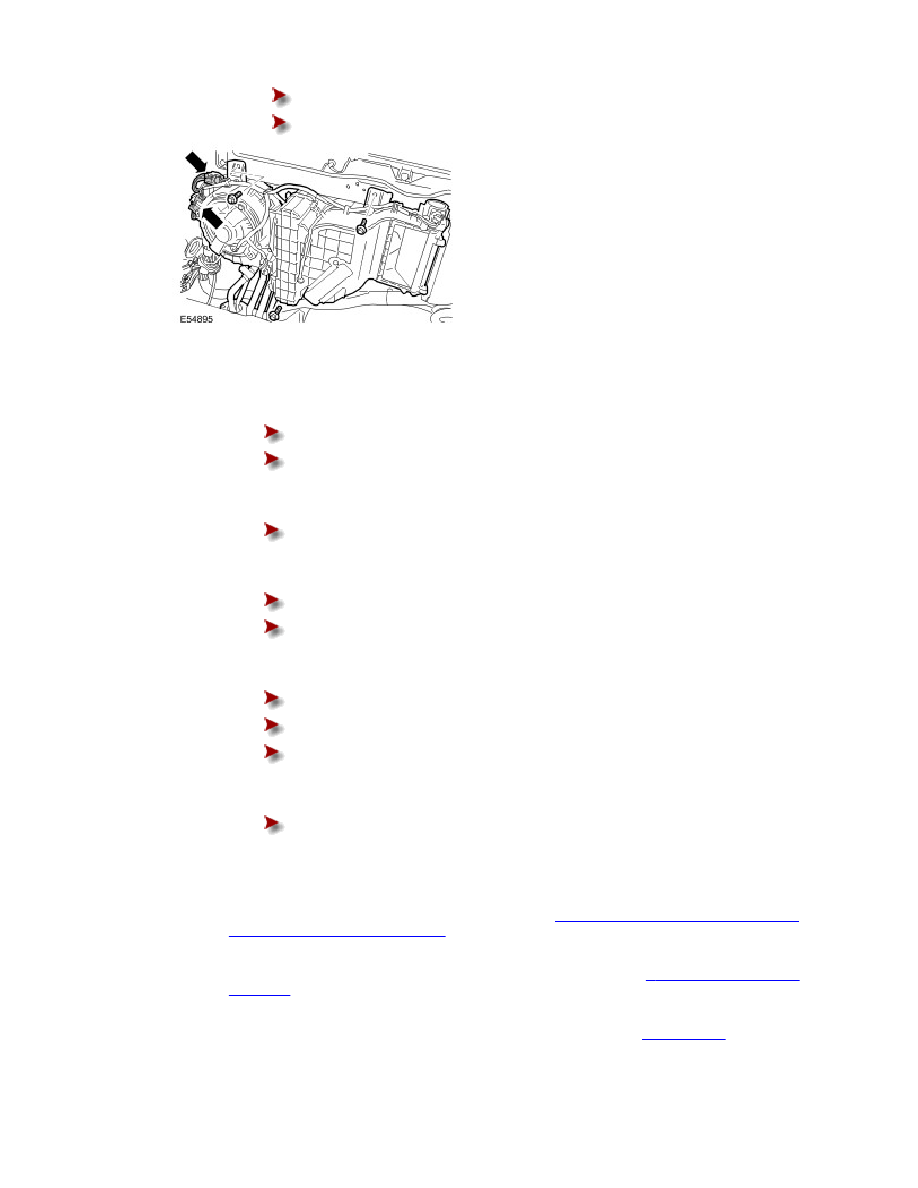
Disconnect the 2 electrical connectors.
Remove the 3 bolts.
1 .
Install the climate control assembly.
Tighten the bolts to 10 Nm (7 lb.ft).
Connect and secure the electrical connectors.
2 .
Install the sealing plate.
Tighten the bolts to 10 Nm (7 lb.ft).
3 .
Connect and secure the coolant hoses.
Secure the clips.
Remove the hose clamps.
4 .
Connect the A/C pipes.
Clean the component mating faces.
Install the O-ring seals.
Tighten the 2 bolts to 10 Nm (7 lb.ft).
5 .
Install the heat shield.
Tighten the 4 nuts.
6 .
Secure the exhaust mountings.
7 .
Fill the A/C system. For additional information, refer to
Air Conditioning (A/C) System Recovery,
Evacuation and Charging (82.30.02)
(Section 412-00)
8 .
Install the C-pillar lower trim panel. For additional information, refer to
C-Pillar Lower Trim Panel
(76.13.34)
(Section 501-05)
9 .
Connect the battery ground cable. For additional information, refer to
Specifications
(Section 414-00)
10 .
Install the spare wheel and tire.