
LR3/Disco 3
Windshield Glass (76.81.01)
Removal
NOTE :
Published : Apr 29, 2004
CAUTION: Always protect paintwork and glass when removing exterior components.
CAUTION: Always protect the interior components when removing body glass.
CAUTION: Lay the glass on felt covered supports. Do not stand on edge as this can cause chips which
subsequently develop into cracks.
The following equipment is required: l Cutting wire and handles l Kent knife l Glazing knife l Windshield
replacement kit l Sealant applicator gun l Suction cups l A felt covered table or stand to support glass
1 .
Remove the plenum chamber panel. For additional information, refer to
Plenum Chamber (80.15.62)
(Section 412-01)
2 .
Remove both A-pillar upper trim panels. For additional information, refer to
A-Pillar Trim Panel
(76.13.26)
(Section 501-05)
3 .
Remove the rain sensor. For additional information, refer to
Rain Sensor (84.12.11)
(Section 501-16)
4 .
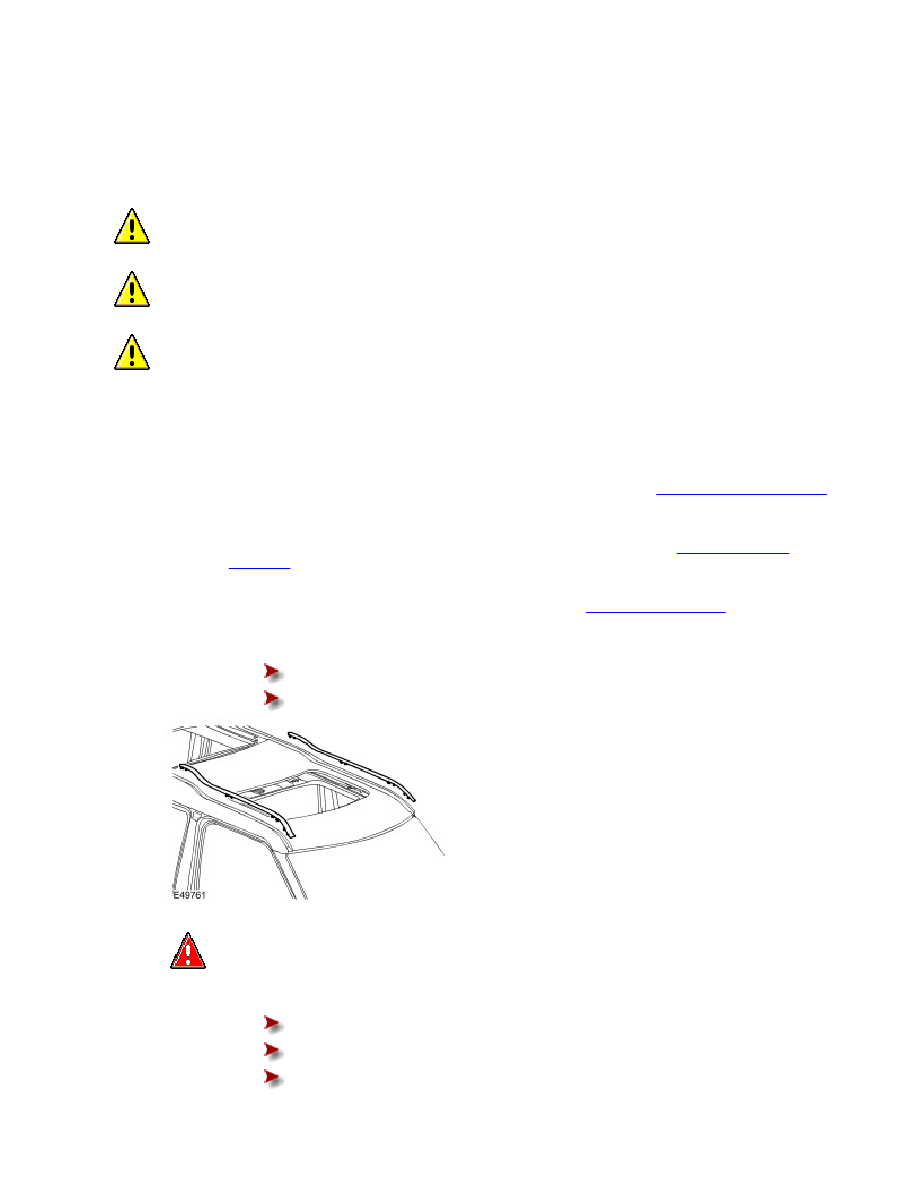
Remove the roof moulding.
Release the 6 clips.
Repeat the above procedure for the other side.
5 .
WARNING: Eye protection must be worn.
With assistance, remove the windshield glass.
If installed, disconnect the 4 electrical connectors.
Carefully cut through the sealant using a glazing knife or cutting wire.
Attach the suction cups.