Range Rover P38

PANEL REPAIRS
9
REPAIR
OUTER REAR QUARTER PANEL
Remove
1. Disconnect both battery leads, negative lead
first.
2. Raise rear of vehicle.
WARNING: Support on safety stands.
3. Disconnect all ECUs.
4. Disconnect airbags and sensor system.
5. Disconnect alternator.
6. Remove tailgate - lower.
See CHASSIS AND
BODY, Repair.
7. Remove parcel tray support.
See CHASSIS
AND BODY, Repair.
8. Remove parcel tray support trim.
See CHASSIS
AND BODY, Repair.
9. Remove ’E’ post - exterior trim.
See CHASSIS
AND BODY, Repair.
10. Remove ’D’ and ’E’ post trims.
See CHASSIS
AND BODY, Repair.
11. Remove wheel arch liner - rear.
See CHASSIS
AND BODY, Repair.
12. Remove rear quarter light.
See CHASSIS AND
BODY, Repair.
13. Remove quarter panel rubbing strips.
See
CHASSIS AND BODY, Repair.
14. Remove rear bumper valance.
See CHASSIS
AND BODY, Repair.
15. Remove rear seat belt - left hand or right hand.
See CHASSIS AND BODY, Repair. See
CHASSIS AND BODY, Repair.
16. Remove sunroof drain tube - rear.
See
CHASSIS AND BODY, Repair.
Refit
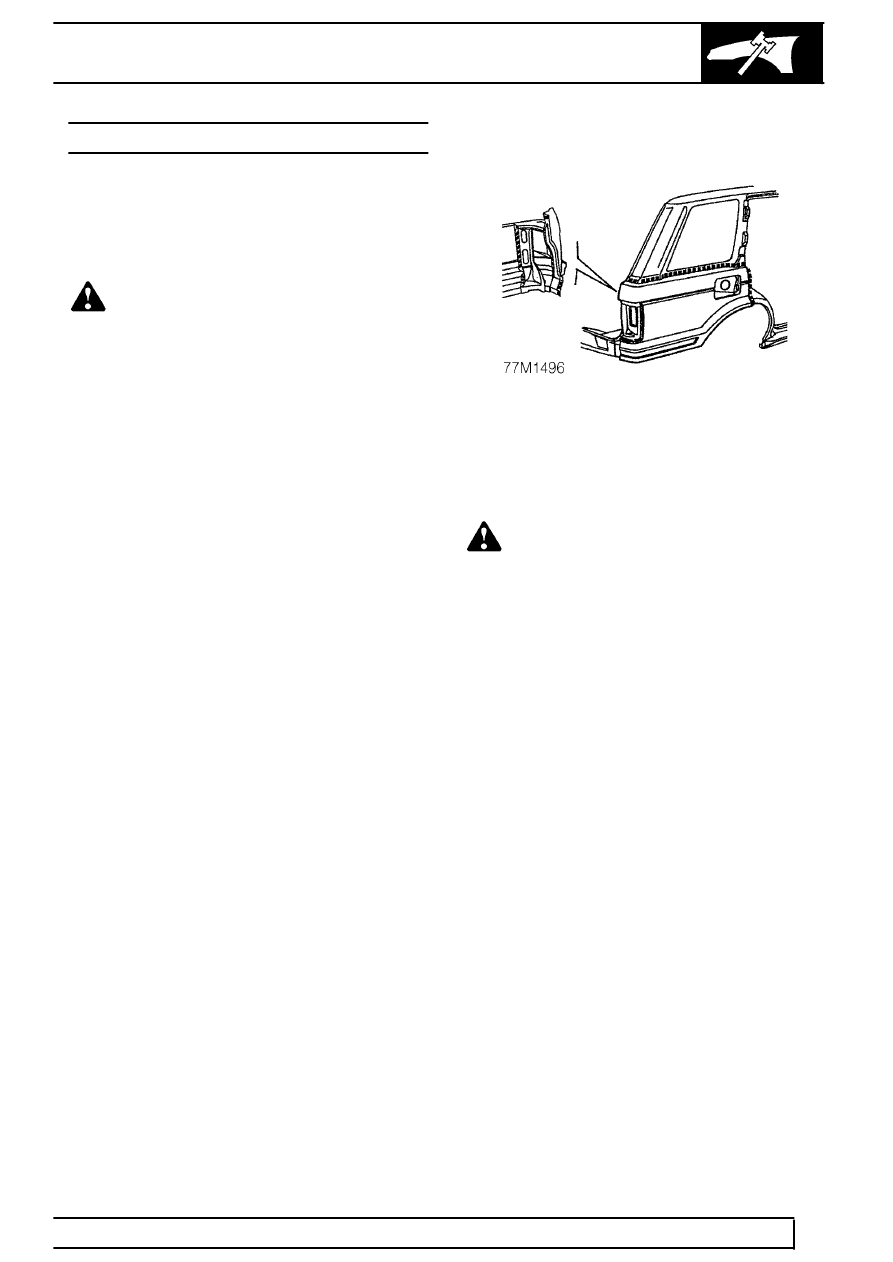
17. Prepare and clean panel joint faces. Punch or
drill holes in new panel for plug welding as
shown. Apply structural adhesive at joint to outer
wheel arch.
See Corrosion protection.
WARNING: Remove ALL traces of
adhesive from joint to lower panel before
plug welding.
18. Reverse removal procedure.
19. Remove stands and lower vehicle.
