
Range Rover Classic
68
AIR SUSPENSION
10
REPAIR
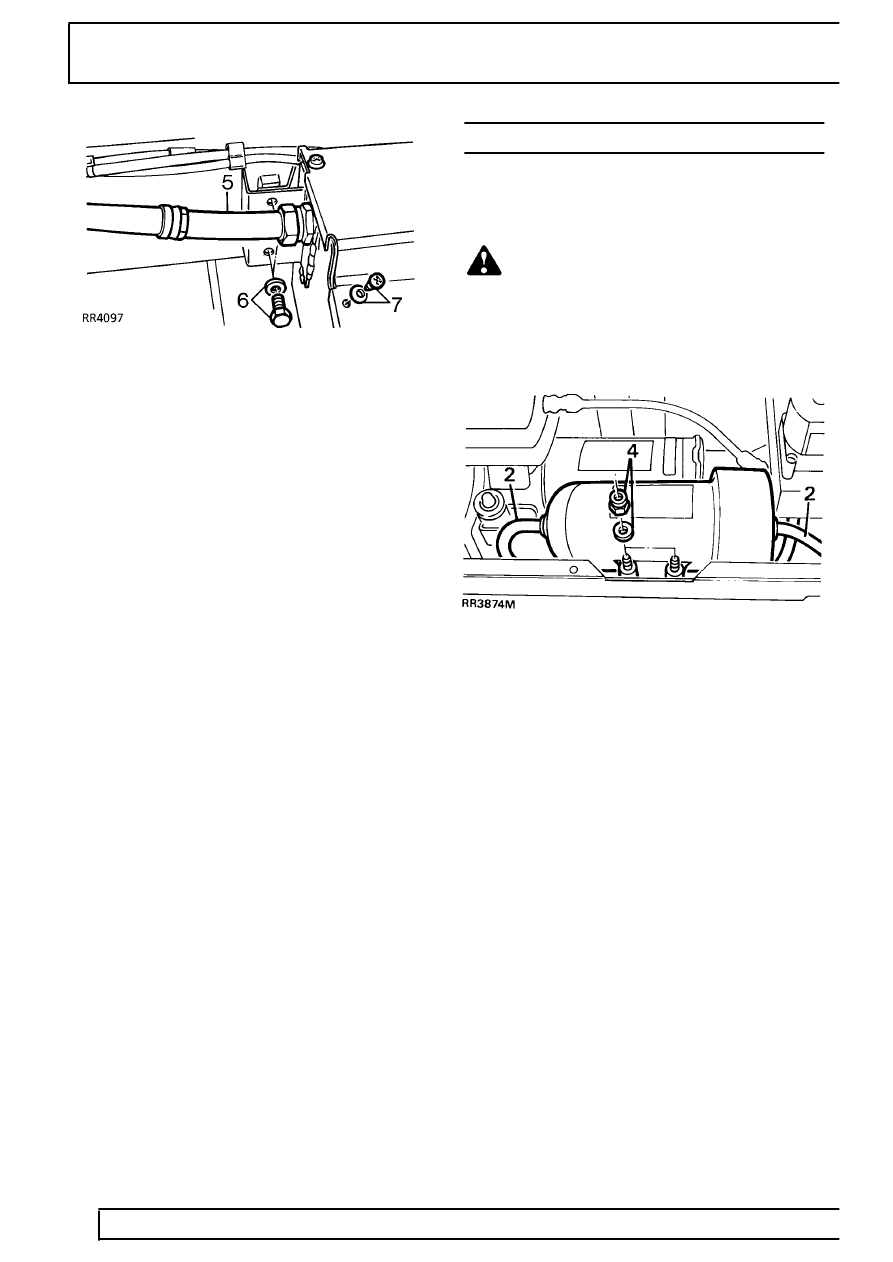
8. Clean all components. Identify air pipe
connections.
9. Disconnect air pipe connections.
See
Disconnect/Connect Air Pipe
Seal all exposed ends Disconnect remaining
multiplug.
10. Remove air pipes and wiring harness from
assembly.
11. Remove air supply unit from vehicle.
Refit
12. Reverse removal procedure. Tighten mounting
bolts to
24Nm.
13. Leak test all disturbed connections.
See
Adjustment, Leak Test Procedure
AIR DRIER
Service repair no - 60.50.09
Remove
WARNING: Air suspension is pressurised
up to 10 bar. Dirt or grease must not enter
the system. Wear hand, ear and eye safety
standard protection when servicing system.
1. Remove air supply unit.
See Air Supply Unit
2. Disconnect two air pipes from air drier.
See
Disconnect/Connect Air Pipe
3. Seal drier connections to prevent moisture
intake.
4. Remove fixings.
5. Remove drier.
Refit
6. Inspect air pipes. If damaged fit new pipes. DO
NOT ATTEMPT TO TRIM DRIER PIPES.
7. Reverse removal procedure. Tighten nuts to
12Nm.
8. Leak test connections.
See Adjustment, Leak
Test Procedure