
3 L4-2.5L (2010)
8. Install the oil pan before the applied sealant starts to harden.
Tightening torque
-
6-8 Nm {62-81 kgf-cm, 54-70 in-lbf}
9. Add ATF. See: Service and Repair/Procedures
10. Install the aerodynamic under cover NO.2. See: Body and Frame/Splash Guard/Service and Repair/Aerodynamic Under Cover No.2
Removal/Installation
11. Connect the negative battery cable.
12. Install the battery cover. See: Starting and Charging/Battery/Service and Repair/Removal and Replacement
13. Perform the "Mechanical System Test". See: Transmission Control Systems/Testing and Inspection/Initial Inspection and Diagnostic
Overview/Mechanical System Test [FS5A-EL]
14. Perform the "Road Test". See: Transmission Control Systems/Testing and Inspection/Initial Inspection and Diagnostic Overview/Road Test
[FS5A-EL]
Secondary Control Valve Body On-Vehicle Removal
WARNING:
-
A hot transaxle and ATF can cause severe burns. Turn off the engine and wait until they are cool.
-
Using compressed air can cause dirt and other particles to fly out, causing injury to the eyes. Wear protective eyeglasses whenever using
compressed air.
1. Remove the battery cover. See: Starting and Charging/Battery/Service and Repair/Removal and Replacement
2. Disconnect the negative battery cable.
3. Remove the battery component (ex: battery, battery tray and PCM component). See: Starting and Charging/Battery/Service and Repair/Removal
and Replacement
4. Remove the aerodynamic under cover NO.2. See: Body and Frame/Splash Guard/Service and Repair/Aerodynamic Under Cover No.2
Removal/Installation
5. Clean the transaxle exterior throughout with a steam cleaner or cleaning solvents.
6. Drain the ATF. See: Service and Repair/Procedures
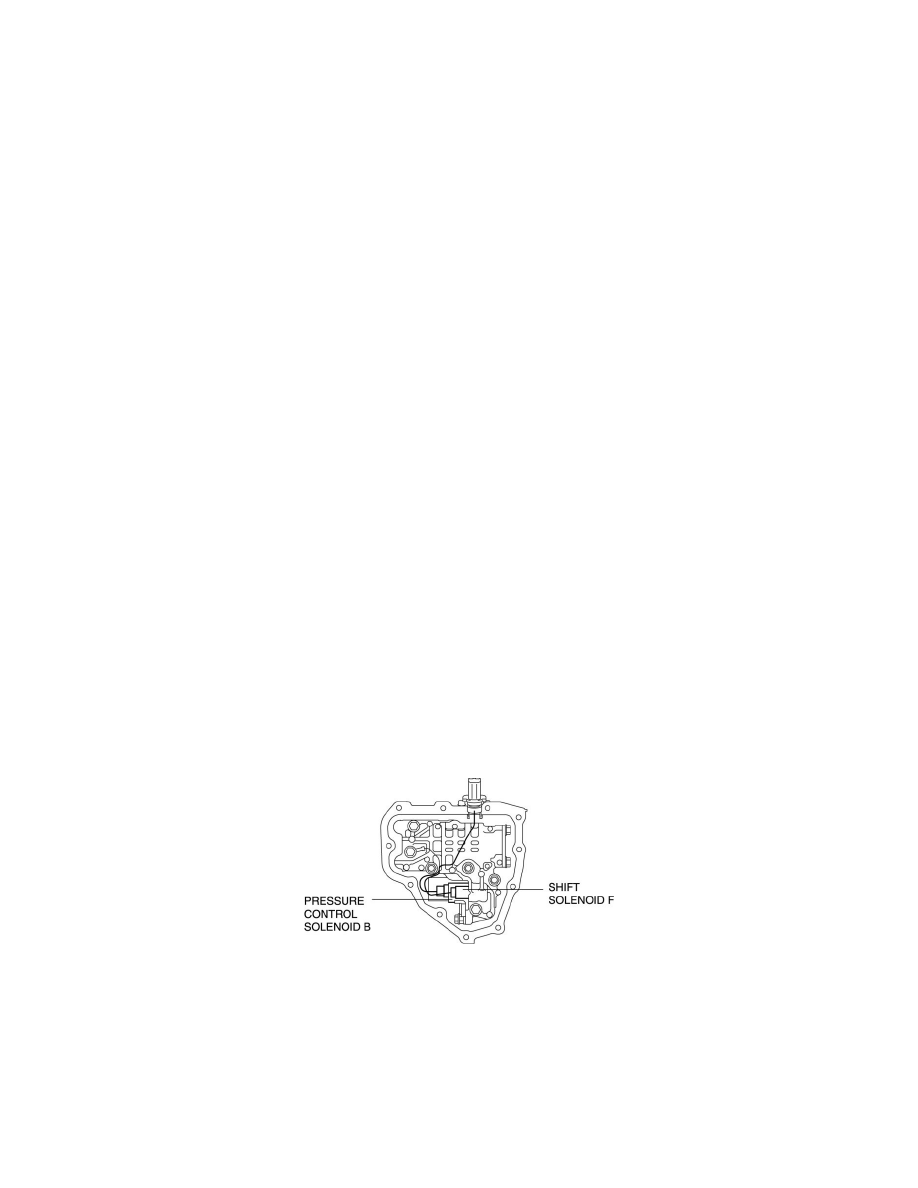
7. Disconnect each solenoid valve connector.
8. Remove the bolts and GND as shown, then remove the secondary control valve body.