626 L4-1998 cc 2.0L SOHC Turbo FE (1986)

8)
Tape the short-circuited coupler to the vehicle's harness.
NOTE:
Be sure harness does not interfere with surrounding parts.
9)
Reconnect the control box connector.
b)
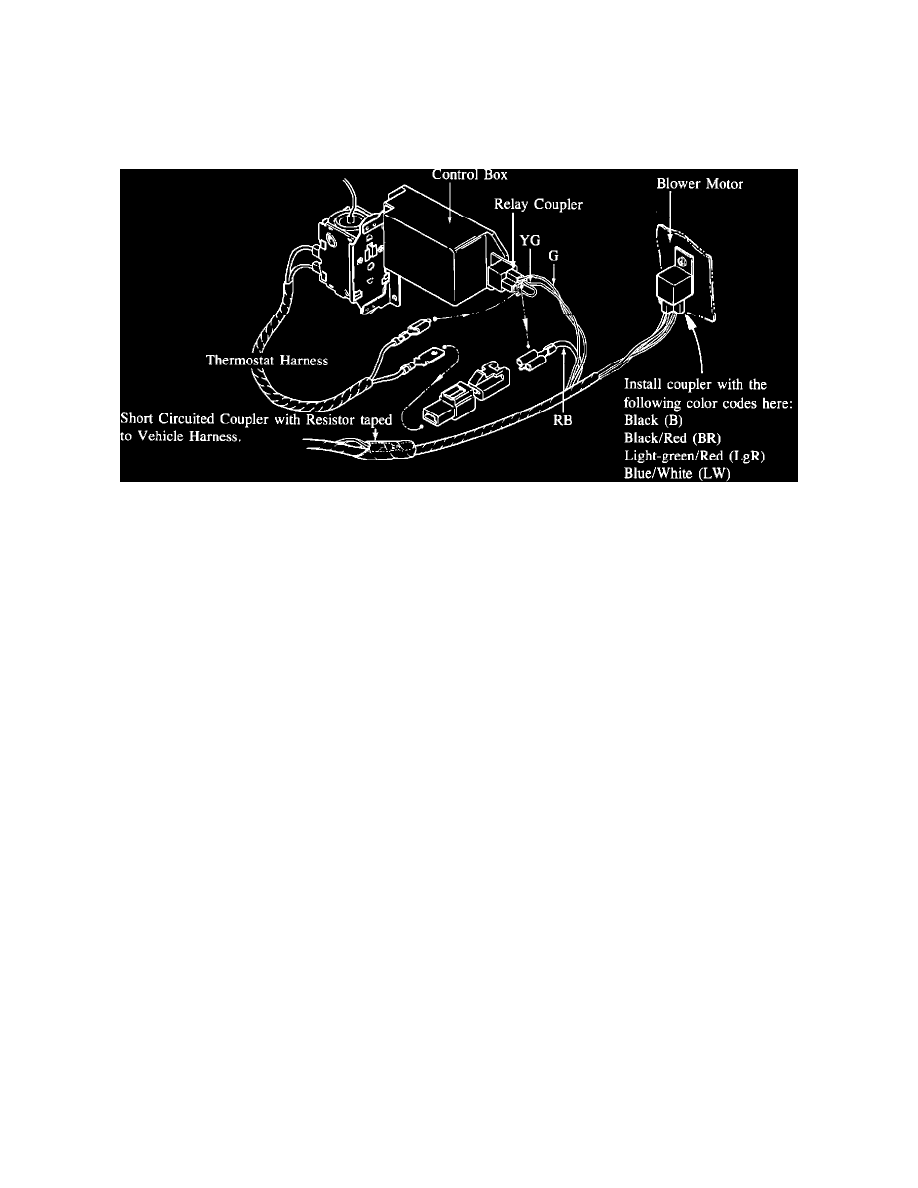
If the vehicle is a 1987 ATX, perform the following procedure. (See illustration next page)
1)
Disconnect the relay coupler consisting of the following wires:
Red/Black (RB) Yellow/Green (YG) Green (G)
NOTE:
This relay coupler may be located on a relay which is installed onto the blower motor. If so, remove this coupler and install the
coupler which is located next to the control box. (See illustration next page).
2)
Release the Red/Black (RB) wire terminal from the relay coupler.
3)
Connect the RB wire to thermostat harness using the single pin couplers supplied.
4)
Insert the female terminal of the thermostat harness into the relay coupler.
NOTE:
Be sure that the female terminal is positioned into the center opening on relay coupler.
5)
Reconnect the coupler to the relay.
6)
Connect the harness to the thermostat, (2) couplers.
7)
Connect the short-circuited coupler to the thermistor connector on vehicle harness.
8)
Tape the short-circuited coupler to the vehicle harness.
NOTE:
Be sure harness does not interfere with surrounding parts.
9)
Reconnect the control box connector.
20.
Secure harness to bottom of evaporator case using clip.
21.
Operate the vehicle and verify that the air conditioning system is operating properly.
22.
Reinstall the liner, glove box and the under-dash cover.
WARRANTY INFORMATION
