
B3000 SE Regular Cab 4WD V6-3.0L OHV (1998)
Front Crankshaft Seal: Service and Repair
CRANKSHAFT FRONT OIL SEAL REPLACEMENT
1. Disconnect the battery ground cable.
2. Remove the air cleaner outlet tube; refer to AIR CLEANER OUTLET TUBE REMOVAL/INSTALLATION.
3. Remove the fan blade and the fan shroud; refer to COOLING FAN AND CLUTCH REMOVAL/INSTALLATION.
4. Remove the drive belt.
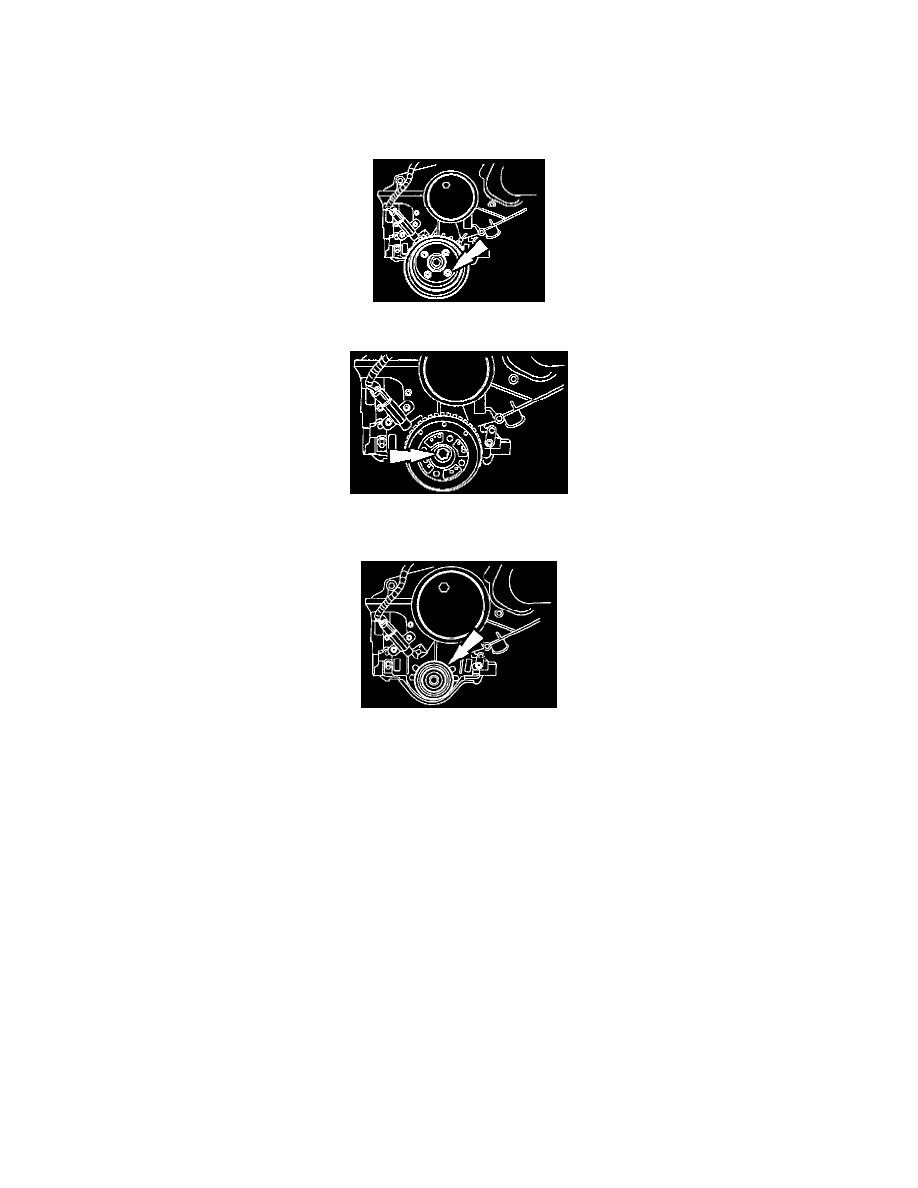
5. Remove the crankshaft pulley.
6. Remove the bolt and the washer.
7. Remove the crankshaft damper using crankshaft damper remover T58P-6316-D or equivalent.
8. Remove the crankshaft key, if required.
9. Remove the crankshaft from seal.
10. Install in the reverse order of removal by taking care of the following note.
Front Oil Seal Installation Note
1. Install the crankshaft front seal.
1) Lubricate the seal lip with clean engine oil.
2) Using the Vibration Damper and Seal Replacer and the Front Cover Seal Replacer T70P-6B070A or equivalent, install the crankshaft front
seal.
Crankshaft Damper Installation Note
1. Using a Crankshaft Vibration Damper and Seal Replacer T82L-631 6A or equivalent, install the crankshaft damper.
1) Coat the sealing surfaces of the crankshaft damper with the clean engine oil.
2) Coat the crankshaft damper keyway with silicone sealant.
3) Install the crankshaft damper.
Tightening torque: 125 - 165 Nm (93 - 121 inch lbs.)
2. Install the crankshaft pulley.