
B3000 SE Regular Cab 4WD V6-3.0L OHV (1998)
Pinion Gear: Service and Repair
Limited Slip Differential
REAR DRIVE PINION (LIMITED SLIP) REMOVAL / INSTALLATION
REMOVAL NOTE
1. Remove the differential case.
2. Mark the driveshaft flange and the driveshaft rear axle companion flange for correct alignment during installation.
3. Remove the four rear driveshaft bolts and disconnect the rear driveshaft.
4. Install a Nm (inch lbs.) torque wrench on the pinion nut and record the torque required to maintain rotation of the pinion through several
revolutions.
5. Remove the rear axle companion flange and pinion nut.
6. Using a soft-faced hammer, drive the pinion assembly out of the front bearing cone and remove it through the rear of the housing.
7. Remove the rear axle drive pinion seal.
8. Remove the rear axle drive pinion shaft oil slinger.
NOTE: Remove the collapsible spacer and discard it.
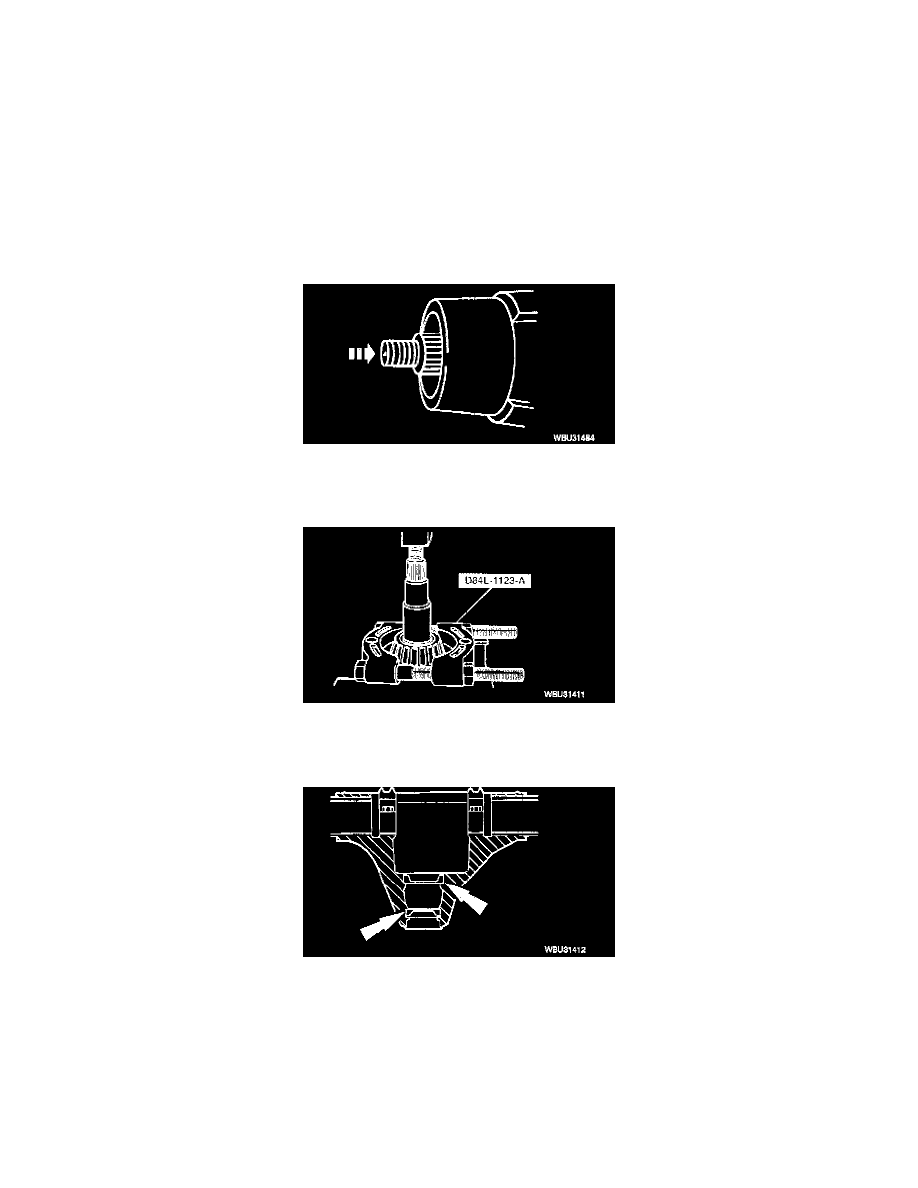
9. Use the Bearing Pulling Attachment to remove the pinion bearing.
NOTE: Do not remove the pinion bearing cups from the carrier casting unless the cups are damaged.
10. If the pinion bearing cups are to be replaced, tap alternately (with a brass drift of suitable length) on opposite sides of the cup during removal to
the prevent the cup from cocking in the casting.
INSTALLATION NOTE