
B3000 SE Regular Cab 4WD V6-3.0L OHV (1998)
-
Use axle lubricant meeting specification API Service GL-5.
CAUTION: The companion flange must never be hammered on or installed with power tools.
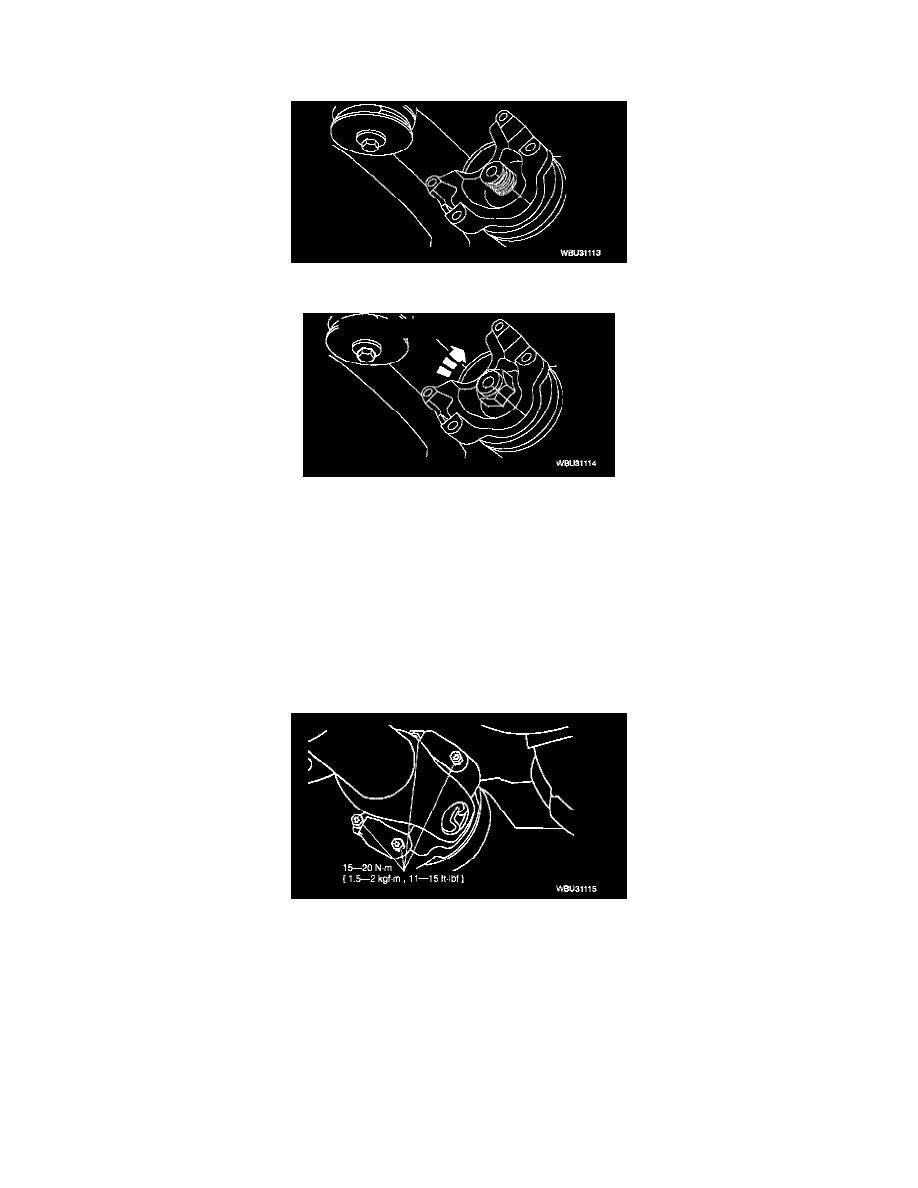
2. Align the index marks and position the companion flange.
3. Apply a small amount of lubricant to the washer side of the new pinion nut and install hand-tight.
CAUTION: Never back off the pinion nut to reduce preload. If reduced preload is required, install a new collapsible spacer and pinion nut.
NOTE: Pinion bearing preload is set by tightening the pinion nut.
4. Use the SST 49 S1 20 710 to hold the companion flange while tightening the pinion nut and set the preload.
1) Tighten the pinion nut, rotating the pinion occasionally to ensure the differential pinion bearings are seating properly. Take frequent
differential pinion bearing preload readings until the desired reading is obtained by rotating the pinion with a Nm (inch/pound) torque wrench.
2) If the original recorded preload is lower than specification, tighten to specification. If the original recorded preload is higher than specification,
tighten to the original reading as recorded.
5. Align the index marks and position the front propeller shaft.
6. Install the universal joint spider retainers and bolts.
7. Check the fluid level and fill the axle to specification.
1) Use axle lubricant meeting specification API Service GL-5.
8. Lower the vehicle.