
Sable V6-183 3.0L DOHC VIN S MFI (1997)
Snap Ring
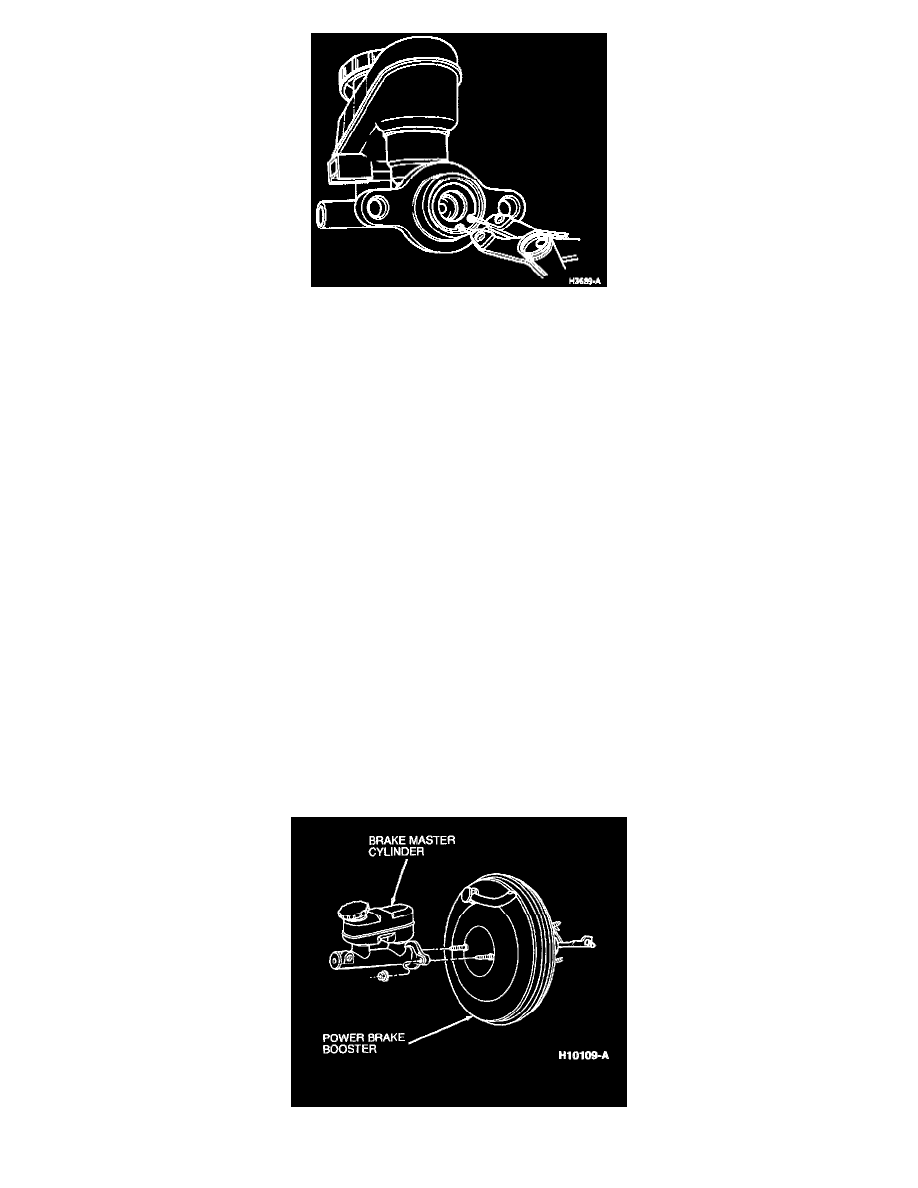
5. Depress primary piston and remove snap ring from retaining groove at open end of bore.
WARNING: USE ONLY AS MUCH COMPRESSED AIR AS NECESSARY TO REMOVE THE PISTON. EXCESSIVE PRESSURE
CAN FORCE THE PISTON OUT OF THE BORE WITH ENOUGH FORCE TO CAUSE PERSONAL INJURY. NEVER ATTEMPT
TO CATCH THE PISTON BY HAND AS IT COMES OUT OF THE BORE.
6. Tap open end of brake master cylinder on bench to remove primary and secondary pistons. If secondary piston does not readily come out, carefully
apply air pressure to secondary outlet port to assist removal.
ASSEMBLY
1. Dip replacement piston assemblies in clean DOT-3 motor vehicle brake fluid for lubrication prior to assembly into cylinder.
2. Install secondary piston (smaller) assembly into bore, spring end first.
3. Install primary piston assembly, spring end first.
4. Depress primary piston and install snap ring.
5. Install brake master cylinder filler cap on brake master cylinder reservoir and secure.
INSTALLATION
1. Position brake master cylinder on studs on power brake booster assembly.
2. Install retaining nuts. Tighten to 26-39 Nm (20-28 ft.lbs).
3. Connect cowl top inner panel tube to cowl.
4. Install nut retaining cowl top inner panel tube to brake master cylinder and tighten to 21-29 Nm (16-21 ft.lbs).
5. Install primary and secondary brake tubes to brake master cylinder outlet ports. Tighten to 16-20 Nm (12-14 ft.lbs).
6. Connect brake fluid level warning switch connector.
7. Fill brake master cylinder reservoir with specified brake fluid to MAX line with High Performance DOT-3 Motor Vehicle Brake Fluid.
8. Bleed brake system.
Removal and Installation
REMOVAL