Sable V6-183 3.0L DOHC VIN S MFI (1997)

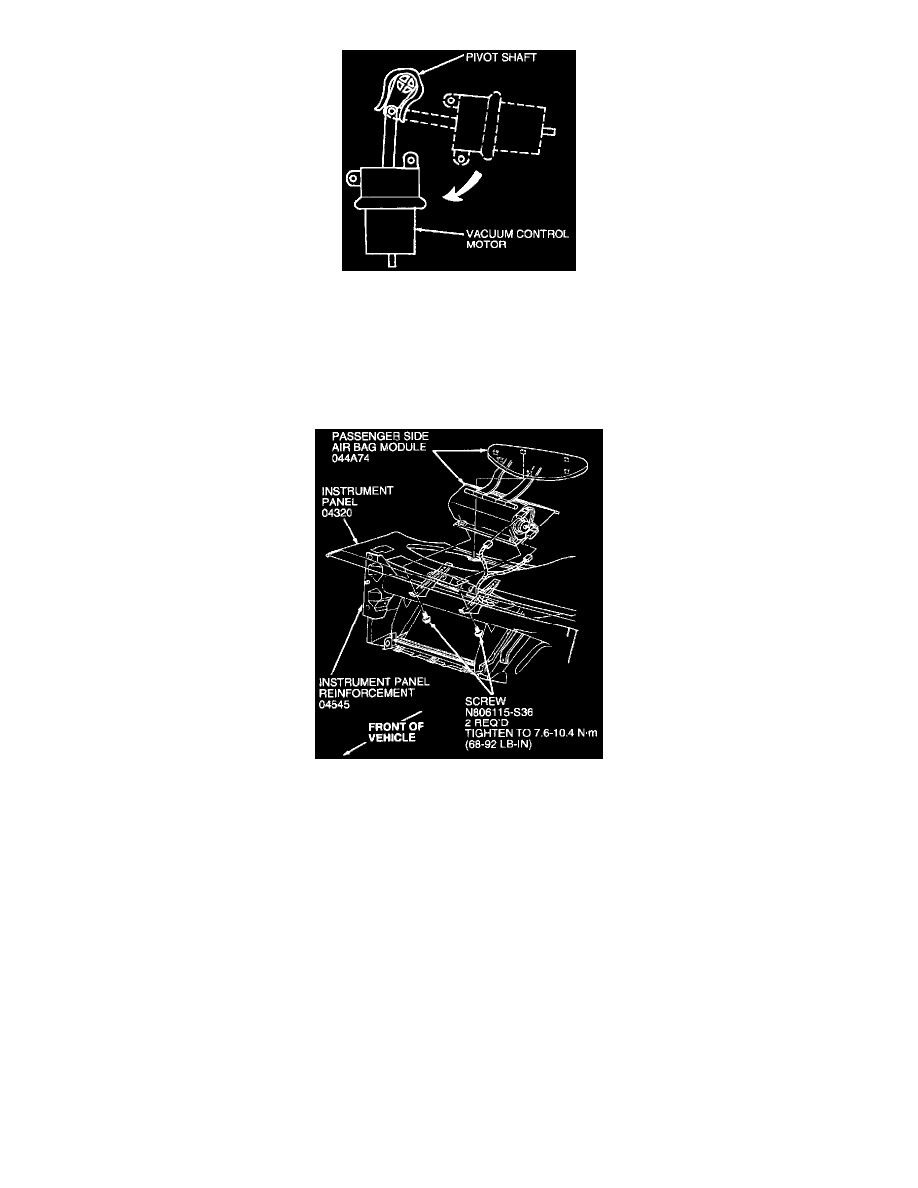
4. NOTE: Do not attempt to bend any part of the pivot shaft; it is brittle and will break.
Rotate vacuum control motor and disengage arm from pivot shaft.
INSTALLATION
1. Follow removal procedure in reverse order.
Windshield Defroster Door
REMOVAL
WARNING: THE ELECTRICAL CIRCUIT NECESSARY FOR SYSTEM DEPLOYMENT IS POWERED DIRECTLY FROM THE
BATTERY. TO AVOID ACCIDENTAL DEPLOYMENT AND POSSIBLE PERSONAL INJURY, THE NEGATIVE BATTERY CABLE
MUST BE DISCONNECTED PRIOR TO SERVICING OR REPLACING ANY SYSTEM COMPONENTS.
1. Disconnect battery ground cable.
2. Wait one minute for back-up power supply energy to be depleted.
3. NOTE: The passenger side air bag module trim cover is retained by snap-in tabs.
Remove passenger side air bag module trim cover from instrument panel.
4. Open glove compartment, release door cable, press sides inward and lower glove compartment to floor.
5. Through glove compartment opening, remove two passenger air bag module retaining screws.
6. WARNING: PLACE AIR BAG MODULE ON BENCH WITH TRIM COVER FACING UP TO AVOID POSSIBLE PERSONAL
INJURY.
Disconnect two electrical connectors and remove passenger side air bag module.
7. Remove two screws retaining windshield defroster door vacuum control motor to heater air plenum chamber.
