Sable V6-183 3.0L DOHC VIN S MFI (1997)

Part 2 Of 2
NOTE:
^
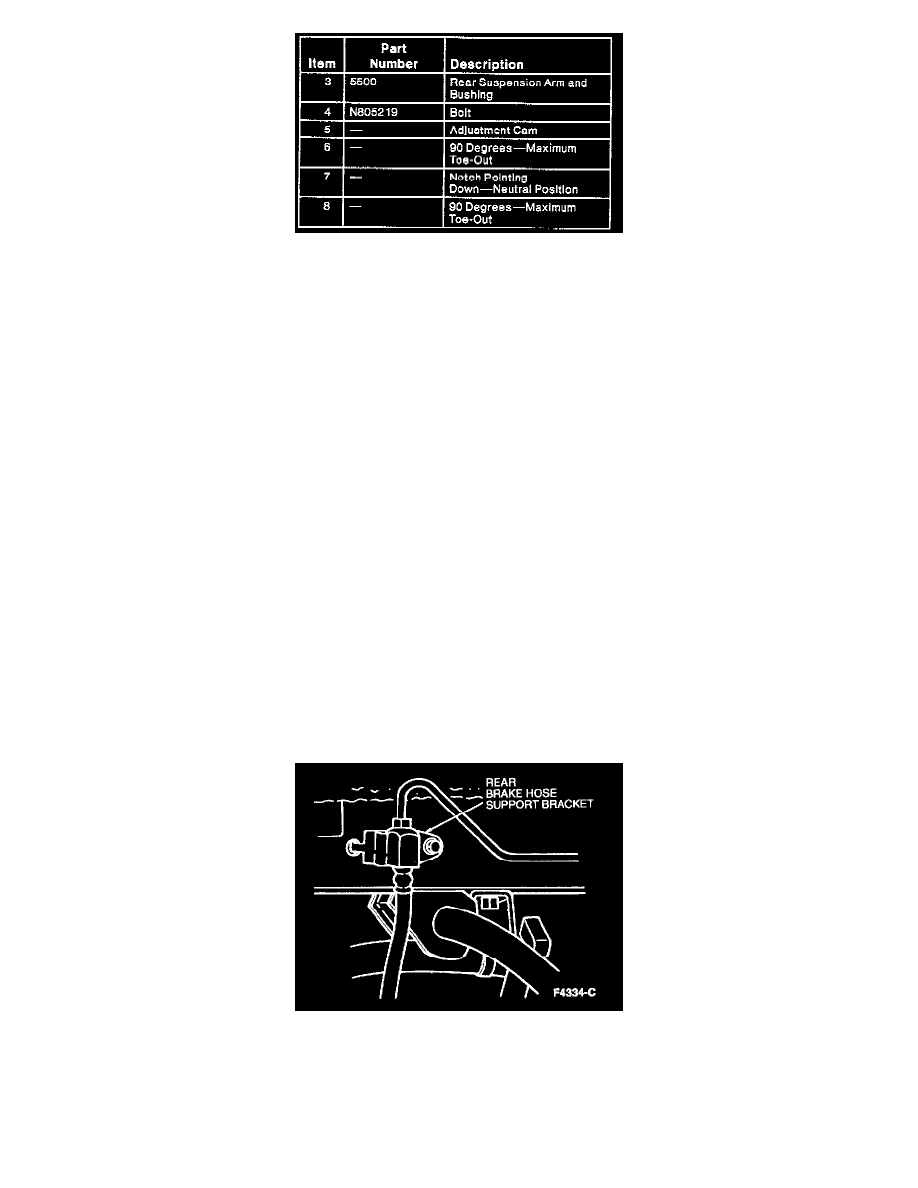
When installing new rear suspension arm and bushings, the offset on all rear suspension arm and bushings must face up. (The rear suspension
arm and bushings are stamped "bottom" on the lower edge.) The flange edge of the right side rear suspension arm and bushing stamping must
face the front of the vehicle. The other three must face the rear of the vehicle.
^
The rear suspension arms have two adjustment cams that fit inside the bushings at the arm-to-body attachment. Each adjustment cam is
installed from the front on the rear suspension arm and bushing.
2. Move rear suspension arm and bushing up to rear wheel spindle and insert new bolt, washer and nut. Tighten nut to 68-92 Nm (50-67 ft. lbs.).
3. Tighten arm-to-body nut to 68-92 Nm (50-67 ft. lbs.).
4. Install parking brake rear cable and conduit to rear suspension arm and bushings.
5. Install brake load sensor proportioning valve to LH rear suspension arm and bushing.
6. Lower vehicle.
7. After rear suspension arm and bushing replacement, the alignment should be checked for rear toe and reset if required.
Upper
Removal
1. Raise vehicle on a hoist and place a jackstand under rear suspension arm and bushing to support it at normal position when at curb height.
2. Remove wheel and tire assembly.
3. Remove brake hose and bracket.
4. Remove and discard upper ball joint nut. Separate upper ball joint from rear wheel spindle.
5. Remove upper rear suspension arm-to-body nuts and bolts. Remove upper rear suspension arm and bushing.
Installation
1. Position upper rear suspension arm and bushing in vehicle.
2. Install upper rear suspension arm-to-body nuts and bolts. Do not tighten at this time.
3. Install upper ball joint into rear suspension arm and bushing. Install new upper ball joint nut. Tighten nut to 68 - 92 Nm (50 - 67 ft. lbs.).
4. Tighten upper rear suspension arm-to-body bolts to 98 - 132 Nm (73 - 97 ft. lbs.).
5. Install rear brake hose and bracket to body. Tighten to 12 - 15 Nm (106 - 132 inch lbs).
6. Install wheel and tire assembly. Tighten lug nuts to 114 - 142 Nm (85 - 104 ft. lbs.).
7. Remove jackstand and lower vehicle.
8. Check rear wheel alignment.
Lower
