
Sable V6-183 3.0L DOHC VIN S MFI (1997)
REMOVAL
1. Raise vehicle on a hoist.
NOTE: If a twin-post hoist is used, floor jacks must be placed under the lifting pads on the underbody forward of the tension strut body bracket.
Lower the rear hoist post out of the way.
2. Remove tire and wheel assembly.
3. Remove rear spring.
4. Remove rear wheel spindle.
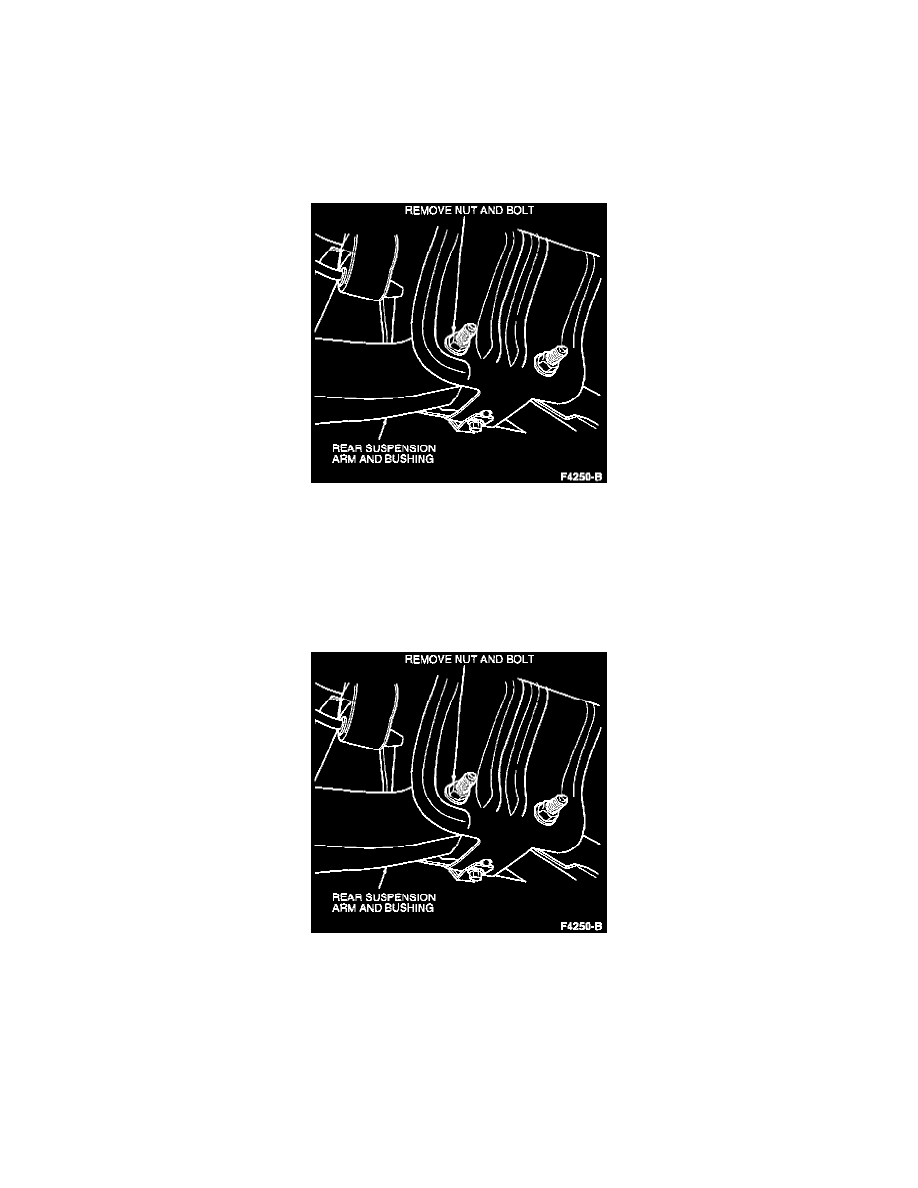
5. Remove and discard bolt and nut attaching lower rear suspension arm and bushing to center body bracket and remove rear suspension arm and
bushing.
INSTALLATION
1. Position lower rear suspension arm and bushing in center body bracket and install a new bolt and nut. Do not tighten at this time. Install this bolt
with bolt head toward front of vehicle.
2. Install rear spring.
3. Install rear wheel spindle.
4. Support rear suspension arm and bushing in normal position when at curb height. Tighten nut attaching arm to body bracket to 54 - 71 Nm (40 -
52 ft. lbs.).
5. Tighten nut retaining lower suspension arm to spindle to 68 - 92 Nm (50 - 67 ft. lbs.).
NOTE: After installation of rear suspension arm and bushing, it is necessary to check rear alignment.
6. Remove floor jacks and lower vehicle.