
3000GT V6-3.0L SOHC (1998)
<A> Tie Rod End Disconnection (3).
<B> Gear Box Assembly Removal (9).
1. Move the rack completely to the right and then remove the gear box from the crossmember.
2. While tilting the gear box downward, remove it to the left.
CAUTION: When removing the gear box, pull it out carefully and slowly to avoid damaging the boots.
INSTALLATION
Installation in reverse order as removal.
Installation Service Points
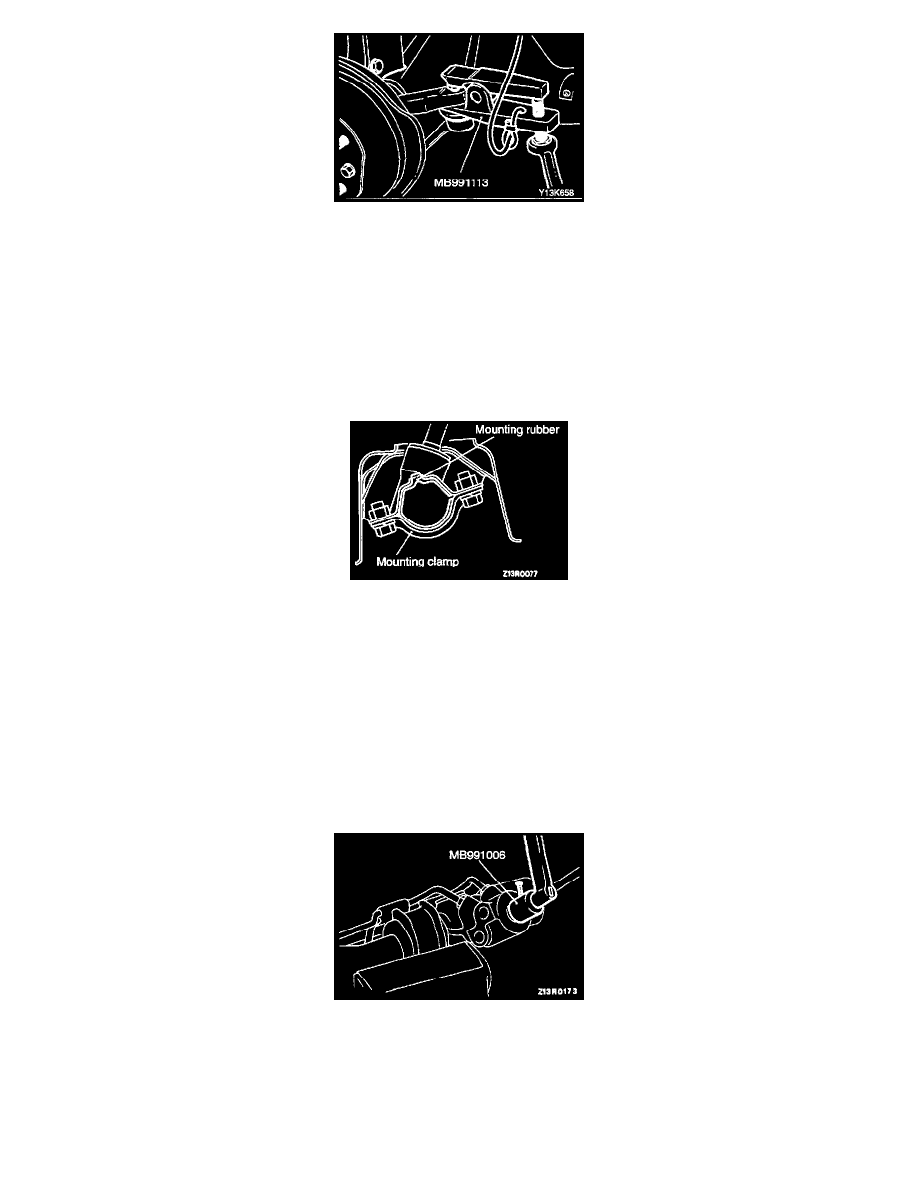
>A< Mounting Rubber/Gear Box Assembly Installation (9 & 10)
When installing the mounting rubber, align the projection of the mounting rubber with the indentation in the crossmember to install the gear box.
Post-installation Operation
1. Check the dust cover for cracks or damage by pushing it with finger.
2. Install transfer assembly.
3. Install the front exhaust pipe.
4. Power steering fluid supplying.
5. Power steering fluid line bleeding.
6. Steering wheel position with wheels straight ahead checking.
7. Front wheel alignment adjustment.
INSPECTION
Gear Box For Total Pinion Torque
Using the special tools, rotate the pinion gear at the rate of one rotation in approximately 4 to 6 seconds to check the total pinion torque.
Standard value: 0.6 - 1.3 Nm (5 - 11 inch lbs.)
NOTE: Measure the pinion torque through the whole stroke of the rack.