
3000GT SL V6-2972cc 3.0L DOHC MFI (1997)
9) Turn the set lever and fit it onto the fixing pin on lock cam A, then install the snap pin.
10) After the key interlock cable has been connected, check the shift lock and key interlock mechanism.
E. Key interlock cable connection (selector lever assembly side). (2)
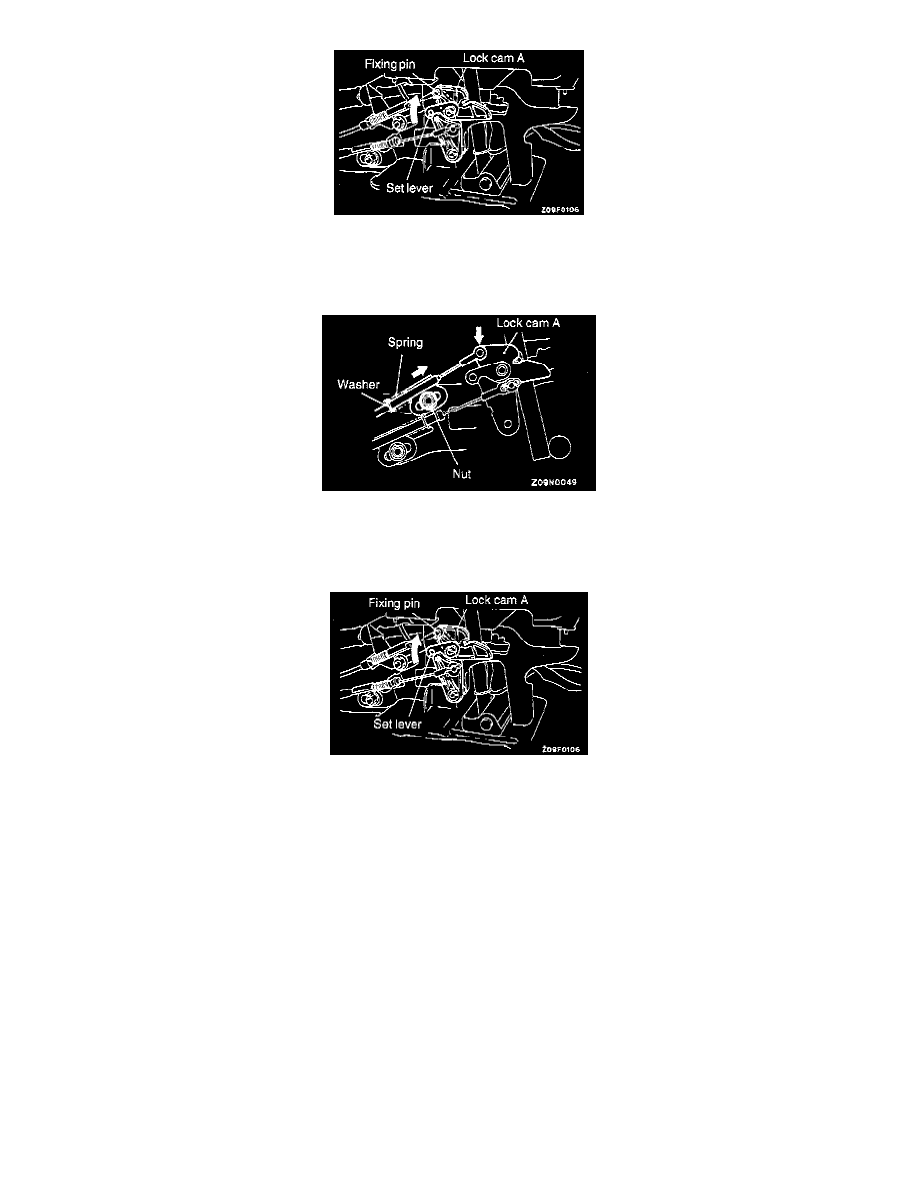
1) Place the selector lever into "P" position.
2) Connect the key interlock cable to lock cam A and temporarily tighten the nut.
At this time, install the spring and washer, which have been fitted to the key interlock cable, as shown.
3) Lightly pressing lock cam A in the direction of arrow, lightly push the key interlock cable to take up slack and tighten the nut to secure the
key interlock cable in position.
4) Turn the set lever and fit it onto the fixing pin on lock cam A, then install the snap pin.
5) After the key interlock cable has been connected, check the key interlock mechanism.
NOTE: Operational steps after installation as follows:
-
Install front console assembly.