
Diamante V6-2972cc 3.0L SOHC (1992)
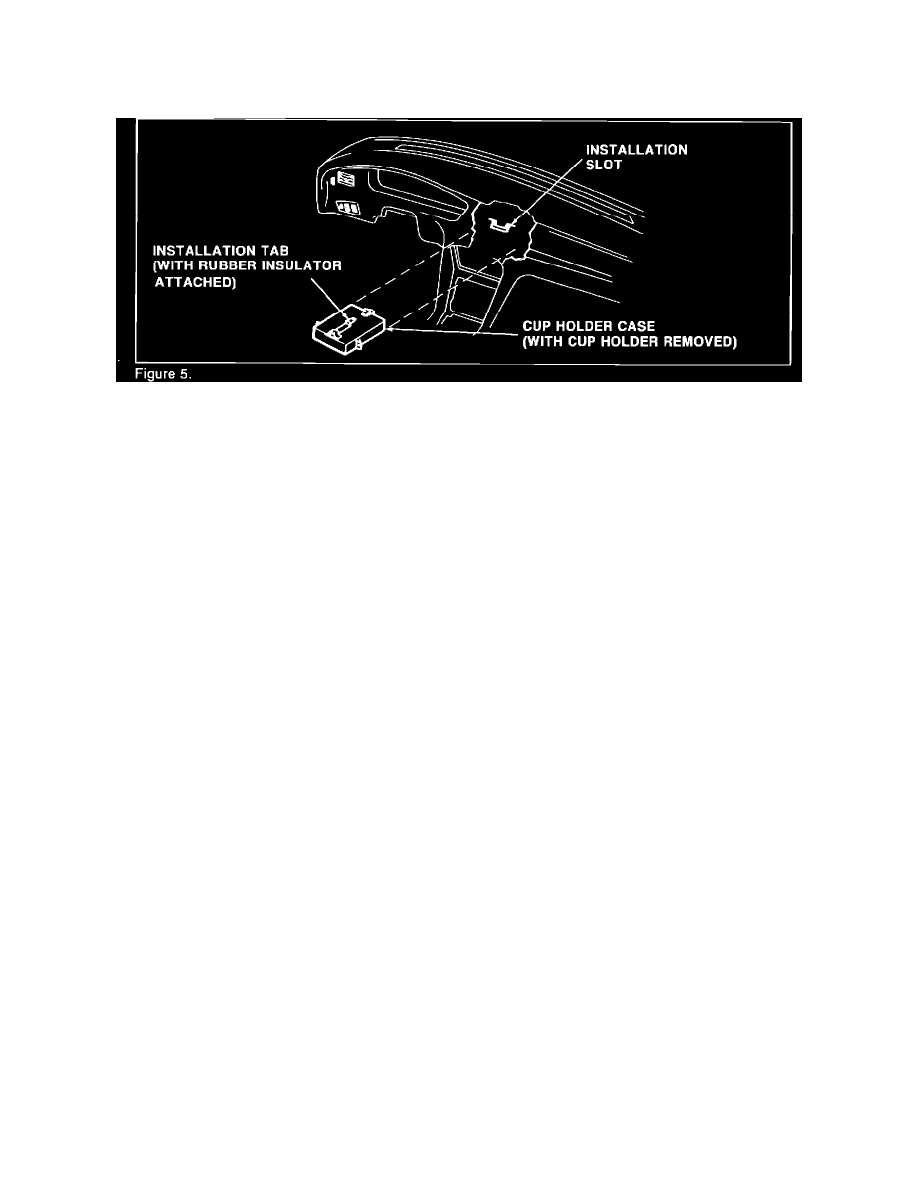
Figure 4
7.
Fabricate two foam rubber pads and attach them to the rear of the cup holder case using double-sided tape. Refer to Figure 4 for pad dimensions
and their location on the case.
Figure 5
8.
Insert the cup holder case into the center console. The tab located on the top-middle of the case must be inserted into the slot found inside the top
of the center console. Be sure the rubber insulator is still attached to the tab prior to cup holder case installation. Refer to Figure 5.
9.
Install the A/C control panel with its four screws. Insert the cup holder into the cup holder case until both pieces are joined.
Verify that the cup holder travels smoothly when opened and that a beverage can fits easily into the cup holder openings.
10.
Reassemble the remaining console parts in reverse order, beginning with Step # 4.
WARRANTY INFORMATION
Utilize standard warranty procedures and practices.