
Windshield: Specifications (page 6 of 7)
- Make
- Mitsubishi
- Model
- Diamante
- Engine
- V6-3.5L SOHC
- Year
- 2003
- Section
- Windshield
>A< WINDOW SPACER/WINDSHIELD MOULDING CLIP/WINDSHIELD MOULDING FASTENER
1. When replacing a windshield, temporarily fit the windshield to the body and make matchmarks on the body and windshield.
2. Degrease the inner perimeter of the windshield and the flange on the body side with isopropyl alcohol.
3. Soak a sponge in primer, and apply uniformly to the specified locations on the entire perimeter of the windshield and the body.
4. Allow to dry for 3-30 min after applying primer.
Specified primer:
3M ATD Part No. 8608 Super Fast Urethane Primer or equivalent.
CAUTION: The primer strengthens the adhesive strength, so be sure to apply it evenly around the entire circumference. But, a too thick
application will cause lowering of the adhesive strength.
CAUTION: Do not touch the coated surface.
5. If there are any bends or lifts on the inside of the windshield, install the window spacers so that the clearance on the right and left are uniform.
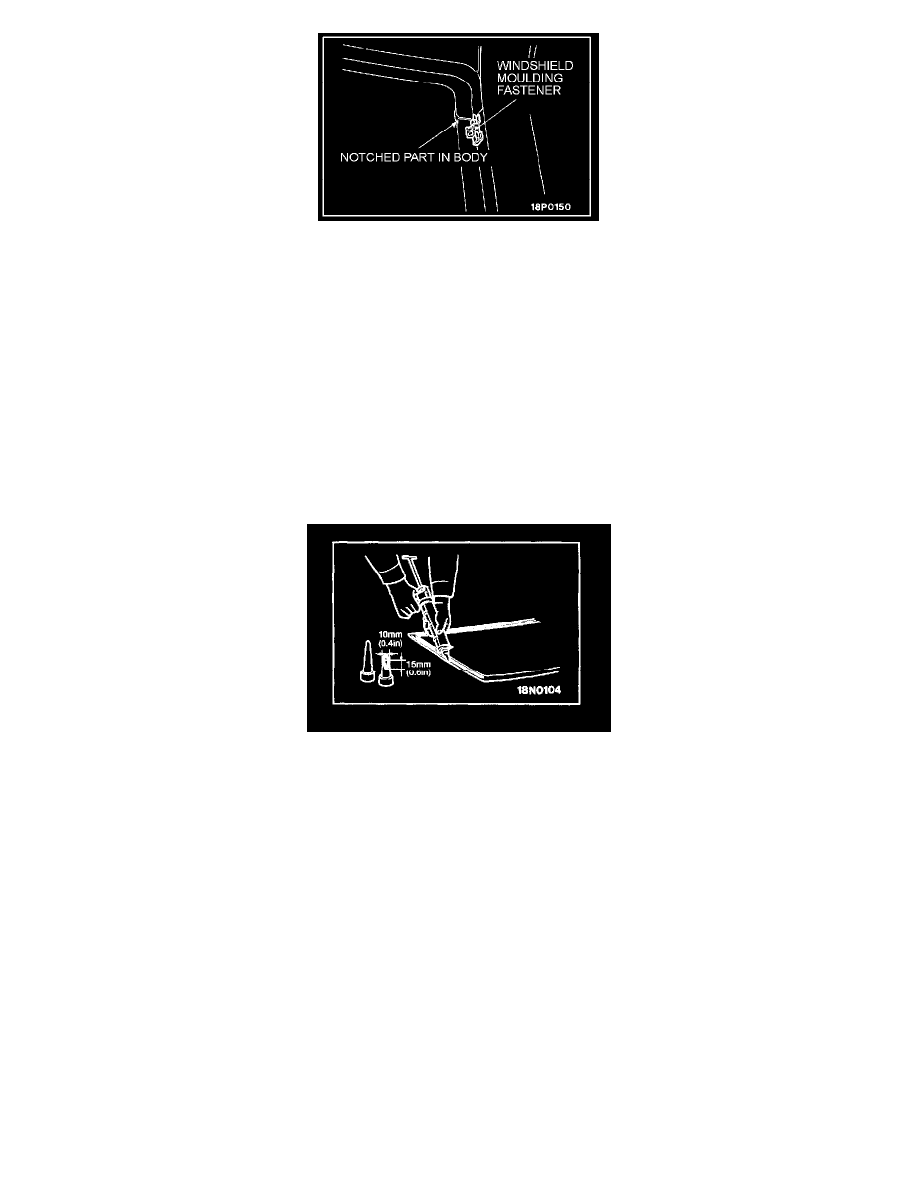
6. Match the edge of the windshield moulding fastener to the notch on the body and bond.
7. Fit the windshield moulding clip into the clip stud.
CAUTION: If heat is applied with an infra-red lamp to shorten the setting time, keep the surface temperature of the adhesive below 60 °C (140 °
F).
8. Fill a sealant gun with adhesive within 30 min of applying primer, and apply uniformly to the entire perimeter of the windshield.
NOTE: Cutting a V-shape in the tip of the sealant gun nozzle will facilitate application.
9. After applying the adhesive, match up marks on the glass and the body.
10. After removing any adhesive that is sticking out or adhering to the body or glass with a spatula, etc., clean off with isopropyl alcohol.
11. After completion of this operation (after installing the glass), place it somewhere where it will not be disturbed, until the adhesive sets.
12. After attaching the windshield glass to the body, let it stand for 30 minutes or more, and then test for water leakage.
CAUTION: If moving the vehicle, it should be done gently.
CAUTION: When testing for water leakage, do not pinch the end of the hose to spray the water.
Pinch or Ctrl + scroll to zoom. Double-tap to reset.
Parts & tools for this job For 2003 Mitsubishi Diamante 3.5L
- TOOLTrim removal tool kitSearch: trim removal tool kit
- PARTTouch-up paintSearch: Mitsubishi touch up paint
- PARTPanel clip assortmentSearch: Mitsubishi panel clips assortment
Links open Amazon search results in a new tab. As an Amazon Associate I earn from qualifying purchases.