
Pickup 2WD L4-2350cc 2.4L SOHC 8 Valve (1996)
(2)
If a lash adjuster malfunctions, the abnormal noise is rarely eliminated by continuing engine warm-up at idle speed. However, the noise may
disappear only when lash adjuster seizure is caused by oil sludge in an engine which has not been maintained properly.
1.
Start the engine.
2.
Check to see if the abnormal noise is produced immediately after starting the engine and that the noise changes with engine speed.
If this noise is not present just after starting the engine or if it does not change with engine speed, a malfunctioning lash adjuster is not the cause of
the noise. Investigate for other causes. In this case the lash adjuster is in good condition and the noise is probably caused by other parts in the
engine.
3.
With the engine idling, change the engine load (shift from N to D, for example). to make sure there is no change in the level of the abnormal noise.
If there is a change, suspect a tapping noise caused by a worn crankshaft or connecting rod bearing. In this case, the lash adjuster is in good
condition.
4.
After the engine is warmed-up, run at idle to check for the abnormal noise.
If the noise is reduced or disappears, make the following checks to see if the noise is caused by the suspected seizure of the lash adjuster. If there is
no change in the noise, proceed to Step 5.
a.
Cool the engine sufficiently.
b.
Turn the crankshaft two turns.
c.
Perform the following simple valve lash adjuster check. (The simple lash adjuster checking procedure is shown in more detail at the end of
this bulletin.)
^
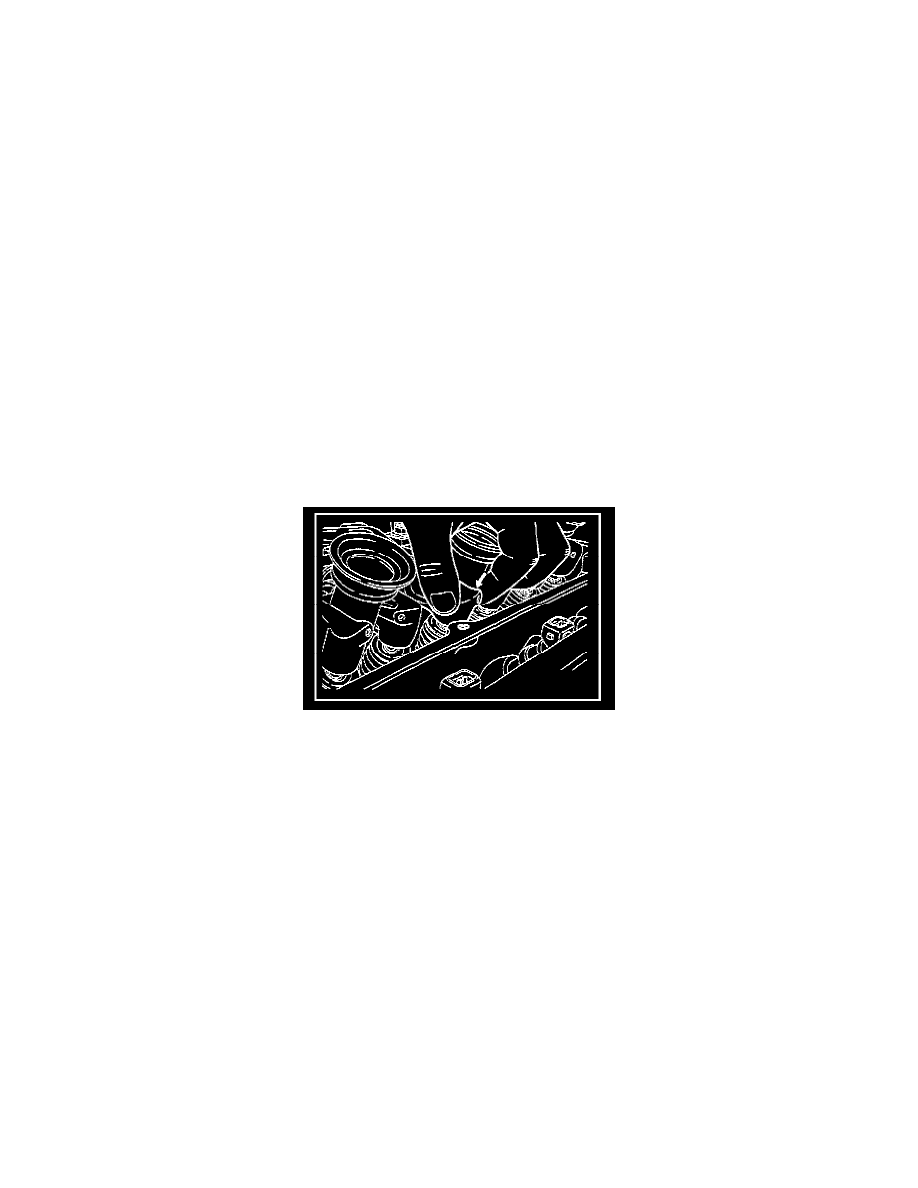
With the rocker cover removed, push down on each rocker arm. Replace the lash adjuster on any valve where you can push the rocker
arm down easily.
^
If the rocker arm cannot be pushed down easily, that lash adjuster is good. Check for other possible causes for the abnormal noise.
NOTE
The lash adjuster can also be checked correctly by using the leak down test found in the particular service manual (Group 11 - Rocker Arm and
Camshaft) for the vehicle being diagnosed.
CAUTION
Be sure to bleed the air from a new valve lash adjuster before installing it. For lash adjuster air bleeding procedures, refer to the air bleeding
procedures further along in this bulletin or the proper service manual, (Group 11 - Rocker Arm and Camshaft).
5.
Run the engine to bleed the lash adjuster system.
6.
If the abnormal noise is not eliminated after bleeding the air, do the following checks:
a.
Perform the simple lash adjuster check from step 4.c.
^
If only one lash adjuster is bad after doing the simple lash adjuster check (pushing down on the rocker arm), replace that adjuster.
^
If two or more lash adjusters are found abnormal (the rocker arm pushes down easily), then suspect clogged oil passage(s) in the
cylinder head. If this is the case, check for clogged oil passages and repair as necessary. If the oil passages are not clogged, replace the
lash adjuster.