
Precis L4-1468cc 1.5L SOHC (1993)
Torsion Arm: Service and Repair
Removal
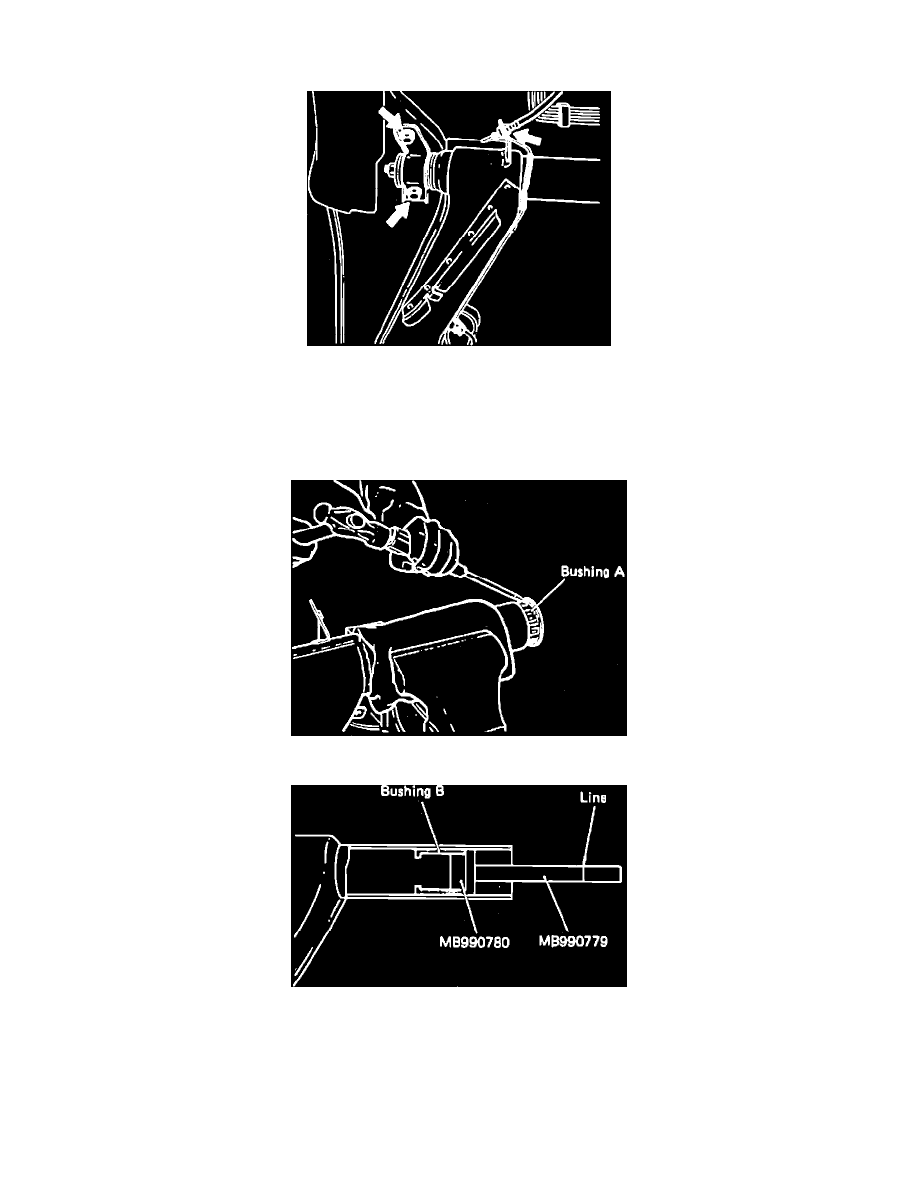
Fig. 3 Removing Suspension Assembly From Body
1.
Remove coil spring as outlined under COIL SPRING.
2.
Disconnect brake hoses at suspension arm, then remove suspension assembly from body, Fig. 3.
Disassemble
Fig. 4 Removing Bushing "A" From Left Suspension Arm
Fig. 5 Removing Bushing "B" From Left Suspension Arm
Before disassembling, place alignment marks on suspension arms and components so they can be assembled in the same position. On models
equipped with stabilizer bar, make alignment marks on stabilizer bar and stabilizer bracket.
1.
Remove nuts on both ends of suspension arm, then remove fixtures and rubber bushings.
2.
Remove dust cover clamp and slide dust cover to right, being careful not to damage it.
3.
Separate suspension arm into right and left arms.
4.
Using screwdriver, remove bushing ``A'' from left-hand suspension arm, Fig. 4.