
911 Carrera 4S Coupe AWD F6-3600cc 3.6L SOHC (1997)
Installing Camshaft Locking Tools (Left Side Of Engine Shown) Part 2 Of 3
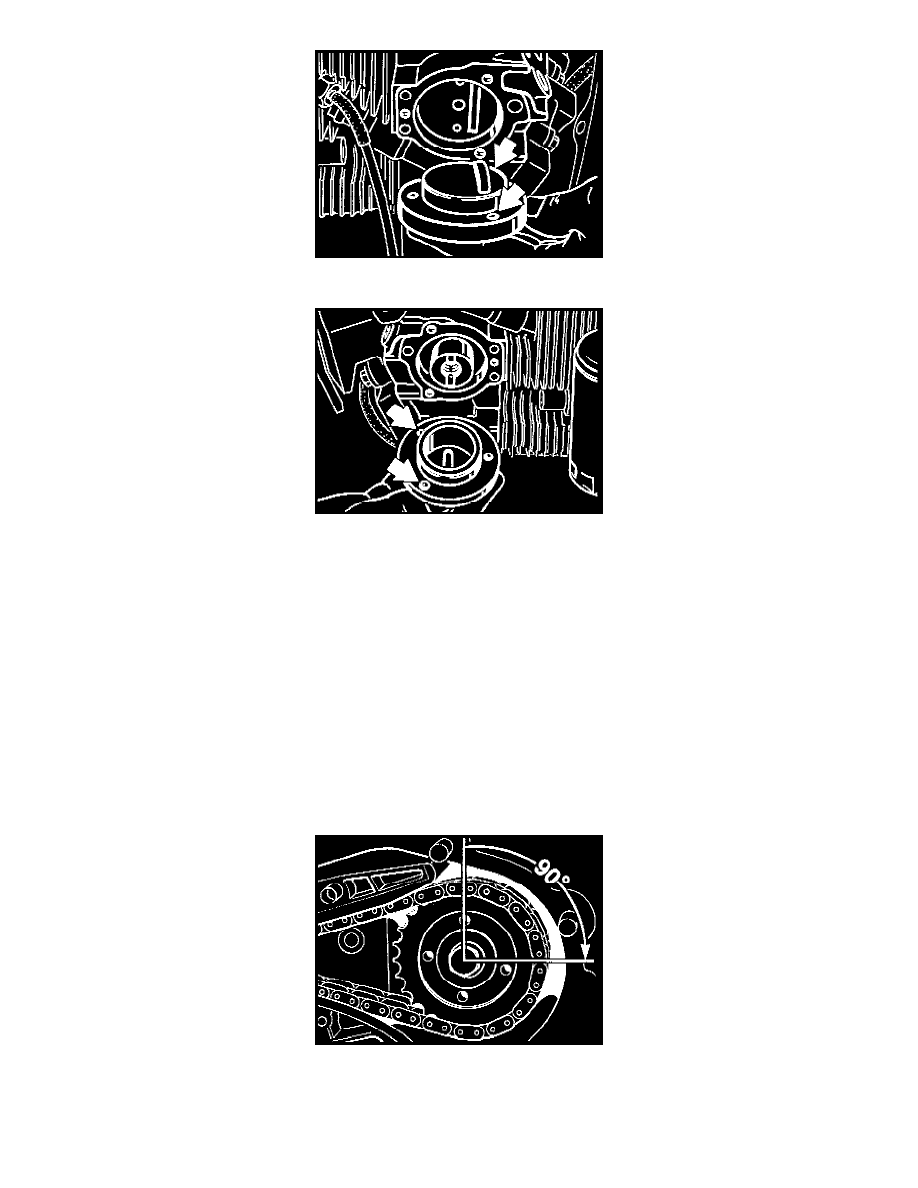
Installing Camshaft Locking Tools (Right Side Of Engine Shown) Part 3 Of 3
1. Place locking tool 9551 on left camshaft and locking tool 9552 on right camshaft and tighten them. Fit the fit bolts (2 ea.) to the three-hole flange
(arrows).
NOTE: Due to tolerances of the hole pattern of the camshaft housing, the adjustment procedure may differ in some cases:
If the special tools cannot be fitted with 2 fit bolts each, use one fit bolt and one standard M6 bolt to locate them.
In extreme cases (large deviations of the mounting hole pattern on the camshaft housing), standard M6 bolts may be used to locate the special
tools. (This will result in slight deviations of the camshaft timing).
Before installing Special Tools 9551 + 9552, check for any burr formation at the 6 H7 holes and at the fit bolts. The fit bolts must be able to rotate
in the holes.
NOTE: Adjusting and/or checking the timing with a dial gauge is no longer required. The locking tools are at the same time designed as timing
adjustment gauges.
2. Coat threads of hexagon head bolts with a thin coat of Optimoly HT. Tighten hexagon head bolts of left and right camshafts.
1st stage: Setting torque 20 Nm (15 ft. lbs.)
2nd stage: Tightening angle 90°