
911 Turbo AWD F6-3600cc 3.6L SOHC Twin Turbo (1997)
necessary.
-
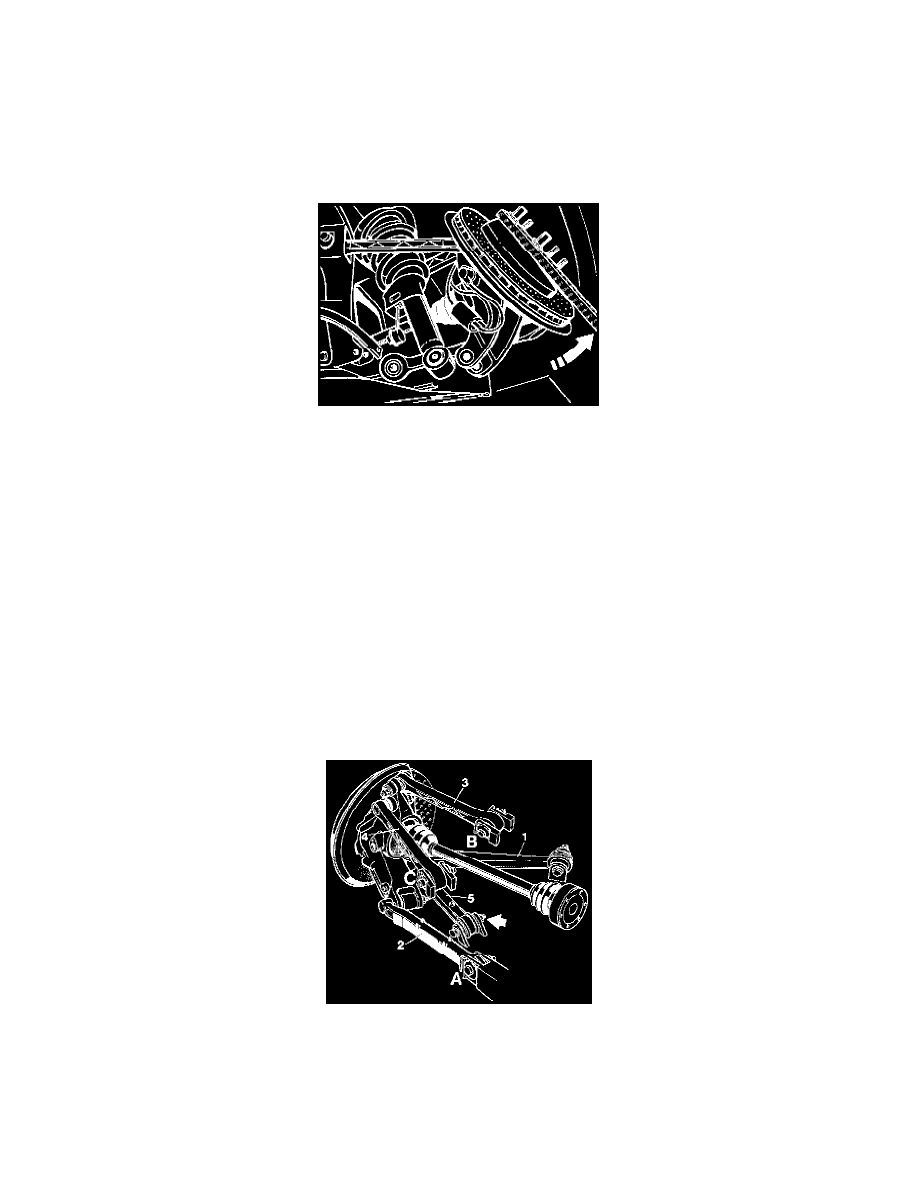
When loosening the ball joint, hold a Torx screwdriver (special tool 9546) against the wheel carrier.
NOTE: If necessary for removing control arm 2 from the wheel carrier / spring strut eye, lift the wheel carrier slightly using a universal jack.
9. Disconnect control arm 1 & 5 from subframe (internal connection / 2 screws).
10. Unscrew pan head screws of drive shaft from transmission flange.
NOTE: To prevent damage to the drive shaft, place a protective tube on the drive shaft.
11. Mount a suitable lever on the wheel hub.
-
Using the lever, lift the wheel carrier and swing it out at the bottom.
-
Pull out the drive shaft in this position (2nd mechanic required).
-
Depending on tolerances, it may also be necessary to turn the wheel carrier in the direction of toe-in with the lever.
Installation
1. To install the drive shaft, proceed in reverse order.
-
Carry out a visual inspection of all parts before starting installation.
-
Grease the drive shaft teeth with Optimoly HT.
-
First step: Insert the drive shaft.
2. Check thread condition and grade of eccentric bolt.
-
Required grade 10.9 (grade first used 8.8 check spare parts catalog).
-
The grade is shown on the bolt head.
-
If thread is damaged or bolt is grade 8.8, use new eccentric bolt.
-
In this case, transfer position mark from old eccentric bolt to new bolt.
3. Do not grease Dacromet bolting (aluminum appearance).
-
Observe torque specifications.
CAUTION: Before tightening bolting on subframe, see step 4 below.
4. Tighten bolts in area A (eccentric bolt) and bolt of control arm 5 once reference position has been established.
-
Reference position = Control arm 2 and the rear cross member must form a horizontal line.
-
To establish reference position, lift wheel carrier with universal jack.
NOTE: The bolts mentioned above can also be tightened when the vehicle is on its wheels and has been pushed up and down about 25 mm a few