
SL L4-1.9L SOHC VIN 8 (1997)
and tighten the two fasteners uniformly. Torque to 30 Nm (22 ft. lbs.).
9. Install belt tensioner. Torque to 30 Nm (22 ft. lbs.).
10. Install the accessory drive belt idler pulley. Torque to 27 Nm (20 ft. lbs.).
11. Drain engine oil and change filter. Install drain plug. Torque is 35 Nm (26 ft. lbs.).
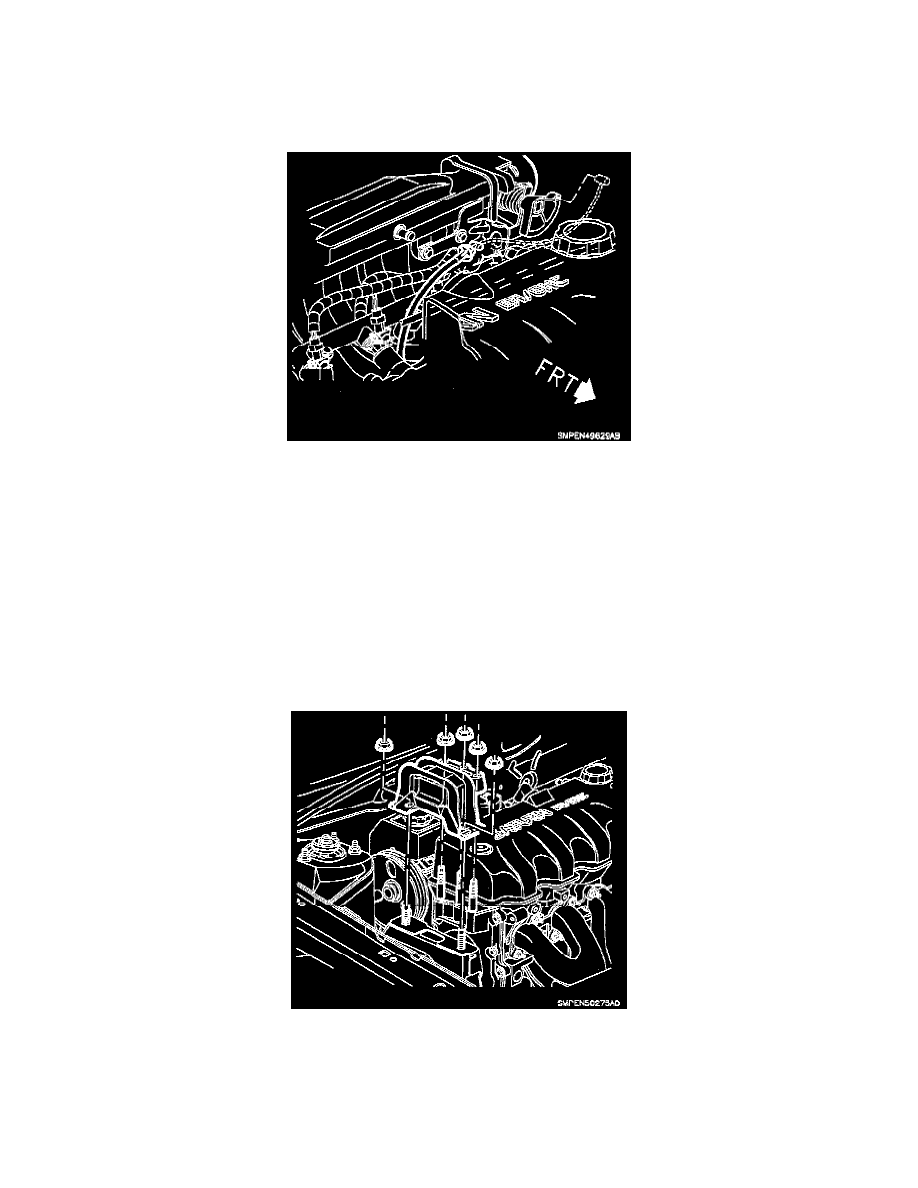
12. Verify gap on all spark plugs.
a. Install spark plugs. Torque to 27 Nm (20 ft. lbs.).
13. Install accelerator linkage bracket and attach throttle cable. Make sure the throttle cable is properly routed and not binding. Torque to 25 Nm (19
ft. lbs.).
14. Install the following sensors and components:
a. Generator attachment bolts, if removed. Torque to 32 Nm (24 ft. lbs.).
b. Starter motor to block, if removed. Torque to 37 Nm (27 ft. lbs.).
c. Starter support bracket to axle shaft bracket, if removed. Torque to 30 Nm (22 ft. lbs.).
15. Install power steering pump assembly. Torque to 30 Nm (22 ft. lbs.).
16. A/C compressor/brackets.
^
Rear bracket to block and compressor. Torque to 25 Nm (19 ft. lbs.).
^
Front bracket to block and compressor. Torque to 47 Nm (35 ft. lbs.).
17. Install accessory drive belt. Make sure the belt is properly aligned on the pulleys.
CAUTION: To prevent engine front cover and mount damage, the three front upper mount to engine front cover nuts must be tightened down
uniformly.
18. Install the two mount to midrail bracket nuts first. Next, install the three front upper mount to engine front cover nuts. Remove the block of wood
from under the torque strut after the upper mount assembly is installed.
^
Upper Mount to Front Cover: Torque to 50 Nm (37 ft. lbs.).
^
Upper Mount to Frame Rail Bracket: Torque to 50 Nm (37 ft. lbs.).
19. Install the splash shield and wheel. Torque to 140 Nm (103 ft. lbs.).
20. Connect the following hoses:
^
EVAP cannister purge