
SW1 L4-1.9L SOHC VIN 8 (1996)
9.
Cut to length and splice handle BLK wire to vehicle BLK wire, circuit 550, using splice sleeves supplied with kit. The vehicle BLK wire can be
found at decklid in-line connector near base of decklid hinge and will be located in one of the following cavities:
^
Cavity E on SL vehicles
^
Cavity G on 1998-1999 SC vehicles
^
Cavity J on 1997 SC vehicles
^
Cavity B on 1996 SC vehicles
10.
Secure all wires to vehicle with tape to prevent damage.
11.
Connect cargo lamp connector and replace cargo lamp housing if removed.
12.
Install 10A BODY fuse in instrument panel fuse block.
13.
Reconnect existing latch electrical connector(s) to new latch.
1991-1995 Coupe and Sedan
IMPORTANT:
On certain 1991 - 1995 vehicles the BLK and WHT handle wires may need to be lengthened using same gage wire.
1.
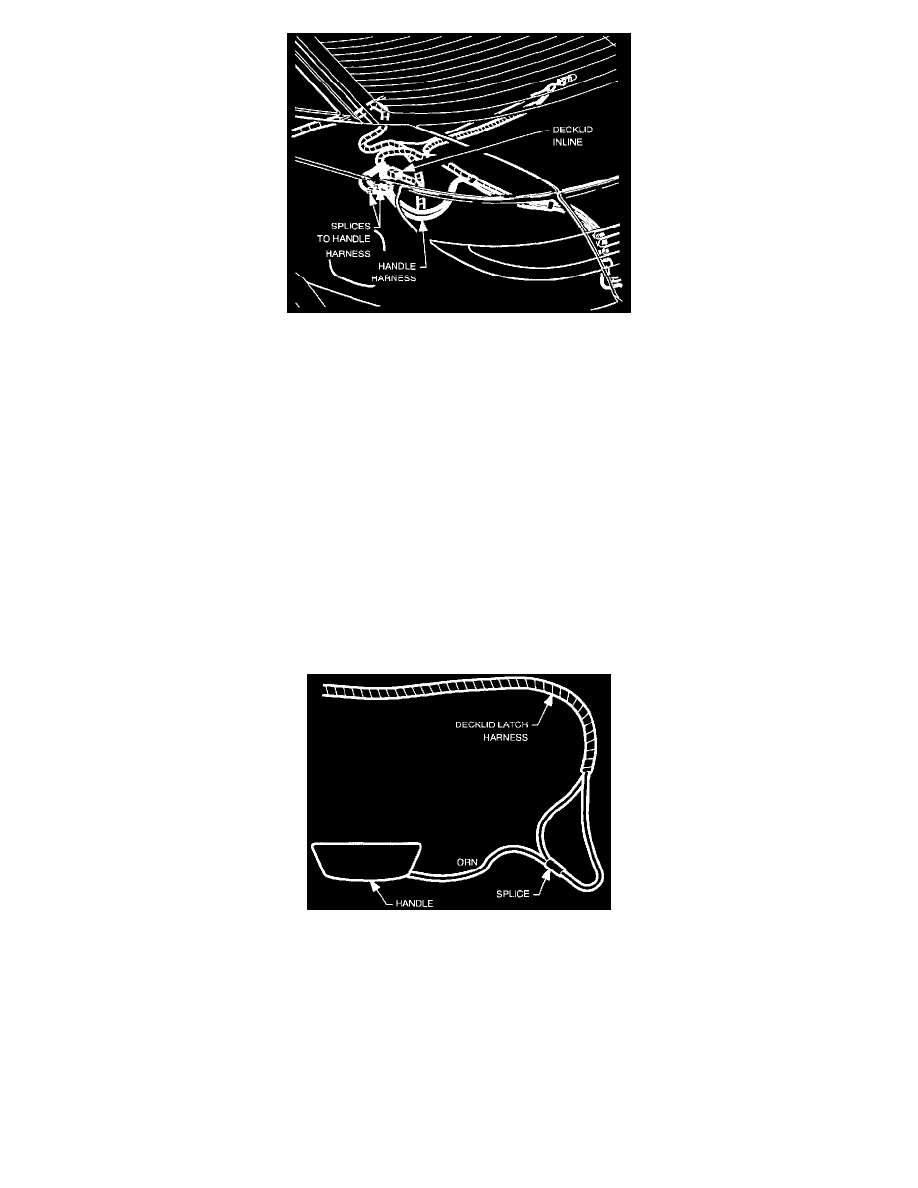
Route handle ORN wire over to latch area.
2.
Cut existing latch connector off and splice the following wires together using splice sleeves supplied with kit.:
^
On 1991-1994 vehicles, splice together handle ORN wire, existing latch ORN wire, and existing latch LT GRN wire.
^
On 1995 vehicles, splice together handle ORN wire, existing latch ORN wire, and existing latch RED/BLK wire.
3.
Secure all connections and wire with tape to prevent damage to wires.
IMPORTANT:
Extra 3-way black connectors and WHT wires may be supplied with kit and will not all be used.