
SW1 L4-1.9L SOHC VIN 8 (1996)
5.
Cover the seat area below the rear channel of the sunroof module.
CAUTION:
EYE PROTECTION SHOULD BE WORN FOR THE FOLLOWING STEP.
6.
Firmly support rear of sunroof module rail. Using a # 28 or 3.6 mm (9/64 in.) drill bit, drill the locations marked in step 4. Drill through both
sections of rail.
7.
Repeat step 6 for opposite side of sunroof module.
8.
Vacuum metal debris from both sunroof module rails and seat area below sunroof module.
IMPORTANT:
The screws used for the next step are identified as the front side marker lamp screws and the bumpers are identified as the fuel tank fill door bumper;
however, for this bulletin they are used for sunroof bumpers.
9.
Install front side marker lamp screws (P/N 11504662) into fuel tank fill door bumpers (P/N 21095749) and apply Loctite(R) 242 or equivalent at
exposed threads.
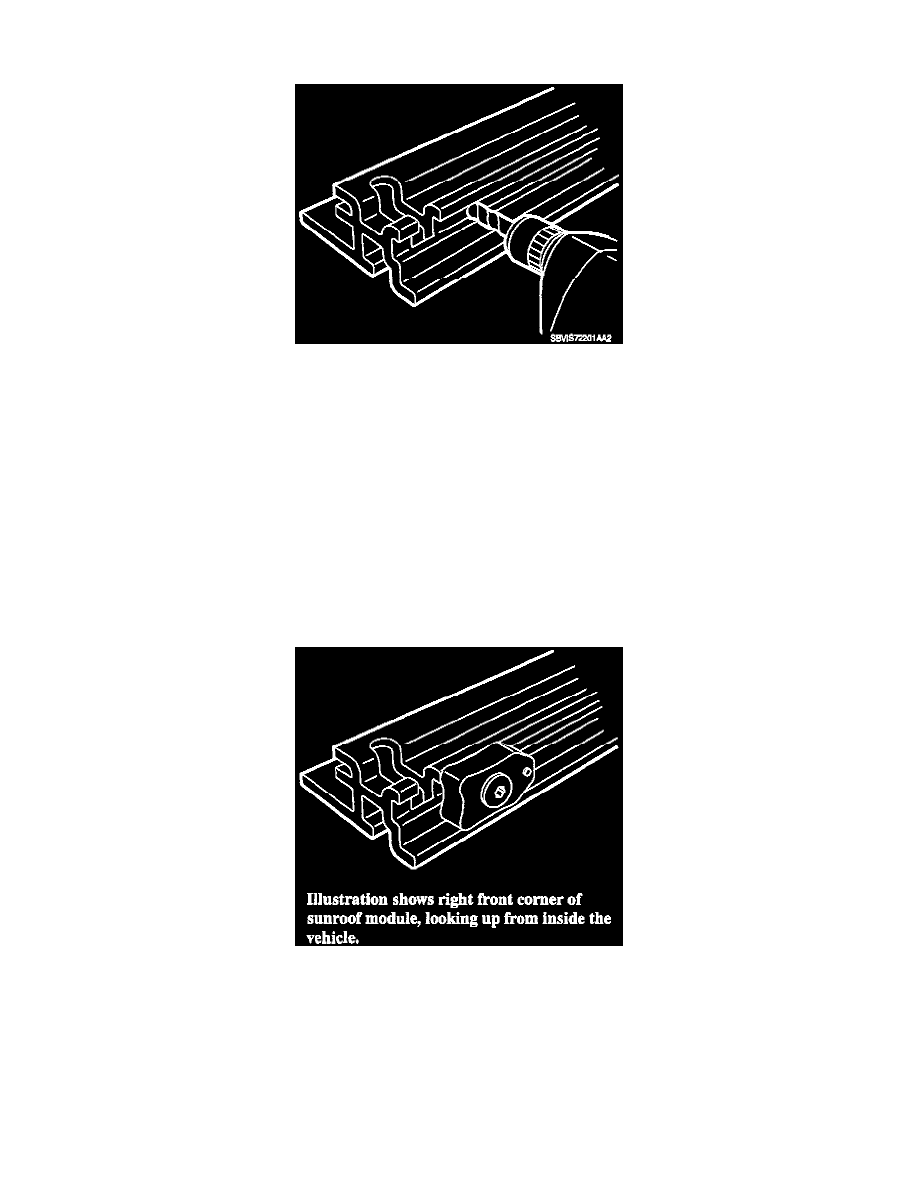
10.
Install bumper and screw assemblies to guide rails, with bumper oriented as shown in illustration.
11.
Tighten sunroof module rear fasteners.
Torque: 14 N.m (124 in-lbs)
NOTICE:
To prevent the sunroof glass from coming in contact with the exterior of the roof panel when opened, the sunroof module fasteners must not be
loosened more than one complete turn. If the sunroof module fasteners are loosened more than one complete turn, the exterior roof panel may
become damaged.