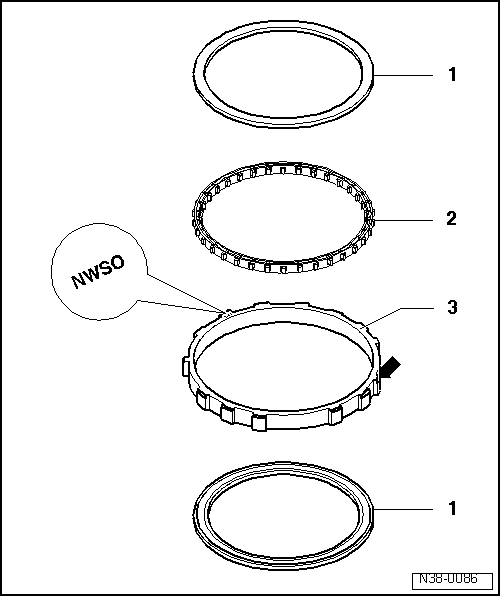
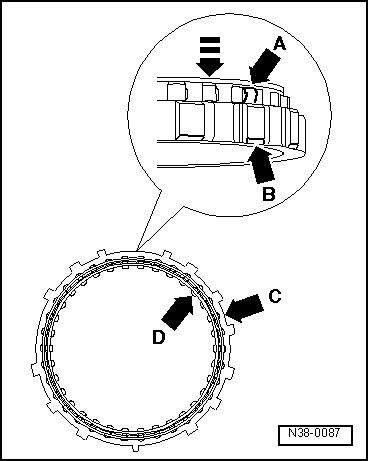
| Assemble the free sprocket |
| –
| Fit the outer ring -arrow C- on the workbench so that the bevel -arrow B- faces downwards. |
| –
| Fit the cage -arrow D- onto the outer ring so that the conical guide tabs -arrow A- are facing downwards. |
| –
| Push the securing elements inwards at the same time as the cage is fitted to the outer ring with the guide tabs. |
| –
| Fit the thrust washers onto the cage. |
| –
| Checking action of free sprocket: |
| l
| Place the free sprocket in assembly position (the letters and the bevel facing upwards). |
| l
| Place the satellite holder into the cage. |
| Turn the satellite holder to the left- “free sprocket open” |
| Turn the satellite holder to the right- “free sprocket closed” |
|
|
|