
Leon Mk1
|
|
|
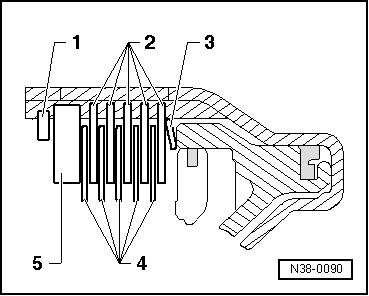
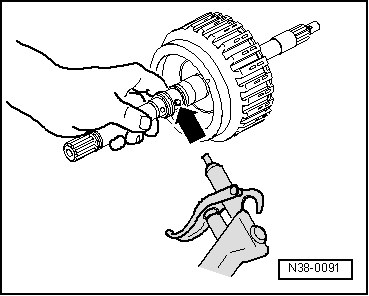
| Checking clutch action → Fig. |

| 1 - | Safety ring |
| q | Remove by levering with a screwdriver |
| 2 - | Support disc |
| q | Fitting → Fig. |
| q | Determine thickness → Fig. |
| 3 - | Inner disc |
| q | Fitting → Fig. |
| q | Part number → Chapter, Code letters, group numbers, ratios, equipment |
| 4 - | Outer disc |
| q | Fitting → Fig. |
| q | Part number → Chapter, Code letters, group numbers, ratios, equipment |
| 5 - | Plate spring |
| q | Fitting → Fig. |
| q | The convex side (small diameter) should face the clutch bell housing |
| 6 - | Safety ring |
| q | Dismantling and fitting → Fig. |
| 7 - | Oil seal |
| q | Always renew |
| 8 - | Piston cover |
| q | Before fitting, soak in oil seals with ATF |
| 9 - | Spring |
| q | Place between the piston and the piston cover |
| 10 - | Oil seal |
| q | Always renew |
| q | The sealing lip should be facing the clutch bell housing |
| 11 - | Oil seal |
| q | Always renew |
| 12 - | Piston |
| q | The corresponding gearbox code is assigned to this spare part |
| q | Before fitting, moisten the sealing lips with ATF |
| q | On fitting, turn the piston slightly |
| q | After fitting, it should be possible to rotate the piston in the clutch bell housing |
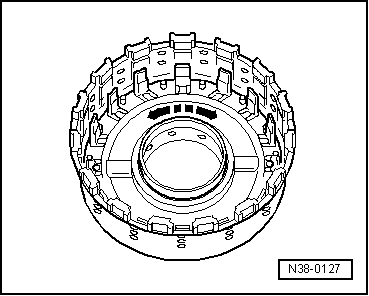
| 13 - | Clutch bell housing with turbine shaft |
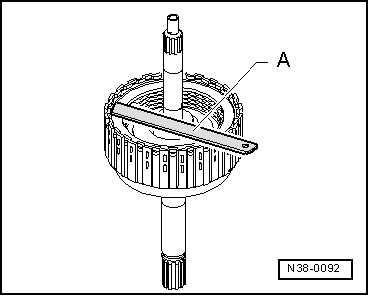
| 14 - | Piston ring |
| q | Checking the correct adjustment |
| q | Do not over-expand |
|
|
|
|
| Component | Dim. | Wear limit |
| Clutch K1 | 0.45 ... 0.85 mm | 1.05 mm |
|
|
|
|
|