
Leon Mk1
| Engine shaft: dismantling and assembling |
| Special tools and workshop equipment required |
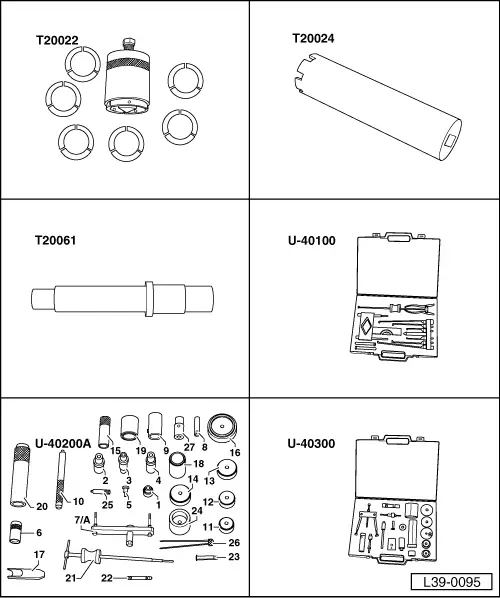
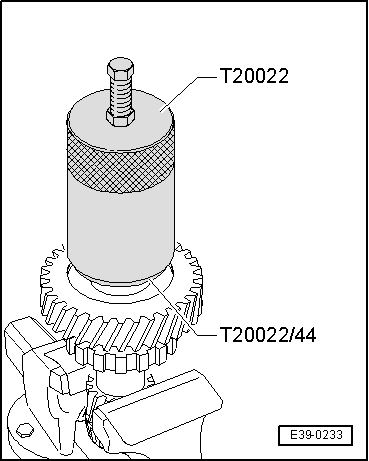
| t | Kit -T20022- |
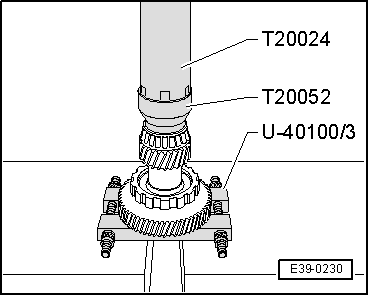
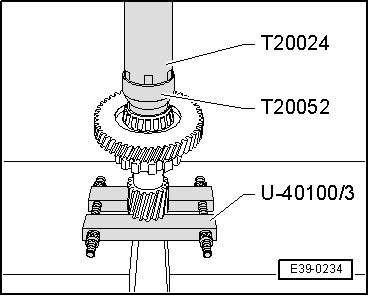
| t | Rotation tool -T20024- |
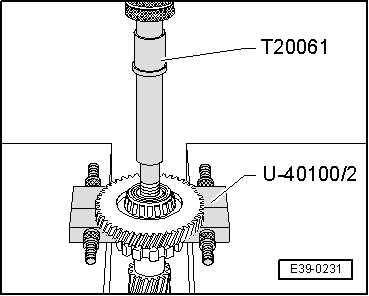
| t | Plunger -T20061- |
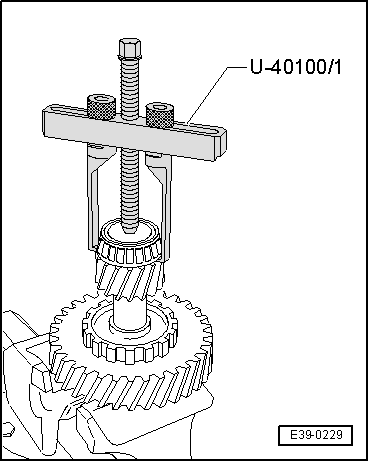
| t | Kit -U-40100- |
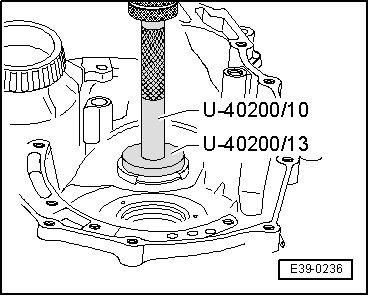
| t | Kit -U-40200A- |
| t | Kit -U-40300- |
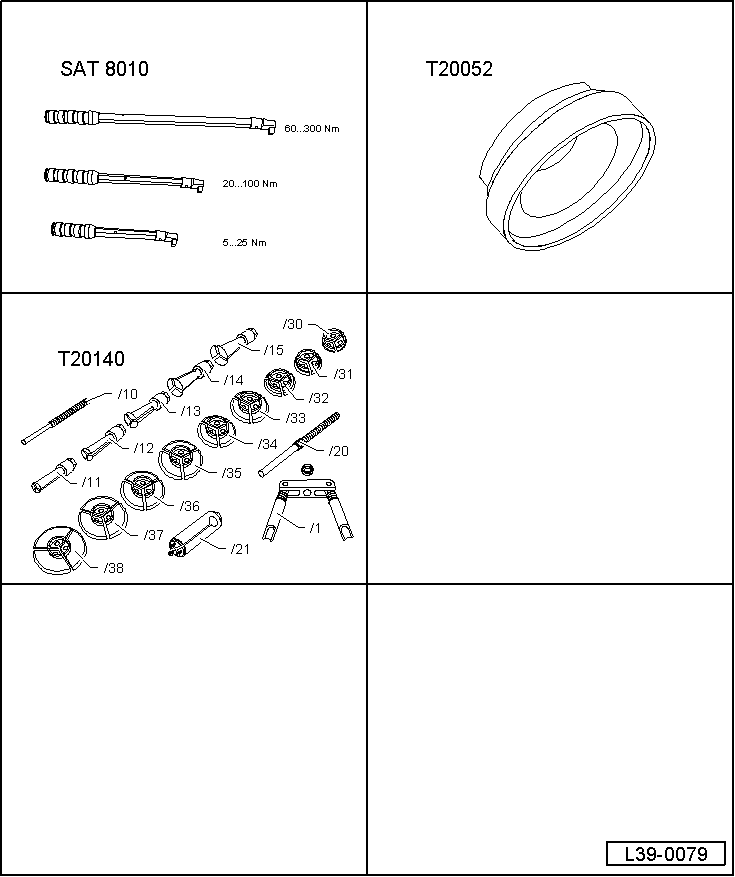
| t | Torque spanners -SAT 8010- |
| t | Plunger -T20052- |
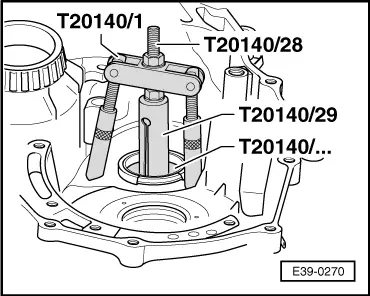
| t | Kit -T20140- |
 Note!
Note!| t | To remove the engine shaft, first remove the planet gear until the large planet, once the torque converter casing has been dismantled → Chapter, Planet gears: dismantling and assembling |
| t | To avoid premature wear and noise, the roller bearings on a shaft should be replaced at the same time |

| 1 - | Torque converter casing |
| 2 - | Shim |
| q | Determine thickness → Chapter, crown/pinion sprocket: adjusting |
| 3 - | Outer ring of roller bearing |
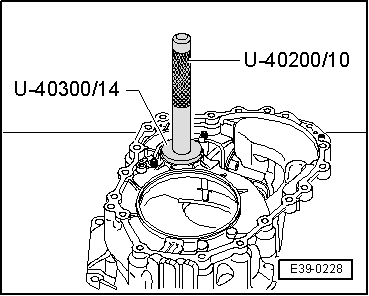
| q | Release → Fig. |
| q | Fit → Fig. |
| 4 - | Inner ring of roller bearing |
| q | Release → Fig. |
| q | Fit → Fig. |
| 5 - | Engine shaft |
| q | Number of teeth → Chapter, Code letters, group numbers, ratios, equipment |
| q | Adjust → Chapter |
| 6 - | Parking lock sprocket |
| 7 - | Driven sprocket |
| q | Number of teeth → Chapter, Code letters, group numbers, ratios, equipment |
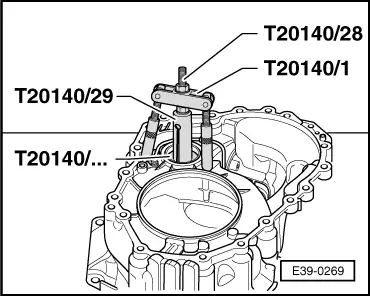
| q | Release → Fig. |
| q | Fit → Fig. |
| 8 - | Nut |
| q | 145 Nm |
| q | Always renew |
| q | Loosen and tighten → Fig. |
| q | Secure → Fig. |
| 9 - | Inner ring of roller bearing |
| q | Release → Fig. |
| q | Fit → Fig. |
| 10 - | Outer ring of roller bearing |
| q | Release → Fig. |
| q | Fit → Fig. |
| 11 - | Gearbox casing |
|
|
|
|
Note!
|
|
|
|
|

|
|
|
|
|
|
|
|
|
|

|
|

|