
Leon Mk1
|
|
|
 Note
Note
|
|
 WARNING
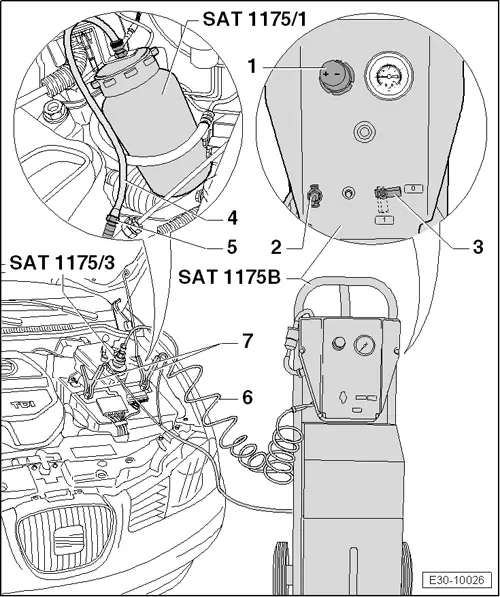
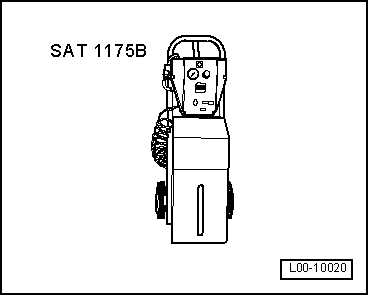
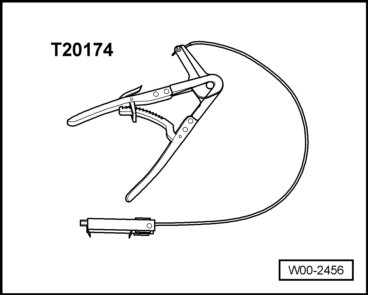
| – | Connect lines -7- of brake bleeder -SAT 1175B- to vehicle battery (12V); observe polarity (red + black -). |
| – | Unscrew the plug of the brake fluid tank. |
| – | Connect universal cover -SAT 1175/3- to brake fluid tank and fasten. |
Note| t | Check whether probe of universal covers -SAT 1175/3-is below brake fluid level. |
| t | This ensures that the brake fluid is returned to the proper level after completing the operation. If necessary, add brake fluid after completing the operation. |
| – | Remove hose from bracket at rear of brake bleeder -SAT 1175B- and connect hose -6- to universal cover -SAT 1175/3-. |
| – | Move selection switch -3- to pressure position “1” and switch -2- to “ON”. The pump runs for approx. 15 seconds until the determined pressure is reached. If the pump runs for a longer period of time, check for leakage. |
| – | Select a pressure of “2 bars” with controller -1-. |
Note| The pressure can only be controlled if the unit is operation. |
| – | Remove protective cap from slave cylinder → Item. |
| – | Install bleeder hose -4- on collection bottle -SAT 1175B/1-. |
| – | Connect bleeder hose -4- to bleed valve -5-. |
| – | Open bleed valve -5- and bleed system: |
| – | Allow approx. 100 cm3 of brake fluid to run out. |
| – | Close the air bleeding valve. |
| – | Apply pedal 10 to 15 times and release quickly. |
| – | Open bleed valve -5-. |
| – | Allow additional 50 cm3 of brake fluid to run out until the brake fluid exiting is bubble-free. |
| – | Close the air bleeding valve. |
| – | After finishing air bleeding, the clutch pedal must be activated several times. |
| – | After completion of bleeding, move switch -2- to “OFF” and turn selection switch to “0”. |
Note| To relieve pressure the machine must be “switched off”, the switch turned to “OFF” and the pressure relieved by turning selection switch to “0”. |
| – | Wait approx. 30 seconds so that the remaining brake fluid can run back restoring the correct fluid level in the reservoir. |
| – | Remove hose -6- and universal cover -SAT 1175/3-. Check whether fluid level is okay and install original cap. Use rag to prevent damaging paint. |
Note| Ensure that the brake fluid does not get on the bodywork or any other element. |