seat Workshop Repair Guides

SEAT Workshop Service and Repair Manuals

Tightening torque > < Tightening torque
Right flanged shaft seal: replacing
l  Gearbox must be fitted
In order to avoid the sun gears from falling toward one side of the differential, always assemble/remove only one of the articulation flanges.
–  With the ignition switched off, disconnect battery earth strap.
  Note
For vehicles fitted with a coded radio, first check the anti-theft code
–  Remove the right hand side complete half-shaft → Running gear, front-wheel drive; Rep. Gr.40.
–  Fit tray -T20173- beneath gearbox.
   
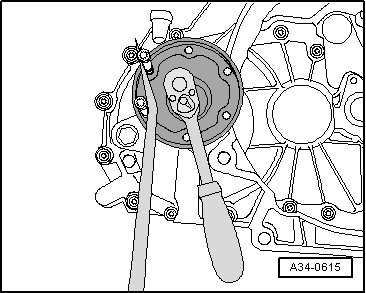
–  Remove the securing bolt from the flanged shaft, by screwing two bolts onto the shaft and counter supporting the shaft with the help of an assembly lever.
–  Remove the flanged shaft with the compression spring, thrust washer and conic ring.
  A34-0615
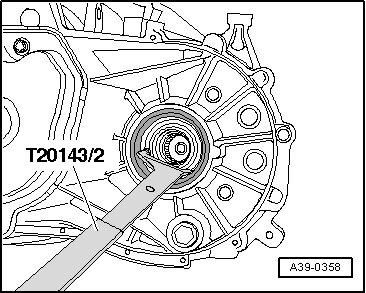
–  Remove flanged shaft seal by levering with extractor -T20143-.
–  Lightly lubricate outer edge of new seal.
  A39-0358
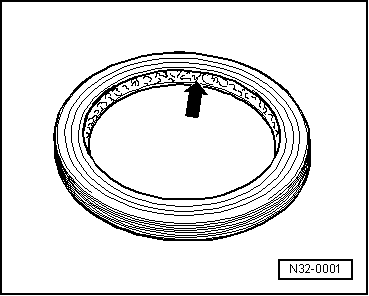
–  Fill the space between the lip seal and the dust guard with grease. → Spare Parts catalogue
  N32-0001
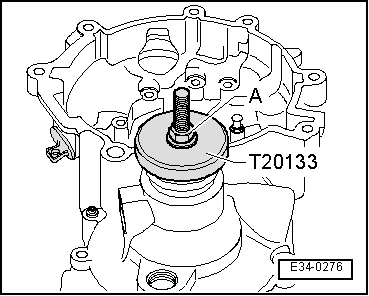
–  Fit new seal as far as it will go using pressure tool -T20133- without tilting it.
  E34-0276
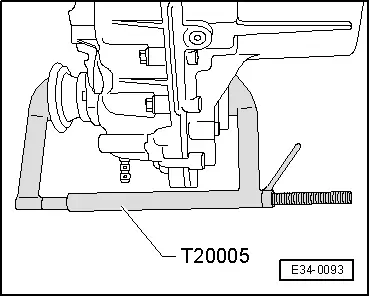
–  Secure flanged shaft with conical bolt, using counterhold -T20005-.
Rest of installation is carried out in the reverse sequence, observing the following:
–  Fit the right hand side complete half-shaft → Running gear, front-wheel drive; Rep. Gr.40.
–  Check gearbox oil level → Chapter.
–  Connect ground strap on battery.
  Note
When the battery is re-connected, depending on which version, the vehicle equipment will have to be encoded.
  E34-0093

Tightening torque > < Tightening torque