| t
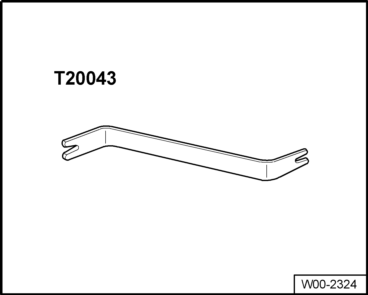
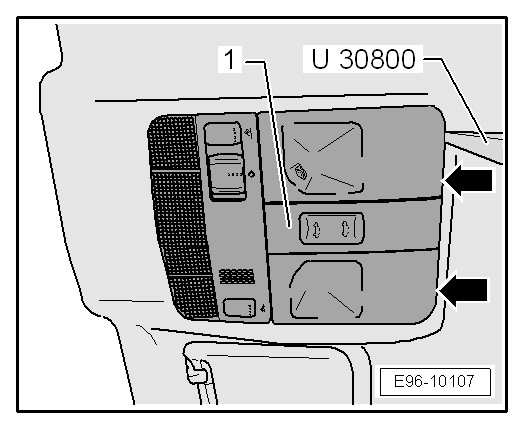
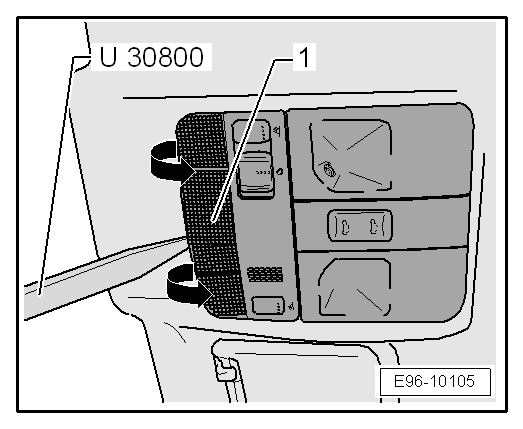
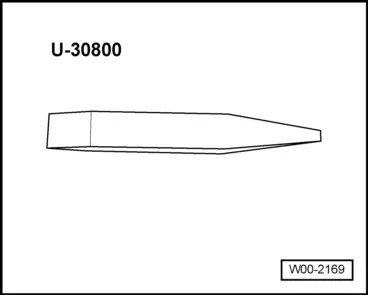
| Release lever -U 30800- |
| –
| Switch off ignition and all electrical loads, and pull out ignition key. |

WARNING | Before working on the electrical system, disconnect the battery earth strap. |
|

Note | t
| After connecting the battery, check the vehicle equipment (radio, clock, electric windows, etc.) following the indications in the Repair Manual and/or the Operating Instructions. |
| t
| Removal and assembly will be carried out taking into consideration small differences depending on the vehicle's equipment. |
| t
| Use gloves to avoid staining the roof lining in the process of removal. |
| –
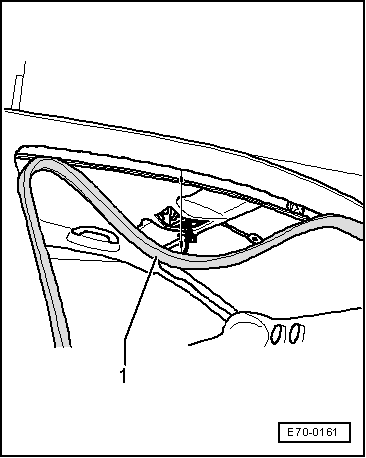
| Partially remove upper trim on A-pillar → Chapter; it is not necessary to remove it completely from the mount on the instrument panel. |
| –
| Undo the upper B-pillar trim, 3-door vehicles → Chapter. |
| –
| Undo the upper B-pillar trim, 5-door vehicles → Chapter. |
| –
| Partially remove trim on C-pillars → Chapter, it is not necessary to detach it completely from the belt. |
| –
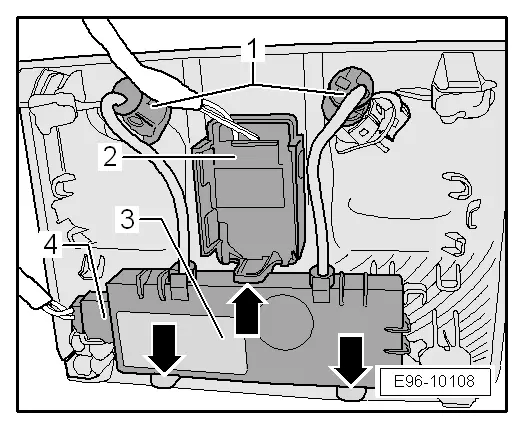
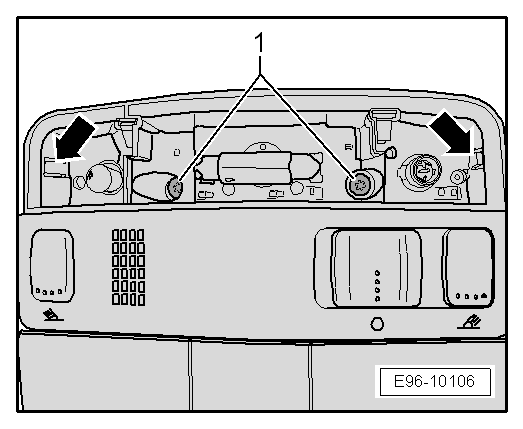
| Remove the spectacles-case → Item. |
| Only vehicles with automatically dimming interior rear view mirror -Y7- with rain and light detection sensor -G397- |
| –
| Automatically dimming interior rear view mirror -Y7- with rain and light detection sensor -G397-: removal → Chapter. |
|
|
|