
Leon Mk1
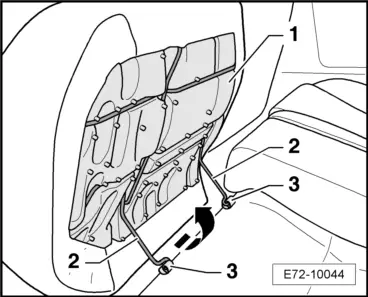
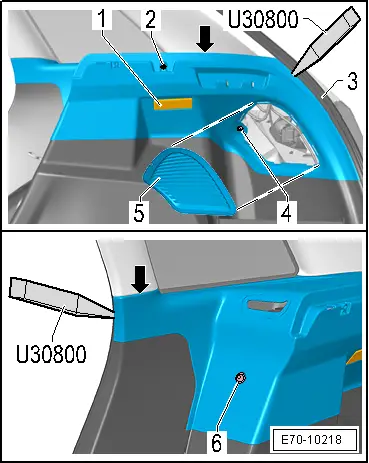
| Right storage bracket, ST model: Removing and installing. |

| Special tools and workshop equipment required |
| t | Torque wrench kit -SAT 8010- |
| t | Release lever -T20043- |
| t | Release lever -U 30800- |
|
 Note
Note
|
|
Note
|
|