seat Workshop Repair Guides

SEAT Workshop Service and Repair Manuals

Removing and installing radiator and radiator fan > < Dismantling and assembling coolant pump
4-Cyl. injection engine (2 valve), Mechanics
Removing and installing parts of cooling system
Draining and filling cooling system

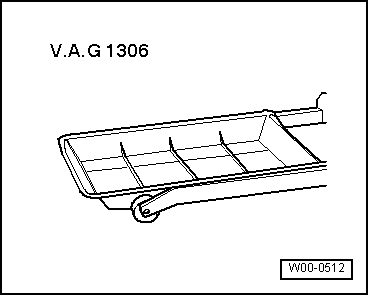
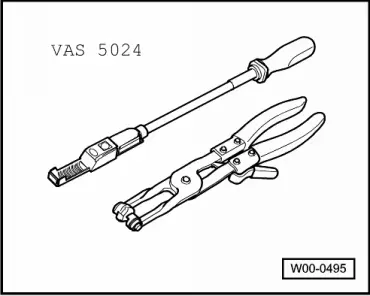
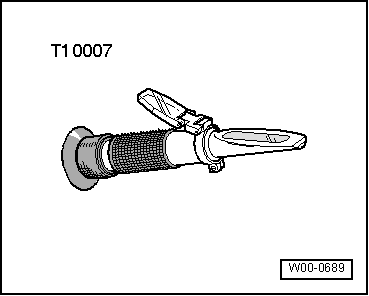
Special tools, workshop equipment, testers, measuring instruments and auxiliary items required

 
W00-0512
  • ◆ V.A.G 1306 Drip tray

 
W00-0495
  • ◆ VAS 5024 Assembly tool for spring-type clips

Draining

Warning !
Steam can be released when removing the cap from the expansion tank. Cover cap with a cloth and open carefully.
  • ‒ Open cap on coolant expansion tank.
  • ‒ Remove noise insulation tray:

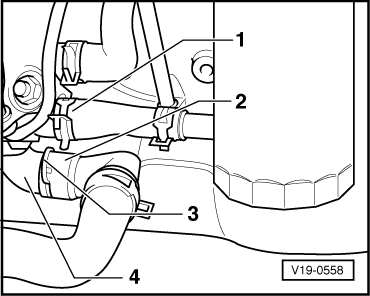
=> General body repairs; Repair group 50; Front body; Removing insulation tray

 
V19-0558
  • ‒ → Pull out retaining clip -3-, pull connection -2- off thermostat flange -4- and pull off coolant hose -1- or remove thermostat flange -4-.

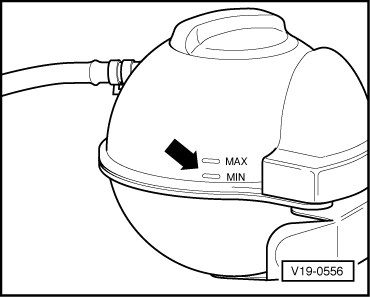
Note:

Observe disposal regulations!

Filling

Notes:

  • ◆ Only use coolant additive G 12 in accordance with TL VW 774 F.
    Distinguishing feature: coloured violet
  • ◆ G 12 and coolant additives marked "In accordance with TL VW 774 F" prevent frost and corrosion damage, scaling and also raise boiling point of coolant. For this reason the system must be filled all year round with frost and corrosion protection additives.
  • ◆ G 12 violet (in accordance with TL VW 774 F) can be mixed with the previous coolant additives G 11 and G 12 red!
  • ◆ Because of its high boiling point, the coolant improves engine reliability under heavy loads, particularly in countries with tropical climates.
  • ◆ Protection against frost must be assured to about -25 °C (in arctic climatic countries to about -35 °C).
  • ◆ The coolant concentration must not be reduced by adding water even in warmer seasons and in warmer countries. The anti-freeze ratio must be at least 40 %.
 
W00-0689
  • ◆ If for climatic reasons a greater frost protection is required, the amount of G 12 can be increased, but only up to 60 % (frost protection to about -40 °C), as otherwise frost protection is reduced again and cooling effectiveness is also reduced.
  • ◆ The refractometer T10007 is recommended for determining the current anti-freeze density.
  • ◆ If radiator, heat exchanger, cylinder head or cylinder head gasket is replaced, do not reuse old coolant.

Recommended mixture ratios:

Vehicle equipment

Anti-freeze to

Anti-freeze amount1)

G 122)

Water2)

one
heat exchanger

-25 °C
-35 °C

40 %
50 %

1.8 l
3.5 l

4.2 l
3.5 l

two
heat exchangers

-25 °C
-35 °C

40 %
50 %

3.6 l
4.5 l

5.4 l
4.5 l

two
heat exchangers and additional water heater

-25 °C
-35 °C

40 %
50 %

3.8 l
4.8 l

5.8 l
4.8 l

    1)    The amount of anti-freeze must not exceed 60 %; frost protection and cooling effect will decrease if amount of anti-freeze is too high.

    2)    The amounts of coolant given in table relate to vehicles with manual gearbox. For vehicles with automatic gearbox the amount of G12 and water both increase by approx. 0.1 ltr.

  • ‒ Connect coolant hoses on cooler connection and on connection of oil cooler.

With cooling system charging unit VAS 6096

 
V19-0556
  • ‒ Screw adapter V.A.G 1274/7 onto expansion tank again.
  • ‒ Fill coolant circuit using cooling system charging unit VAS 6096.

=> Operating instructions for cooling system charging unit VAS 6096

Not using cooling system charging unit VAS 6096

  • ‒ Press top radiator hose down.
  • ‒ → Fill with coolant slowly up to max. mark on expansion tank. Filling takes approx. 5 minutes.
  • ‒ Start engine and run at increased idling speed (approx. 2500 rpm). When doing this, fill with coolant up to MAX. marking on expansion tank.

With and without cooling system charging unit VAS 6096

  • ‒ Fit cap to expansion tank cap.
  • ‒ Run engine until radiator fan cuts-in.
  • ‒ Then run for about a further 10 minutes at approx. 2500 rpm.
Warning !
Steam can be released when removing the cap from the expansion tank. Cover cap with a cloth and open carefully.
  • ‒ Check coolant level and top-up if necessary. When the engine is at normal operating temperature, the coolant level must be on the MAX. marking and between the MIN. and MAX. marking when the engine is cold.

Removing and installing radiator and radiator fan > < Dismantling and assembling coolant pump