seat Workshop Repair Guides

SEAT Workshop Service and Repair Manuals

Fuel supply, gas operation > < Draining and filling cooling system
4-Cyl. injection engine (2 valve), Mechanics
Removing and installing parts of cooling system
Removing and installing radiator and radiator fan

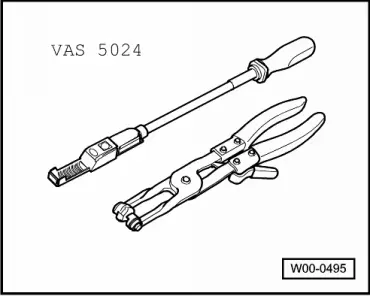
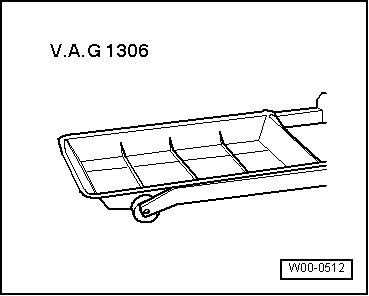
Special tools, workshop equipment, testers, measuring instruments and auxiliary items required

 
W00-0495
  • ◆ VAS 5024 Assembly tool for spring-type clips
 
W00-0512
  • ◆ V.A.G 1306 Drip tray

Removing

  • ‒ Remove headlights:

=> Electrical system; Repair group 94; Headlights; Removing and installing headlight housing

  • ‒ Remove front bumper cover:

=> General body repairs; Repair group 63; Front bumper; Assembly overview

  • ‒ Drain coolant .
  • ‒ Pull coolant hoses off radiator.
  • ‒ Pull connectors off thermo-switch and radiator fan.

Vehicles without air conditioner

  • ‒ Remove radiator securing bolts.
  • ‒ Remove radiator downwards.

Vehicles with air conditioner

Warning!
The air conditioning system refrigerant circuit must not be opened.

Note:

To prevent damage to condenser and also to the refrigerant lines/hoses, ensure that the pipes and hoses are not stretched, kinked or bent.

  • ‒ Remove retaining clamp(s) from refrigerant pipes.
  • ‒ Unscrew fan ring securing bolts and remove fan ring with fan upwards.
  • ‒ Remove radiator securing bolts.
  • ‒ Unbolt condenser from radiator.
  • ‒ Secure condenser to body so that refrigerant pipes/hoses are not stressed.
  • ‒ Remove radiator downwards.

Installing

Installation is carried out in the reverse order, when doing this note the following:

  • ‒ Install headlights:

=> Electrical system; Repair group 94; Headlights, Removing and installing headlight housing

  • ‒ Install front bumper cover:

=> General body repairs; Repair group 63; Front bumper, Assembly overview

  • ‒ Electrical connections and routing:

=> Electrical system; Repair group 97

  • ‒ Filling with coolant => Page 19-12

Fuel supply, gas operation > < Draining and filling cooling system