|
Functional check and servicing the optical and acoustic oil pressure warning:
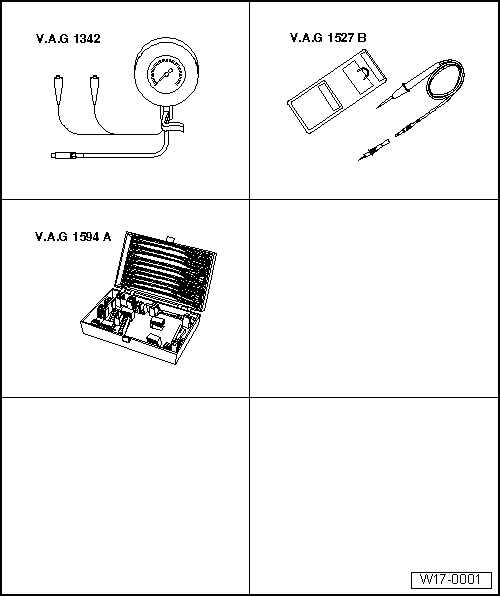
=> Current flow diagrams, Electrical fault finding and Fitting locations binder
-
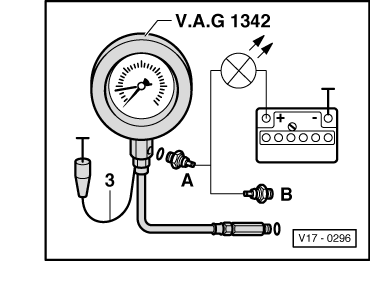
‒ → Remove 0.25 bar oil pressure switch (blue insulation) and screw into tester.
-
‒ Screw tester into the cylinder head in place of the oil pressure switch.
-
‒ Connect brown wire -3- of tester to earth (-).
-
‒ Connect diode test lamp V.A.G 1527 using adapter cables from V.A.G 1594 to battery positive (+) and to 0.25 bar oil pressure switch (F22, blue insulation) -A-. LED must light up.
-
‒ Start engine and slowly raise rpm. At
0.15...0.35 bar
the LED must go out, otherwise renew oil pressure switch.
-
‒ Connect diode test lamp to 1.8 bar oil pressure switch (white insulation) -B-.
At
1.6...2.0 bar
The LED must light up, otherwise renew oil pressure switch.
-
‒ Increase engine speed further.
At 2000 rpm and an oil temperature of 80 °C the oil pressure should be at least 2.0 bar.
At higher engine speed the oil pressure must not exceed 7.0 bar. If necessary renew oil pump cover with pressure relief valve.
|